- Some Windows 10 users have complained that when you try to install fonts on your PC and copy and paste a font into the Windows Fonts folder, the font doesn’t show up in the Fonts.
- Some problems can be solved by uninstalling and reinstalling the font.
- If the font is still not displaying correctly, follow these troubleshooting tips.
- It is possible that the font you have installed is not compatible with the application you want to use it in.
Fonts are the unsung heroes of our digital world, adding character and style to our texts. However, their absence can leave us feeling uninspired. In this article, we delve into the perplexing issue of installed fonts mysteriously disappearing on Windows 10. Let’s unravel this font conundrum and restore the missing charm to our typographical adventures.
Common Symptoms and Causes
If you are experiencing issues with installed fonts not showing on Windows 10, there are a few common symptoms and causes you can look out for.
Symptoms may include errors or missing fonts in programs such as Microsoft Word, Adobe Illustrator, Photoshop, or other applications that use fonts. You may also notice that the Fonts tool in Control Panel is not displaying the installed fonts.
Causes can vary, but one possible reason is that the font files may not be valid or compatible with Windows 10. Another cause could be a security solution or behavior that is blocking the fonts from being displayed.
To troubleshoot this issue, here are a few steps you can take:
Step 1: Start your computer in Safe Mode to check if any security solutions are causing the problem.
Step 2: Restore the default font settings in Windows 10. To do this, go to the Fonts folder in File Explorer, select all the fonts, right-click, and choose “Install” from the context menu.
Effective Fixes for Font Display Issues
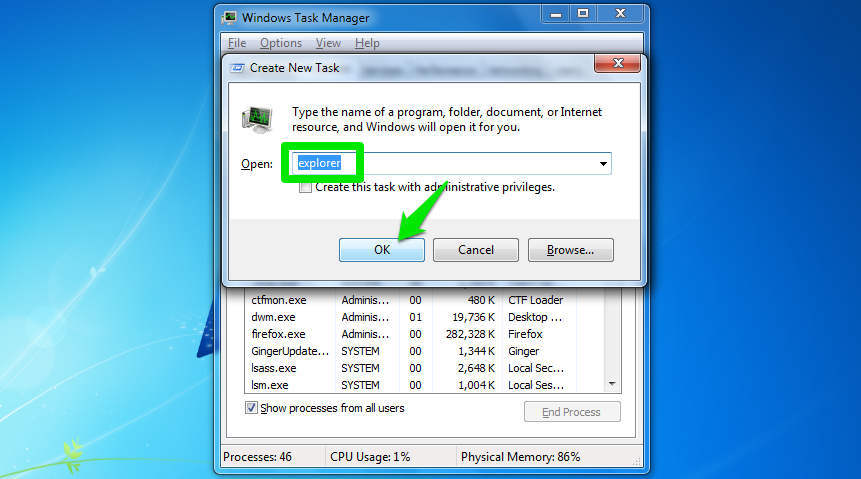
- Open Task Manager by pressing Ctrl+Shift+Esc.
- In the Processes tab, locate and select Windows Explorer.
- Click on the Restart button located at the bottom right corner of the Task Manager window.
- Wait for Windows Explorer to restart and check if the fonts are now displaying correctly.
Repair Method 2: Clear Font Cache
- Open the Start menu and search for Font Settings.
- Click on Font Settings in the search results to open the Fonts window.
- In the Fonts window, click on the Restore default font settings option located on the left sidebar.
- Click Yes when prompted to confirm the action.
- Restart your computer to clear the font cache and see if the problem is resolved.
Repair Method 3: Reinstall Fonts
- Open the Start menu and search for Fonts.
- Click on Fonts in the search results to open the Fonts folder.
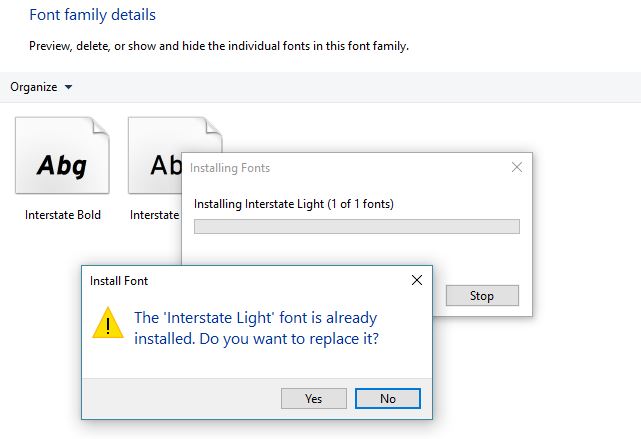
- Select the fonts that are not displaying properly.
- Right-click on the selected fonts and choose Delete to remove them from your system.
- Download the latest version of the problematic fonts from a reliable source.
- Once downloaded, double-click on each font file and click Install to reinstall them.

- Restart your computer and check if the fonts are now displaying correctly.
Troubleshooting Methods for Font Installation Problems
Troubleshooting Installed Fonts Not Showing on Windows 10
| Issue | Troubleshooting Method |
|---|---|
| Font not installed correctly | 1. Reinstall the font |
| Font file is corrupted | 1. Download a fresh copy of the font file 2. Replace the corrupted font file with the new one |
| Font cache needs to be cleared | 1. Open Command Prompt as Administrator 2. Type “fc-cache -fv” and press Enter 3. Restart your computer |
| Font conflicts with other installed fonts | 1. Disable conflicting fonts temporarily 2. Check if the font appears correctly 3. Uninstall conflicting fonts, if necessary |
| Font not enabled in Windows settings | 1. Open “Settings” and go to “Personalization” 2. Click on “Fonts” in the left menu 3. Enable the font by toggling the switch |
| Font not recognized by the application | 1. Verify if the application supports the font format 2. Convert the font to a compatible format, if needed 3. Restart the application |
Resolving Access Issues to Resolve Font Problems
If you are experiencing font problems on Windows 10 and your installed fonts are not showing up, there are a few access issues that could be causing this. Follow these steps to resolve the problem:
Step 1: Restart your computer in Safe Mode to check if any third-party software is interfering with the font display.
Step 2: Restore default font settings in Microsoft Word and other Office applications. Go to the File menu, select Options, then choose the Save tab. Make sure the box next to “Embed fonts in the file” has a check mark.
If these methods do not resolve the issue, you may need to reinstall the font files. Search for the font files on your computer and double-click on each one to install them. Alternatively, you can use the Fonts tool in the Control Panel to install fonts.
Remember to always download fonts from trusted sources to avoid any security risks.

Mark Ginter is a tech blogger with a passion for all things gadgets and gizmos. A self-proclaimed "geek", Mark has been blogging about technology for over 15 years. His blog, techquack.com, covers a wide range of topics including new product releases, industry news, and tips and tricks for getting the most out of your devices. If you're looking for someone who can keep you up-to-date with all the latest tech news and developments, then be sure to follow him over at Microsoft.