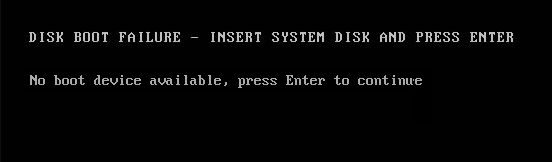
- The error message “Bootable disk not detected or disk has failed” has several causes.
- The error itself indicates that the boot floppy was not detected.
- If you want to place the boot disk, i.e. the hard disk, at the head of the boot order in the.
Discovering that your computer is unable to detect a boot disk or experiencing a disk failure can be a frustrating ordeal. In this article, we present seven straightforward solutions that can help you troubleshoot and resolve these issues efficiently. So, if you’re seeking answers to get your computer up and running smoothly again, keep reading to find the solution that works best for you.
Check Boot Disk Connection
1. Open your computer case and ensure that all cables connecting your boot disk (SSD or HDD) are securely attached.
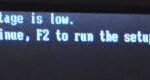
2. Restart your PC and enter the BIOS by pressing the indicated key (usually DEL or F2) during startup.
3. In the BIOS, navigate to the “Boot” or “Boot Order” section and ensure that your boot disk is listed as the first priority.
4. Save any changes made in the BIOS and restart your computer.
5. If the boot disk connection is not the issue, try using the “Automatic Repair” option in Windows Diagnostic tools.
6. If the error message persists, consider using MiniTool Partition Wizard or other similar software to fix any boot configuration issues.
7. If none of the above solutions work, there may be a chance that your boot disk has failed. In this case, please install an operating system on a new boot disk or contact a professional for further assistance.
Verify Boot Order in BIOS
| Verify Boot Order in BIOS | |
|---|---|
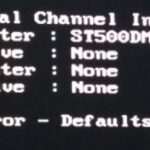
| Problem: | No Boot Disk Detected or Disk Failed |
| Solution: | Verify Boot Order in BIOS |
| Steps: | |
| Step 1: | Restart your computer and access the BIOS settings by pressing the designated key (e.g., F2, Del, Esc) during the boot process. |
| Step 2: | Navigate to the “Boot” or “Boot Order” section in the BIOS menu. |
| Step 3: | Make sure the boot order is correctly set to prioritize the correct boot device. Typically, the hard drive or SSD should be set as the first boot device. |
| Step 4: | If the boot order is incorrect, use the arrow keys to move the desired boot device to the top of the list. |
| Step 5: | Save the changes and exit the BIOS settings. This will restart your computer. |
| Step 6: | If the issue persists, repeat the steps and double-check the boot order. Ensure that no external drives or USB devices are connected that might interfere with the boot process. |
| Step 7: | If none of the above solutions work, there might be a problem with the disk or the operating system. Consider seeking professional assistance. |
Run Diagnostic Tools for Boot Disk
If you’re experiencing a “No Boot Disk Detected” or “Disk Failed” error on your PC, there are a few easy solutions you can try.
First, make sure that your hard disk is properly connected to your computer. Check the cables and connections inside your computer case to ensure everything is secure.
Next, restart your PC and enter the boot configuration menu. Press Enter to access the menu and check that your hard disk is listed as the first option in the boot order.
If your hard disk is listed correctly and the error message still persists, you can use the Windows Diagnostic Tools to troubleshoot the issue.
One helpful tool is the MiniTool Partition Wizard, which can fix various hard disk errors. Run the tool and follow the on-screen instructions to repair any issues.
If these steps don’t resolve the problem, there may be a chance that your hard disk has failed. In this case, you may need to insert a bootable system disk or consider replacing the hard disk. Remember to back up any important data before proceeding with these approaches.
Perform Automatic Repair or Startup Repair
Performing Automatic Repair or Startup Repair can help resolve the “No Boot Disk Detected” or “Disk Failed” issue on your computer. Here are 7 easy solutions to try:
1. Begin by restarting your computer and pressing the appropriate key to enter the boot menu. This key varies based on your PC’s make and model.
2. In the boot menu, select the “Automatic Repair” or “Startup Repair” option. This will initiate a scan and attempt to fix any boot-related issues.
3. If the automatic repair doesn’t work, try changing the boot order in your computer’s BIOS settings. Set the hard disk as the first boot option.
4. Ensure that all hard disk connections are secure. Check the cables and reseat them if necessary.
5. If none of the above methods work, try booting from a Windows installation disk or USB drive. Follow the on-screen instructions to repair your system.
6. Another approach is to check the boot information on your hard disk. Use the command prompt to rebuild the boot configuration data.
7. If you still encounter the “No Boot Disk Detected” or “Disk Failed” error, it may indicate a hard disk failure. In this case, backup your data and consider replacing the hard disk.
Remember to consult the specific instructions for your operating system and device if needed.
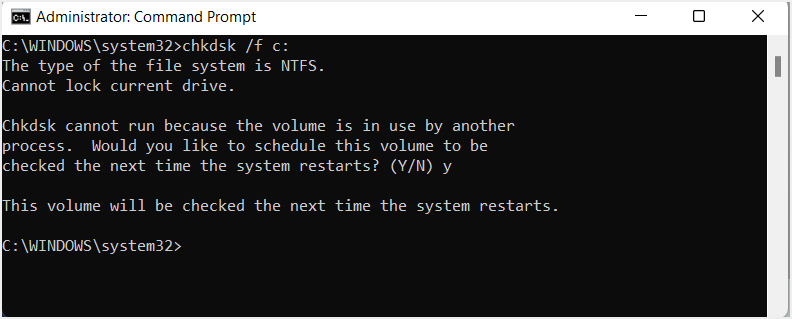
Run CHKDSK and SFC Scans
- Open Command Prompt as an administrator by right-clicking on the Start button and selecting Command Prompt (Admin).
- Type chkdsk C: and press Enter to initiate a disk check on the C: drive. Replace C: with the appropriate drive letter if necessary.
- If prompted to run the scan at the next system restart, type Y and press Enter.
- Restart your computer and let the CHKDSK scan run. This may take some time depending on the size of your disk.
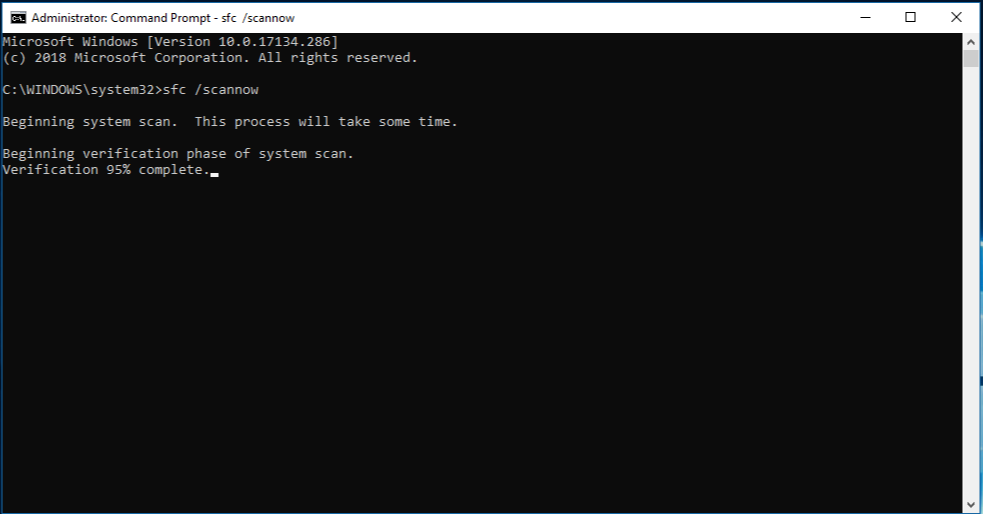
- After the CHKDSK scan is complete, open Command Prompt as an administrator again.
- Type sfc /scannow and press Enter to initiate a System File Checker (SFC) scan.
- Wait for the scan to complete. The SFC scan will check for any corrupted system files and attempt to repair them.
- Once the scan is finished, restart your computer and check if the issue has been resolved.
Repair or Rebuild Boot Sector
If your computer is displaying the “No Boot Disk Detected” or “Disk Failed” error message, there are several approaches you can take to resolve this issue.
Step 1: Check the Boot Order
Ensure that your computer’s boot order is correctly set in the BIOS. To do this, restart your computer and access the BIOS settings. Look for the boot order option and prioritize the hard disk where your operating system is installed.
Step 2: Repair Boot Sector
To repair the boot sector, follow these steps:
1. Insert your Windows installation disk or USB.
2. Restart your computer and press any key to boot from the installation media.
3. Select your language preferences and click “Next.”
4. Click “Repair your computer.”
5. Select “Troubleshoot” > “Advanced options” > “Command Prompt.”
6. In the command prompt, type “bootrec /fixboot” and press Enter.
7. Restart your computer.
Step 3: Reinstall Operating System
If the repair doesn’t work, you may need to reinstall your operating system. Follow the on-screen instructions to complete the installation.
By following these steps, chances are you’ll be able to repair or rebuild your boot sector, resolving the “No Boot Disk Detected” or “Disk Failed” error.

Mark Ginter is a tech blogger with a passion for all things gadgets and gizmos. A self-proclaimed "geek", Mark has been blogging about technology for over 15 years. His blog, techquack.com, covers a wide range of topics including new product releases, industry news, and tips and tricks for getting the most out of your devices. If you're looking for someone who can keep you up-to-date with all the latest tech news and developments, then be sure to follow him over at Microsoft.