- If you don’t like the default font, you can easily change it using the Windows PowerShell properties.
- It’s hard to say what could be causing this font problem.
- It is also possible that the font is not available for download.
- To fix the font itself, you may have to download and install it again.
- You can also install other fonts, but make sure that they work with PowerShell before you install them.
Welcome to the world of PowerShell on Windows 10, where customization and consistency go hand in hand. In this article, we delve into the art of customizing and maintaining a consistent font in PowerShell, empowering you to take control of your scripting experience. Let’s embark on this font-tastic journey together!
Customizing Font in PowerShell
To customize the font in PowerShell on Windows 10, follow these steps:
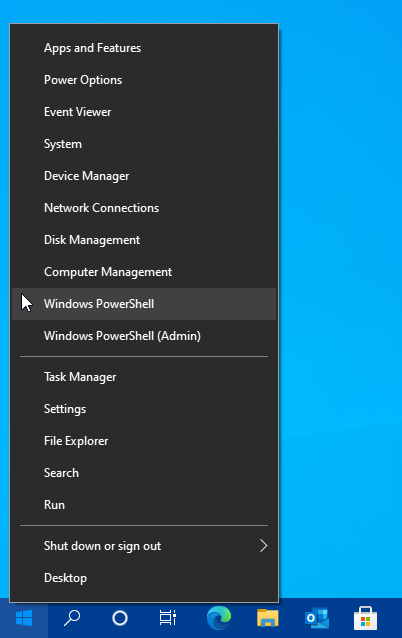
Step 1: Open PowerShell by pressing the Windows key + X and selecting “Windows PowerShell” or “Windows PowerShell (Admin).”
Step 2: Use the Set-ConsoleFont cmdlet to change the font. For example, to change the font to Lucida Console with a font size of 14, enter: Set-ConsoleFont -Font “Lucida Console” -FontSize 14.
Step 3: To make the font changes persistent, create a PowerShell profile. Enter the following command: notepad $PROFILE.
Step 4: In the notepad window, add the following line: Set-ConsoleFont -Font “Lucida Console” -FontSize 14. Save and close the file.
Now, whenever you open PowerShell, the font will be customized to your preference. You can adjust the font and font size according to your needs. Remember to restart PowerShell for the changes to take effect.
Note: If you encounter any problems or want to revert to the default font, you can use the Set-ConsoleFont cmdlet with the default values: Set-ConsoleFont -Font “Lucida Console” -FontSize 16.
Adding and Changing Fonts in PowerShell
To add and change fonts in PowerShell on Windows 10, follow these steps:
Step 1: Open PowerShell by pressing the Windows key and typing “PowerShell.” Press Enter to open it.
Step 2: To change the font, type the following command: _System32_WindowsPowerShell_v1.0_powershell.exe’ New-ItemProperty -Path ‘HKCU:\Console’ -Name ‘FaceName’ -Value ‘Font Name’. Replace “Font Name” with the desired font name.
Step 3: To update the font, type the command: _System32_WindowsPowerShell_v1.0_powershell.exe’ Set-Location HKCU:\Console’. Press Enter.
Step 4: Next, type the following command to set the font size: _System32_WindowsPowerShell_v1.0_powershell.exe’ Set-ItemProperty -Path ‘.’ -Name ‘FontSize’ -Value FontSizeValue. Replace “FontSizeValue” with the desired font size.
Step 5: To change the font color, use the command: _System32_WindowsPowerShell_v1.0_powershell.exe’ Set-ItemProperty -Path ‘.’ -Name ‘ColorTableXX’ -Value ColorValue. Replace “XX” with the desired color table number (0-15), and “ColorValue” with the desired text color.
Adjusting Font Face and Size in PowerShell
To adjust the font face and size in PowerShell on Windows 10, follow these steps:
1. Open PowerShell by searching for “PowerShell” in the Windows search bar and clicking on the app.
2. To change the font face, use the following command: Set-ConsoleFont -Font [Font Name]. Replace [Font Name] with the desired font. For example, to use the “Consolas” font, type Set-ConsoleFont -Font Consolas.
3. To change the font size, use the following command: Set-ConsoleFont -Size [Font Size]. Replace [Font Size] with the desired font size. For example, to set the font size to 14, type Set-ConsoleFont -Size 14.
4. You can also change the font and size in the PowerShell profile file. Open PowerShell and run the command notepad $PROFILE. Add the desired font and size commands to the file, save it, and restart PowerShell for the changes to take effect.
Power Shell Font Customization Tips and Tricks
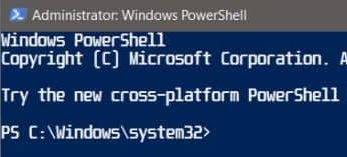
- Step 1: Open the Power Shell application.
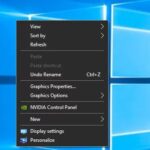
- Step 2: Access the “Properties” window by right-clicking on the Power Shell title bar.
- Sub-Step 2.1: Right-click on an empty space within the Power Shell title bar.
- Sub-Step 2.2: Select the “Properties” option from the context menu.
- Step 3: Navigate to the “Font” tab in the “Properties” window.
- Sub-Step 3.1: Click on the “Font” tab located at the top of the window.
- Step 4: Choose a desired font type and size for Power Shell.
- Sub-Step 4.1: Select a font type from the “Font” dropdown menu.
- Sub-Step 4.2: Specify the font size in the “Size” field.
- Step 5: Enable font anti-aliasing for smoother text rendering.
- Sub-Step 5.1: Check the “Smooth edges of screen fonts” checkbox.
- Step 6: Adjust other font settings if desired.
- Sub-Step 6.1: Explore additional options such as font style, font weight, and script.
- Step 7: Apply the font customization changes.
- Sub-Step 7.1: Click on the “OK” button to save the changes and close the “Properties” window.

Mark Ginter is a tech blogger with a passion for all things gadgets and gizmos. A self-proclaimed "geek", Mark has been blogging about technology for over 15 years. His blog, techquack.com, covers a wide range of topics including new product releases, industry news, and tips and tricks for getting the most out of your devices. If you're looking for someone who can keep you up-to-date with all the latest tech news and developments, then be sure to follow him over at Microsoft.