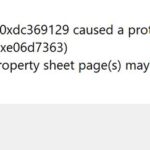
- In this tutorial, we’ll go over the steps to fix the Minecraft `Failed to Write Core Dump’ error on Windows 10.
- In this guide, we will list the different solutions to this error.
- There is no universal solution for this error; different methods may work for different users.
- The problem is likely caused by a faulty or outdated video card driver that is not compatible with the version of Minecraft you’re using.
Unraveling the enigmatic realm of Minecraft, an unexpected bug has emerged, causing distress as it fails to produce a core dump. In this article, we delve into the intricacies of this issue, uncovering potential solutions and providing insights into the realm of digital troubleshooting.
Updating Graphics Card Drivers for Minecraft Performance Improvement
To fix the Minecraft “Failed to Write Core Dump” error and improve performance, updating your graphics card drivers is crucial. Follow these steps to ensure a smooth process:
1. Determine your graphics card: First, identify the make and model of your graphics card. You can find this information in the Device Manager on Windows or by checking the documentation of your computer.
2. Visit the manufacturer’s website: Go to the website of your graphics card manufacturer, such as Intel or NVIDIA, and navigate to their support or driver download section.
3. Download the latest drivers: Locate the drivers for your specific graphics card model and download the latest version for your operating system (e.g., Windows 10).
4. Install the drivers: Once the download is complete, run the installer and follow the on-screen instructions to install the updated drivers.
5. Restart your computer: After the installation is finished, restart your computer to apply the changes.
Updating your graphics card drivers can help resolve issues related to Minecraft crashes and improve overall performance. Remember to regularly check for driver updates to ensure optimal gaming experience.
Optimizing Graphics Settings for Minecraft on NVidia GPUs
- Introduction: Understanding the importance of optimizing graphics settings for an enhanced Minecraft experience on NVidia GPUs.
- Update NVidia Graphics Drivers to the latest version.
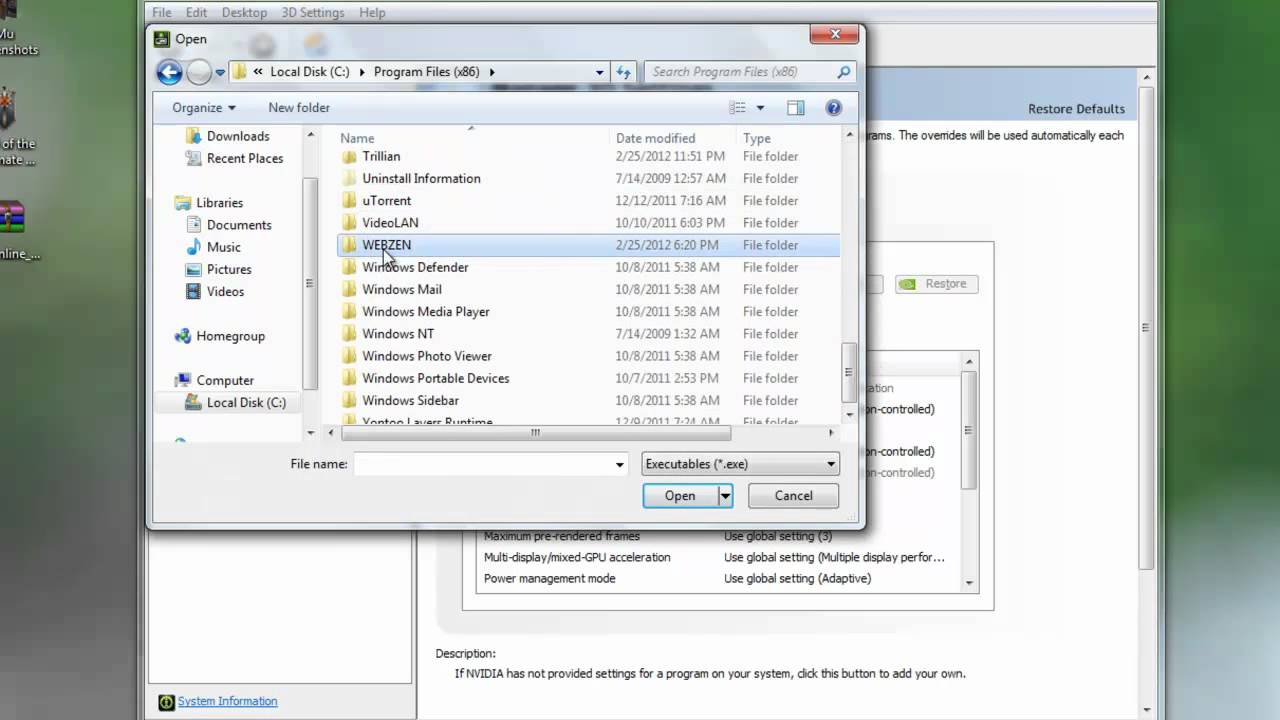
- Access NVidia Control Panel by right-clicking on the desktop and selecting “NVidia Control Panel.”
- Adjust Minecraft-specific graphics settings:
- Enable “Threaded Optimization” to improve CPU utilization.
- Disable VSync to eliminate input lag and increase frame rate.
- Set “Power Management Mode” to “Prefer Maximum Performance” for consistent GPU performance.
- Enable “Triple Buffering” to reduce screen tearing.
- Set “Texture Filtering – Quality” to “High Performance” for better texture rendering.
- Disable “Antialiasing – FXAA” for font clarity.
- Enable “Threaded Optimization” to improve CPU utilization.
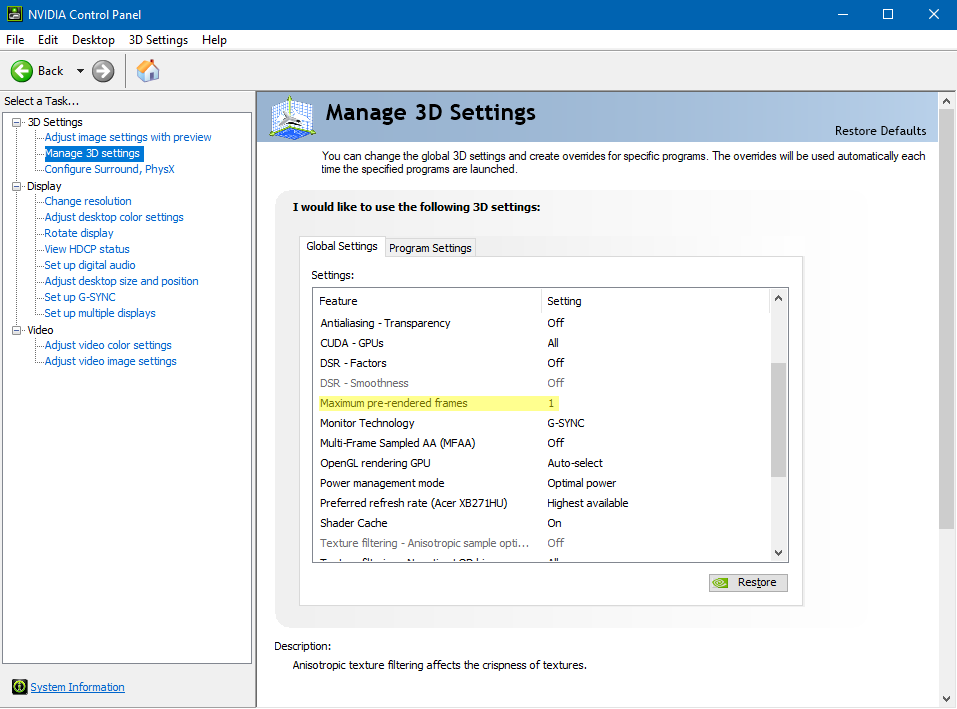
- Adjust global graphics settings:
- Set “Maximum Pre-rendered Frames” to “1” for reduced input lag.
- Enable “Multi-Frame Sampled AA (MFAA)” for improved image quality.
- Enable “CUDA – GPUs” to utilize NVidia GPUs for processing.
- Disable “Vertical Sync” for smoother gameplay.
- Set “Power Management Mode” to “Prefer Maximum Performance” for optimal GPU performance.
- Adjust “Texture Filtering – Anisotropic Sample Optimization” to enhance texture detail.
- Apply and save changes within the NVidia Control Panel.
- Launch Minecraft and access the “Options” menu.
- In the “Video Settings” menu, adjust the following options:
- Set “Graphics” to “Fancy” for higher quality visuals.
- Adjust “Render Distance” to a comfortable level based on your system’s capabilities.
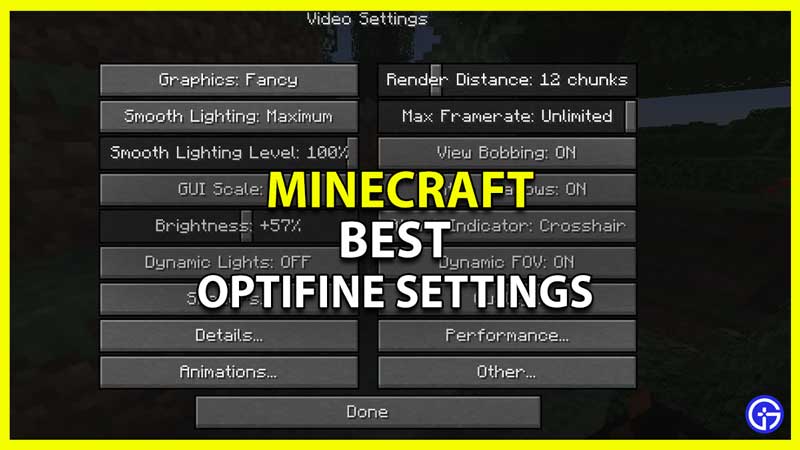
- Disable “Clouds” for improved performance.
- Toggle “Smooth Lighting” based on personal preference and system performance.
- Enable “Use VBOs” to improve rendering performance.
- Adjust “Entity Shadows” based on personal preference and system performance.
- Save the changes and exit the options menu.
- Conclusion: By optimizing graphics settings on NVidia GPUs, players can enjoy a smoother and visually appealing Minecraft experience.
Enabling Manual Creation of Dump Files for Minecraft Troubleshooting
To manually create dump files for troubleshooting Minecraft issues, follow these steps:
1. Open the Minecraft launcher and navigate to the “Launch options” tab.
2. Locate the profile you are using and click on the three dots next to it.
3. Select “Edit” from the dropdown menu.
4. In the “JVM arguments” field, add the following line: -XX:+CreateCoredumpOnCrash.
5. Click “Save” to apply the changes.
6. Launch Minecraft and reproduce the issue you are experiencing.
7. If the game crashes, a dialog box will appear with a dump error.
8. Click on “Save” to save the dump file to your computer.
9. Make sure to include this dump file when posting a bug report or seeking assistance from the Minecraft community.
By enabling minidumps, you can provide important information about the error to help diagnose and resolve the issue. Remember to always keep your graphics card drivers and Java runtime up to date to prevent potential conflicts.
Reinstalling AMD Catalyst Utility for Minecraft Bug Fixes
To reinstall the AMD Catalyst Utility for Minecraft bug fixes and resolve the “Minecraft Failed to Write Core Dump” error, follow these steps:
1. Open the Start menu and search for “Device Manager.”
2. Click on “Device Manager” to open it.
3. Expand the “Display adapters” category.
4. Right-click on your AMD graphics card driver and select “Uninstall device.”
5. In the confirmation dialog box, check the box that says “Delete the driver software for this device” and click “Uninstall.”
6. Restart your computer.
7. After restarting, open your web browser and search for the latest AMD graphics card driver.
8. Download and install the driver for your specific graphics card and version of Windows.
9. Restart your computer again.
10. Launch Minecraft and check if the “Failed to Write Core Dump” error still occurs.
By reinstalling the AMD Catalyst Utility, you can successfully fix the Minecraft bug and eliminate the core dump error.
Exploring Different JDK Versions for Minecraft Compatibility
To fix the issue of Minecraft failing to write core dump, you can try exploring different JDK versions for compatibility. First, ensure that minidumps are enabled on your system, as they are not enabled by default. To enable minidumps, follow these steps:
1. Open the Start menu and search for “View advanced system settings.”
2. Click on “View advanced system settings” and go to the “Advanced” tab.
3. Under the “Startup and Recovery” section, click on the “Settings” button.
4. In the “Write debugging information” dropdown, select “Small memory dump (256 KB)” and click “OK.”
Next, you can try using a different JDK version for Minecraft. Start by downloading the desired JDK version from the official Java website. Once downloaded, install the JDK and set it as the default Java runtime on your system. This can usually be done through the Java Control Panel or by modifying the system’s PATH environment variable.
By exploring different JDK versions and enabling minidumps, you can increase the chances of fixing the “Minecraft failed to write core dump” issue and enjoy a smoother gaming experience.
Configuring Core Dumps for Minecraft Debugging and Analysis
Configuring Core Dumps for Minecraft Debugging and Analysis
| Configuration Step | Description |
|---|---|
| Step 1 | Open the Minecraft launcher and go to the “Installations” tab. |
| Step 2 | Select the Minecraft version you want to configure core dumps for. |
| Step 3 | Click on the “More Options” button for the selected version. |
| Step 4 | In the JVM Arguments field, add the following line: |
-XX:+UnlockExperimentalVMOptions -XX:+UseCGroupMemoryLimitForHeap -XX:MaxRAMFraction=1 -XX:HeapDumpPath=/path/to/coredump |
|
| Step 5 | Replace /path/to/coredump with the desired location where core dumps will be saved. |
| Step 6 | Save the changes and launch Minecraft. |
| Step 7 | If Minecraft encounters a crash, a core dump file will be generated in the specified location. |
| Step 8 | Use tools like Java Flight Recorder (JFR) or other debugging tools to analyze the core dump and identify the issue. |

Mark Ginter is a tech blogger with a passion for all things gadgets and gizmos. A self-proclaimed "geek", Mark has been blogging about technology for over 15 years. His blog, techquack.com, covers a wide range of topics including new product releases, industry news, and tips and tricks for getting the most out of your devices. If you're looking for someone who can keep you up-to-date with all the latest tech news and developments, then be sure to follow him over at Microsoft.