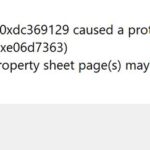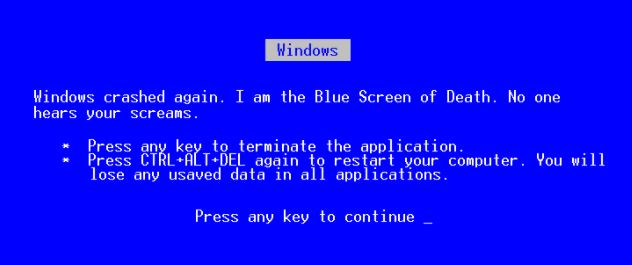
- There are several blue screen errors like 0x80070017 error, hal.dll BSOD error, and one of them is amifldrv64.sys.
- The blue screen error can be caused by conflicts between the two third-party drivers.
- We offer solutions to these possible problems: fix the problem with the built-in diagnostic tool that is present in Windows 7, Windows 8.1, and Windows 10.disable Driver Verifier.
Unraveling the Mysteries: Troubleshooting the Amifldrv64.sys BSOD Error During BIOS Updates
Troubleshooting Methods for amifldrv64.sys BSOD Error
To troubleshoot the amifldrv64.sys BSOD error when updating your BIOS, follow these steps:
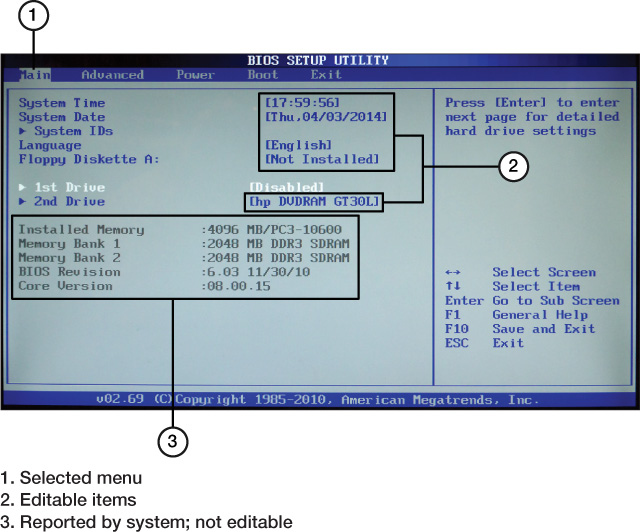
1. Access the BIOS on your PC by restarting it and pressing the designated key (often F2 or Delete) during startup.
2. Make sure you have the necessary permission to update the BIOS. Some systems require administrator rights.
3. Check for any conflicting drivers or utilities that may be causing the error. Uninstall or disable them if necessary.
4. Use the Driver Verifier tool to identify any problematic drivers. Run the utility and follow its instructions.
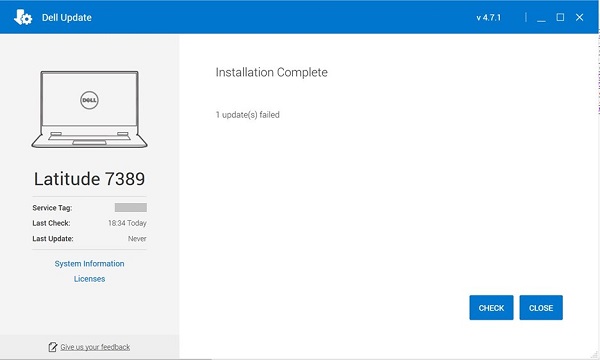
5. If the error persists, consider downloading the latest BIOS version from the manufacturer’s website. Follow their instructions for flashing the BIOS.
Remember to back up your important files before proceeding. It’s also a good idea to consult online resources and forums for further guidance.
Resolving Conflict and Causes of amifldrv64.sys Error
To resolve the amifldrv64.sys error when updating your BIOS, follow these steps:
1. Access the BIOS update utility provided by your manufacturer. Make sure you have the correct version for your PC.
2. Create a backup of your important files and documents before proceeding.
3. Disable any security software or firewall that may interfere with the flashing process.
4. Download the BIOS update file from the manufacturer’s website.
5. Copy the downloaded file to a flash drive or USB device.
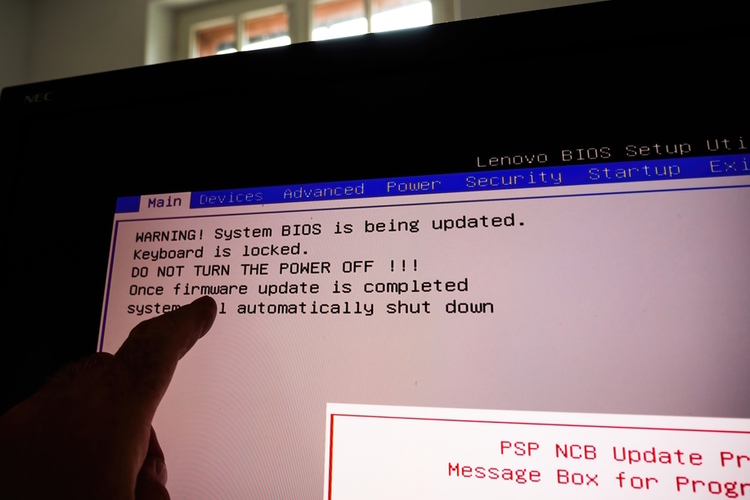
6. Restart your PC and enter the BIOS setup by pressing the designated key during startup.
7. Locate the BIOS update section and select the option to update from a file.
8. Choose the file you copied to the flash drive and start the flashing process.
9. Follow the on-screen instructions to complete the update.
Solutions to Fix amifldrv64.sys BSOD Error
- Open a web browser and go to the official website of your computer’s manufacturer.
- Navigate to the support or downloads section of the website.

- Enter your computer’s model number or serial number to find the correct BIOS update for your system.
- Download the latest BIOS update file to your computer.
- Locate the downloaded file and double-click on it to begin the installation process.
- Follow the on-screen instructions provided by the BIOS update utility.
- Restart your computer after the BIOS update is complete.
Method 2: Use a BIOS Update Utility
- Visit the website of the BIOS update utility provider.
- Download the appropriate BIOS update utility for your computer model.
- Run the downloaded utility and follow the on-screen instructions.
- Let the utility automatically download and install the latest BIOS update for your system.
- Restart your computer once the BIOS update is finished.
Method 3: Reset BIOS Settings to Default
- Shut down your computer completely.
- Unplug the power cable from your computer.
- Open the computer case to access the motherboard.
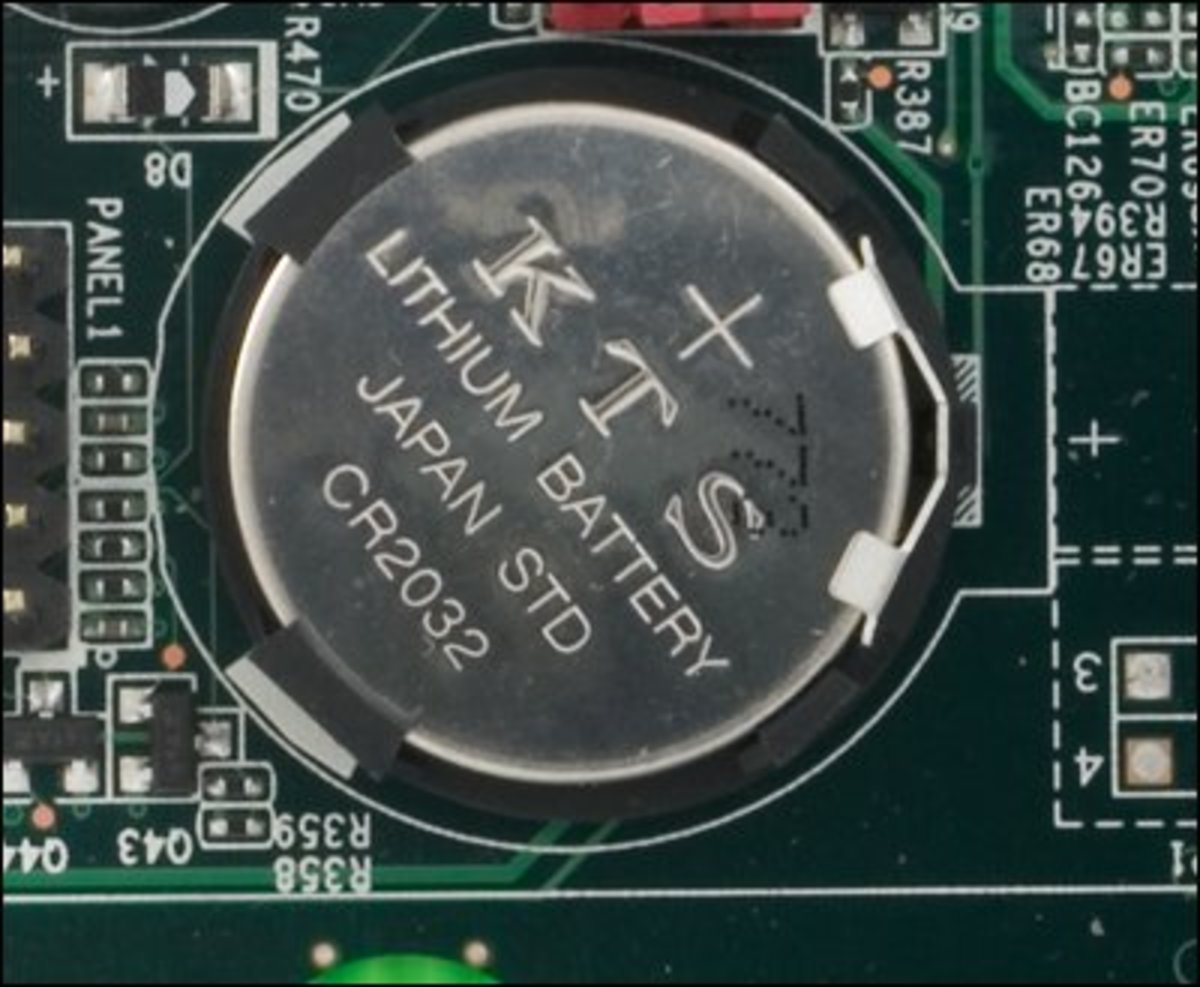
- Locate the CMOS battery on the motherboard.
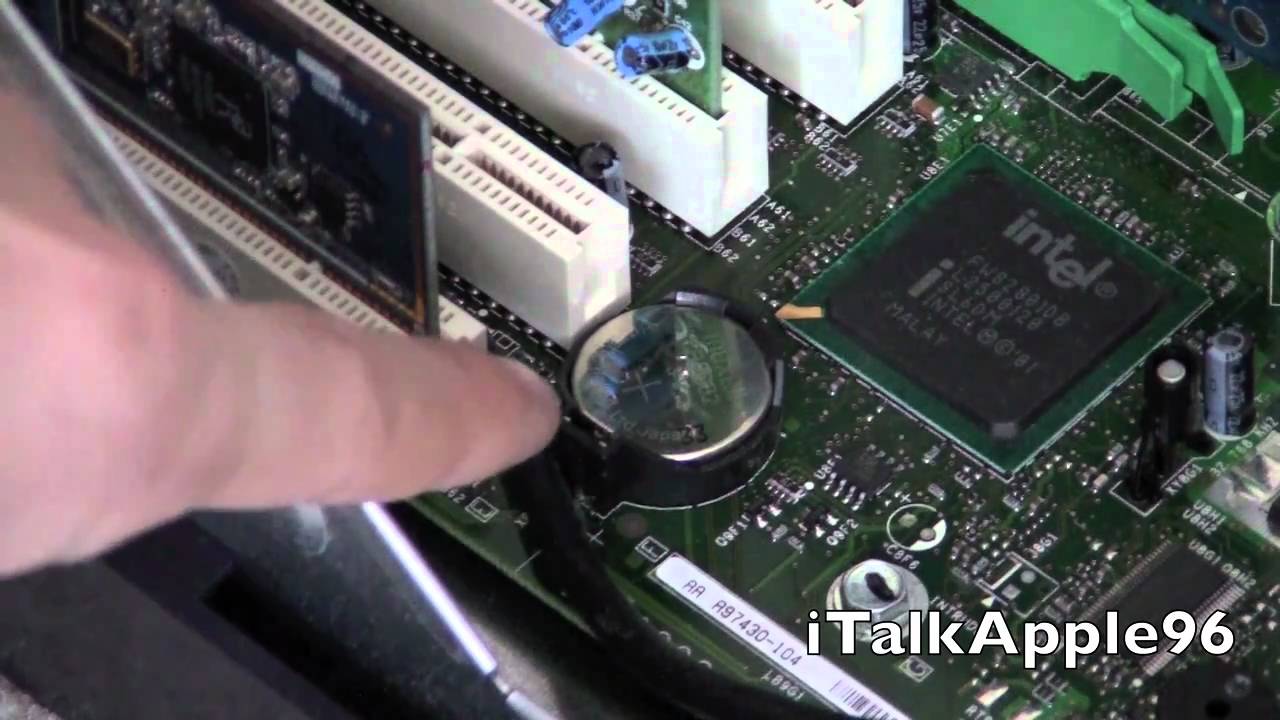
- Remove the CMOS battery carefully.
- Wait for approximately 5 minutes to discharge any remaining power from the motherboard.
- Reinsert the CMOS battery back into its socket.
- Close the computer case.
- Plug the power cable back into your computer.
- Start your computer and enter the BIOS setup by pressing the designated key (usually displayed on the screen during startup).
- Within the BIOS setup, find the option to restore or load default settings.
- Save the changes and exit the BIOS setup.
Steps to Resolve amifldrv64.sys Error
1. Restart your computer and enter the BIOS settings by pressing the designated key during startup (usually F2 or Del).
2. Locate the option to update your BIOS and download the latest version from the manufacturer’s website.
3. Before updating, ensure that you have the necessary permissions and that there are no conflicting applications or scripts running in the background.
4. Use a reliable tool like Driver Verifier to scan for any driver-related issues that may be causing the error.
5. Install the downloaded BIOS update and follow the on-screen instructions carefully.
6. After the update is complete, restart your computer and check if the amifldrv64.sys error persists.
7. If the error still occurs, try performing a clean boot by disabling all non-essential startup programs and services.
8. Finally, if all else fails, seek assistance from a professional technician or contact the manufacturer’s support for further guidance.
Remember to back up important data before making any changes to your BIOS or system settings.

Mark Ginter is a tech blogger with a passion for all things gadgets and gizmos. A self-proclaimed "geek", Mark has been blogging about technology for over 15 years. His blog, techquack.com, covers a wide range of topics including new product releases, industry news, and tips and tricks for getting the most out of your devices. If you're looking for someone who can keep you up-to-date with all the latest tech news and developments, then be sure to follow him over at Microsoft.