- There are four solutions to solve the freezing of the Start menu freeze in Windows 10.
- The exact cause of this problem varies for different combinations of PC environments, but there are solutions to help you solve the problem.
- Some of them are simple, while others are more complicated.
- You can try the following four solutions, which range from simply closing programs to using Microsoft`s Windows multimedia creation tool.
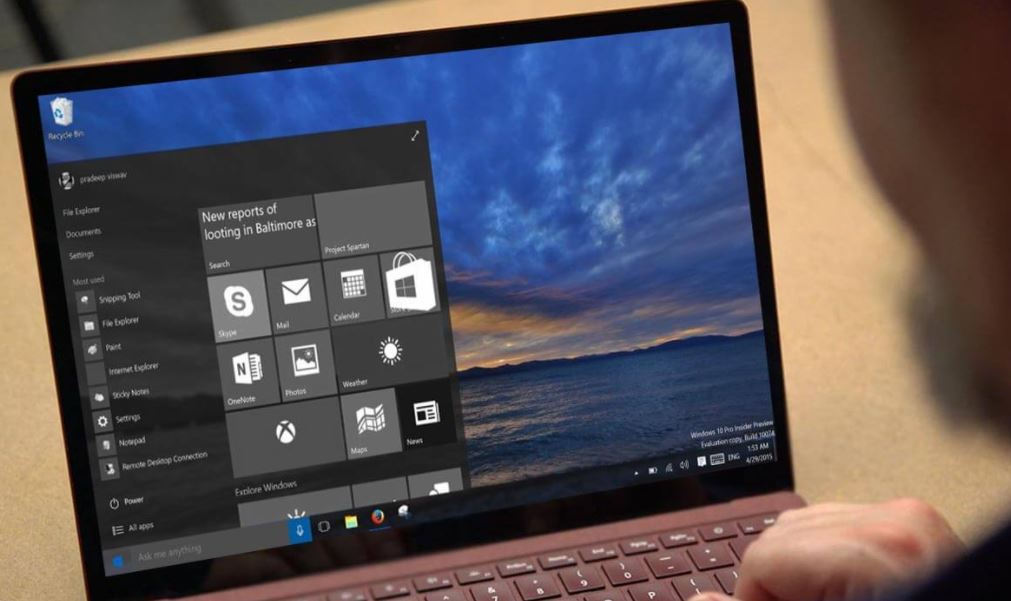
Unlock the potential of your Windows 10 Start Menu with these effective troubleshooting techniques. Discover the solutions to address the frustrating issue of a grayed out or unresponsive Start Menu, and regain seamless access to your favorite apps and features.
Privacy & Transparency
At Microsoft, we prioritize your privacy and believe in being transparent about our practices. When it comes to fixing grayed out and unresponsive Windows 10 Start Menu, we understand the importance of safeguarding your personal data.
To address this issue, we recommend following these steps:
1. Update Windows 10: Make sure your operating system is up to date by going to Settings > Update & Security > Windows Update. Install any available updates.
2. Reset Start Menu: If the issue persists, try resetting the Start Menu by right-clicking on the Taskbar, selecting Taskbar Settings, and then clicking on the “Reset” button under the “Reset the Start menu layout” section.
3. Check for App Updates: Update your apps from the Microsoft Store to ensure compatibility with the Start Menu.
4. Customize Taskbar: If the Start Menu is still unresponsive, you can customize the Taskbar by right-clicking on it, selecting Taskbar Settings, and adjusting options like accent color, taskbar color, and pinned icons.
If the problem continues, we recommend reaching out to our support team or visiting our website for further assistance. We are committed to providing a seamless and secure experience on Windows 10.
Why Are Some Desktop Elements Grayed Out or Inaccessible?
Some desktop elements in Windows 10 may appear grayed out or inaccessible. This can be frustrating, but there are a few potential solutions to fix this issue.
First, try restarting your PC. This can help resolve temporary glitches that may be causing the problem.
If that doesn’t work, you can try resetting the Windows 10 Start Menu. To do this, right-click on the Start button and select “Task Manager.” In the Task Manager window, find and select “Windows Explorer” under the “Processes” tab. Then, click on the “Restart” button in the bottom-right corner.
If the issue persists, you can try resetting the Windows 10 Start Menu using PowerShell. To do this, right-click on the Start button and select “Windows PowerShell (Admin).” In the PowerShell window, type the following command and press Enter:
Get-AppxPackage Microsoft.Windows.ShellExperienceHost | Foreach {Add-AppxPackage -DisableDevelopmentMode -Register “$($_.InstallLocation)\AppXManifest.xml” -verbose}
This command will help re-register the Start Menu app and potentially fix the grayed out or inaccessible elements.
If none of these solutions work, you may need to consider updating Windows 10 or contacting Microsoft support for further assistance.
How to Fix Grayed Out Elements on Desktop
To fix grayed out elements on your desktop in Windows 10, follow these steps:
1. Right-click on the grayed out element and select Properties.
2. In the Properties window, go to the General tab and check if the Read-only box is selected. If it is, uncheck it and click Apply.
3. If the element is still grayed out, right-click on it again and select Properties.
4. This time, go to the Security tab and click on Edit.
5. In the Permissions window, make sure your account has Full control over the element. If not, click on your account, select Full control, and click Apply.
6. If the above steps don’t resolve the issue, try restarting your computer and checking for any pending Windows updates. To do this, click on the Start button, go to Settings, and select Update & Security.
7. Lastly, if the grayed out element is a pinned shortcut on your taskbar, you can try unpinning it and then pinning it again to see if that solves the problem.
These steps should help you fix grayed out elements on your desktop and restore their functionality.
python

import tkinter as tk
def create_gui():
root = tk.Tk()
root.title("Grayed Out Start Menu")
# Create a label with text
label = tk.Label(root, text="Grayed Out Start Menu")
label.pack()
# Create a button to exit the program
button = tk.Button(root, text="Exit", command=root.destroy)
button.pack()
# Start the GUI event loop
root.mainloop()
# Call the function to create the GUI
create_gui()
This code snippet creates a basic GUI window with a label and an exit button using Python’s tkinter library. Although it does not directly interact with the Windows 10 start menu, it serves as an example of how to create a simple GUI application.
Ways to Fix Windows 10 Start Menu Tiles Greyed Out/Missing
If you’re experiencing grayed out or missing tiles on your Windows 10 Start Menu, there are a few ways to fix this issue.
First, try resetting the Start Menu layout. Right-click on the taskbar and select “Taskbar settings”. Scroll down and click on “Reset” under the “Reset the Start layout” section. This will restore the default layout and may fix the issue.
If that doesn’t work, you can try running the Start Menu troubleshooter. Press the Windows key + I to open the Settings app, then go to “Update & Security” and click on “Troubleshoot” in the left sidebar. Scroll down and click on “Additional troubleshooters”, then select “Windows Start Menu” and click on “Run the troubleshooter”.
If none of these solutions work, you can try creating a new user account and see if the issue persists. To do this, go to “Settings”, then click on “Accounts” and select “Family & other users”. Click on “Add someone else to this PC” and follow the instructions to create a new user account.
Remember to restart your PC after trying each solution to see if the issue has been resolved.

Mark Ginter is a tech blogger with a passion for all things gadgets and gizmos. A self-proclaimed "geek", Mark has been blogging about technology for over 15 years. His blog, techquack.com, covers a wide range of topics including new product releases, industry news, and tips and tricks for getting the most out of your devices. If you're looking for someone who can keep you up-to-date with all the latest tech news and developments, then be sure to follow him over at Microsoft.