- Windows 11 users have experienced significant delays in video playback across all video applications and platforms.
- Video playback is sometimes delayed by 5-10 seconds in all media players and streaming platforms.
- This is an annoying problem, especially if you are trying to watch your favorite show.
- Updated November 2022: This tool will stop these errors and fix common problems: Get it at this link.
- It will scan your computer to find problems.
- The tool will then correct the issues that were discovered.
Introducing our guide to resolving video stuttering and lag on the new Windows 11. Uncover practical tips and tricks to ensure a seamless and uninterrupted video streaming experience on your upgraded operating system.
Troubleshooting Methods for Windows 11 Video Playback Stuttering
-
Update your graphics drivers:
- Open Device Manager by right-clicking on the Start button and selecting it from the menu.
- Expand the Display adapters category.
- Right-click on your graphics card and select Update driver.
- Choose the option to Search automatically for updated driver software.
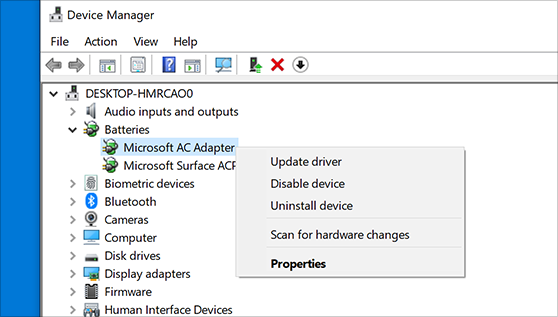
- Follow the on-screen instructions to complete the driver update process.
-
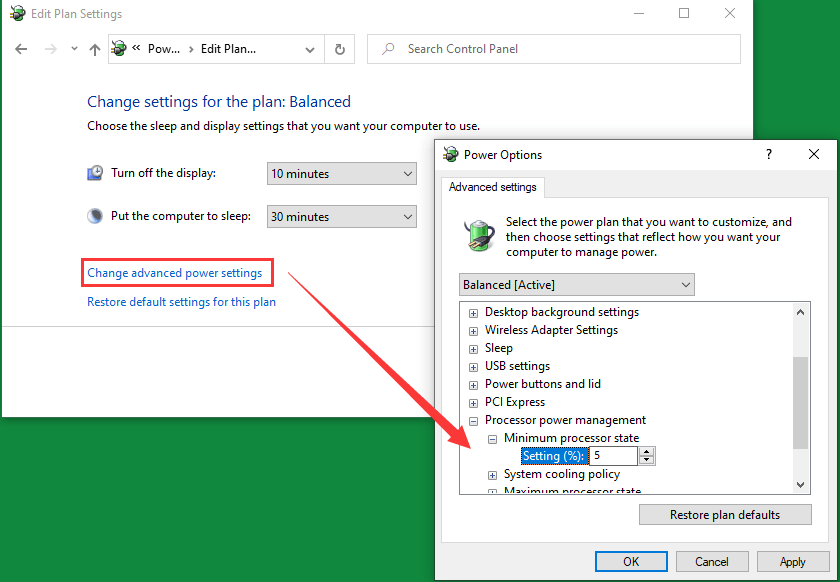
Adjust power settings:
- Open the Power & Sleep settings by pressing Windows key + I to open the Settings app, then click on System and select Power & Sleep.
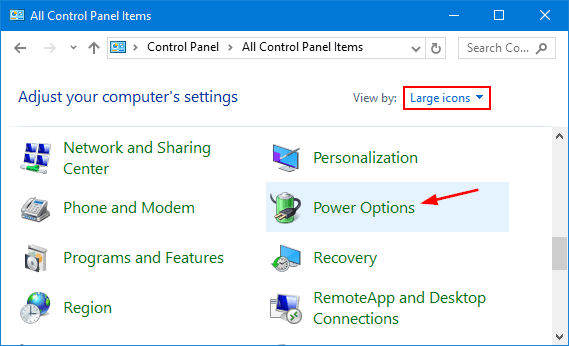
- Click on Additional power settings to open the Power Options window.
- Select the power plan you are currently using and click on Change plan settings.
- Click on Change advanced power settings.
- Expand the Processor power management category and set the Minimum processor state to 100%.
- Click on Apply and then OK to save the changes.
-
Disable hardware acceleration:
- Open the Settings app by pressing Windows key + I.
- Click on System and select Display.
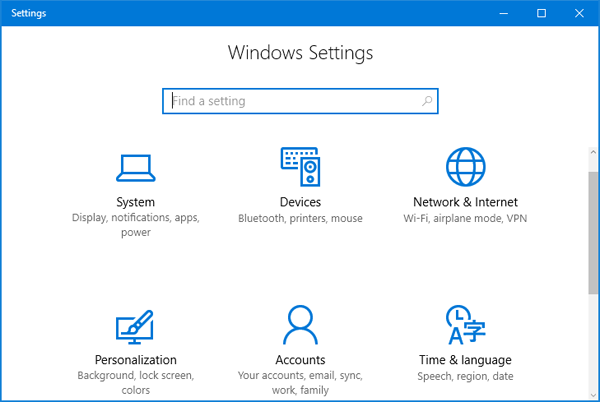
- Scroll down and click on Graphics settings.
- Under the Hardware-accelerated GPU scheduling section, toggle the switch to Off.
-
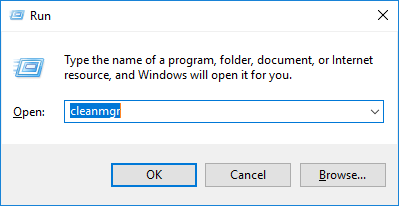
Clear temporary files:
- Press Windows key + R to open the Run dialog box.
- Type %temp% and press Enter.
- Select all the files and folders in the opened folder.
- Press Shift + Delete to permanently delete them.
- Confirm the deletion when prompted.
-
Disable unnecessary startup programs:
- Open Task Manager by pressing Ctrl+Shift+Esc.
- Click on the Startup tab.
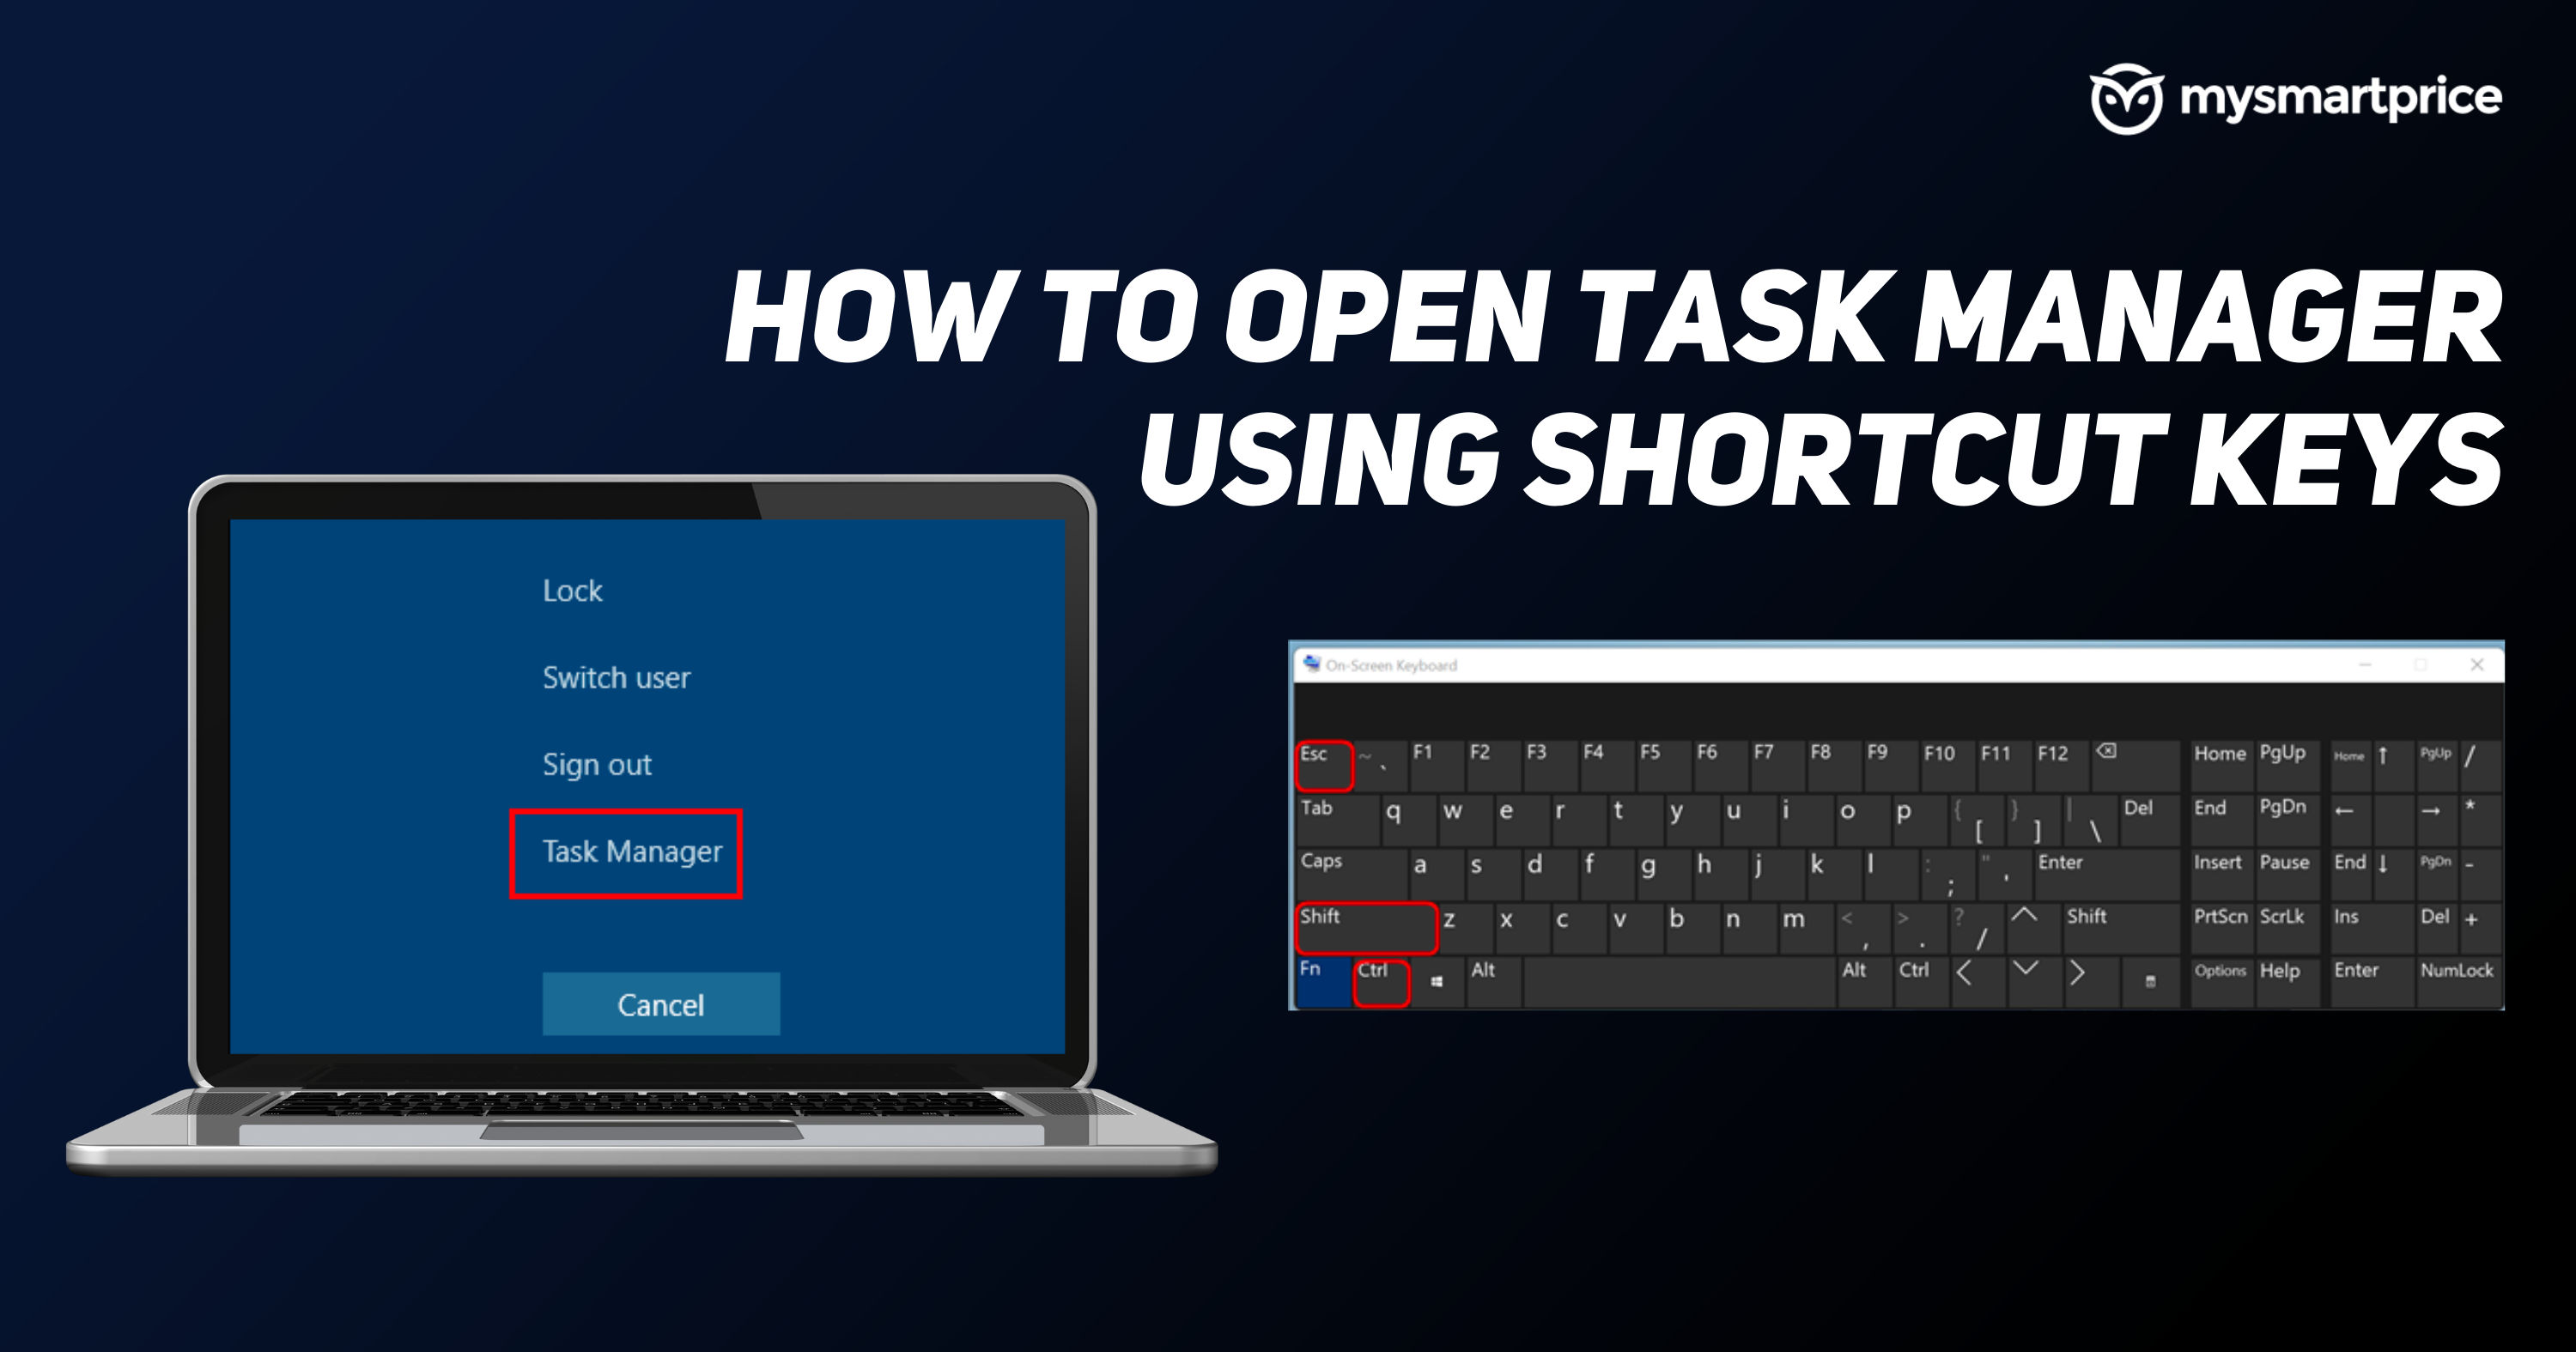
- Select the programs you don’t need to run at startup and click on Disable.
- Restart your computer to apply the changes.
Adjusting Video Playback Settings on Windows 11
Fix Video Stuttering and Lag on Windows 11
Video stuttering and lag can be frustrating while watching movies or playing games on Windows 11. Here are some video playback settings you can adjust to improve the performance and eliminate any stuttering or lag issues.
| Setting | Description |
|---|---|
| Update Graphics Drivers | Make sure you have the latest graphics drivers installed for your graphics card. Outdated drivers can cause compatibility issues and performance problems. |
| Adjust Power Settings | Change your power plan to “High Performance” to ensure that your system is utilizing maximum resources for smooth video playback. |
| Disable Hardware Acceleration | If you experience stuttering in a specific video player or application, try disabling hardware acceleration in its settings. This can offload the video processing from your GPU to the CPU. |
| Clear Temporary Files | Regularly clean up temporary files on your system using tools like Disk Cleanup or third-party software. Accumulated temporary files can slow down your system and impact video playback. |
| Adjust Video Quality Settings | Reduce the video quality settings in your media player or streaming service. Lower resolutions and bitrates can reduce the load on your system and smoothen playback. |
| Close Background Applications | Close any unnecessary applications running in the background to free up system resources. Background processes can consume CPU power and cause video stuttering. |
| Upgrade Hardware Components | If you frequently experience video stuttering despite optimizing software settings, consider upgrading your hardware components such as RAM, CPU, or GPU for better performance. |
Updating Display Drivers to Fix Video Lag on Windows 11
If you’re experiencing video stuttering or lag on Windows 11, updating your display drivers can help resolve the issue. Here’s how to do it:
Step 1: Click on the Start menu and search for “Device Manager”.
Step 2: In the Device Manager window, expand the “Display adapters” section.
Step 3: Right-click on your graphics driver and select “Update driver”.
Step 4: Choose the option to search automatically for updated driver software.
Step 5: Follow the on-screen instructions to complete the driver update process.
After updating the display drivers, restart your computer and check if the video lag issue is resolved. If not, you can try running the Video Playback troubleshooter.
To do this:
Step 1: Go to the Windows Settings by clicking on the Start menu and selecting the gear icon.
Step 2: In the Settings window, click on “Privacy & security”.
Step 3: Select “Troubleshoot” from the left-hand menu.
Step 4: Scroll down and click on “Video Playback” under the “Find and fix other problems” section.
Step 5: Click on “Run troubleshooter” and follow the troubleshooting steps provided.
These troubleshooting methods should help you fix video stuttering and lag on Windows 11.
python

import subprocess
def check_system_requirements():
# Function to check the system requirements for video playback
# You can implement your own logic to check CPU, GPU, and memory requirements
pass
def optimize_video_settings():
# Function to adjust system settings for optimal video playback
# You can update display settings, power options, etc. based on your research
pass
def recommend_hardware_upgrade():
# Function to recommend hardware upgrades if necessary
# You can analyze system specifications and compare with recommended requirements
pass
def main():
check_system_requirements()
optimize_video_settings()
recommend_hardware_upgrade()
print("Video playback optimization completed!")
if __name__ == "__main__":
main()
Please note that this code snippet provides a basic structure for the tool and you would need to implement the actual logic within the functions. Additionally, optimizing video playback performance can be a complex task that requires in-depth knowledge of system specifications, drivers, codecs, and other factors. This code serves as a starting point, and you would need to research and customize it further based on your specific requirements and knowledge.
Resolving Video Lag on Windows 11
If you’re experiencing video lag or stuttering on Windows 11, there are a few steps you can take to resolve the issue.
First, ensure that your graphics driver is up to date. You can do this by visiting the manufacturer’s website and downloading the latest driver for your specific graphics card.
Next, try running the Video Playback troubleshooter. To do this, go to the Settings app and navigate to System > Troubleshoot > Video Playback. This troubleshooter can help identify and resolve common video playback issues.
If the problem persists, you can also try using a different media player. Some media players may be better optimized for certain videos or formats.
Lastly, make sure your Windows 11 is up to date by checking for updates in the Settings app. Microsoft regularly releases updates that address performance issues and bugs.
By following these troubleshooting steps, you should be able to fix video stuttering and enjoy smoother playback on Windows 11.

Mark Ginter is a tech blogger with a passion for all things gadgets and gizmos. A self-proclaimed "geek", Mark has been blogging about technology for over 15 years. His blog, techquack.com, covers a wide range of topics including new product releases, industry news, and tips and tricks for getting the most out of your devices. If you're looking for someone who can keep you up-to-date with all the latest tech news and developments, then be sure to follow him over at Microsoft.