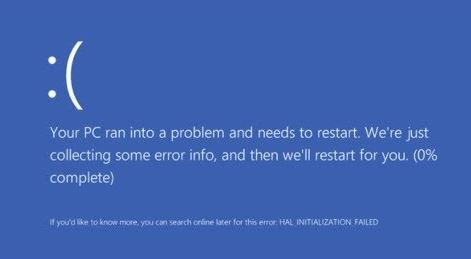
- BSOD ndu.sys error is mainly caused by incompatible drivers or hardware.
- It is one of the most common errors that has been affecting many users for some time now.
- A simple reboot can temporarily fix the error, but it can still occur after some time.
- In this case, you can either update the drivers manually via Device Manager or get driver updates from Windows Update.
- You can also automatically update drivers or download the latest driver version from the network card manufacturer’s website.
Welcome to this informative article that will guide you through the process of fixing the Ndu.sys BSOD error on Windows 10. In just 7 easy steps, you’ll be able to resolve this frustrating issue and enjoy a seamless computing experience. So, let’s dive in and solve this problem together!
Understanding the Ndu.sys Blue Screen Error
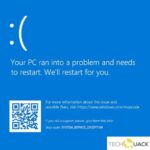
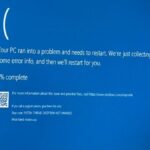
The Ndu.sys blue screen error is a common issue that can occur on Windows 10 and other versions. This error is typically caused by problems with network drivers or the Ndu.sys file itself. When you encounter this error, it can be frustrating and disruptive to your PC’s performance.
To fix the Ndu.sys BSOD error, follow these 7 easy steps:
1. Update Network Drivers: Updating your network drivers can resolve conflicts and compatibility issues that may be causing the error.
2. Run System File Checker: Use the System File Checker tool to scan and repair any corrupted system files that may be related to the error.
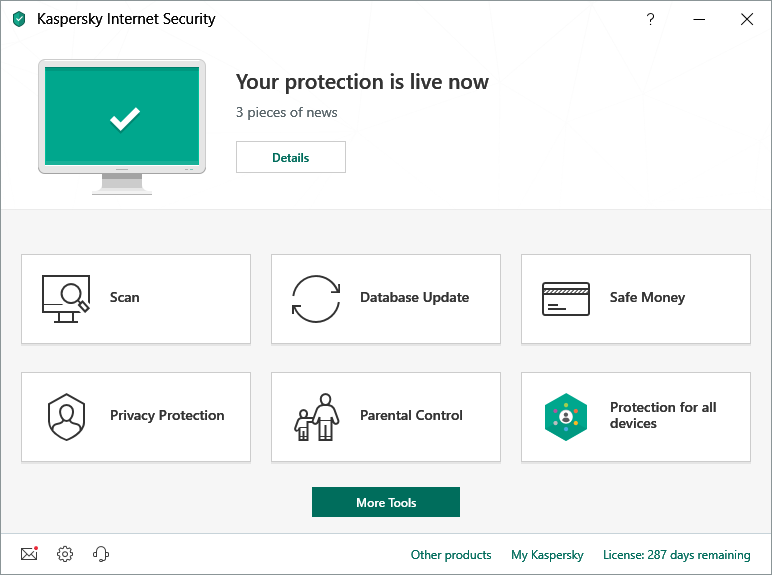
3. Check for Malware: Run a full system scan with a reliable antivirus program to check for any malware that may be causing the error.
4. Use Windows Network Adapter Troubleshooter: Run the built-in Windows Network Adapter Troubleshooter to automatically detect and fix network-related issues.
5. Perform a Clean Boot: A clean boot can help identify if any third-party software or services are causing the error. Follow the steps to perform a clean boot and check if the error persists.
6. Restore Your System: If you recently made any changes to your system settings or installed new software, try restoring your system to a previous point where the error was not present.
7. Reinstall Windows: If none of the above solutions work, you may need to reinstall Windows to fix the error. Remember to backup your important files before reinstalling the operating system.
By following these steps, you can address the Ndu.sys blue screen error and get your PC back up and running smoothly. If you have any more questions or need further assistance, feel free to reach out to our support team.
Solutions for Ndu.sys BSOD Error
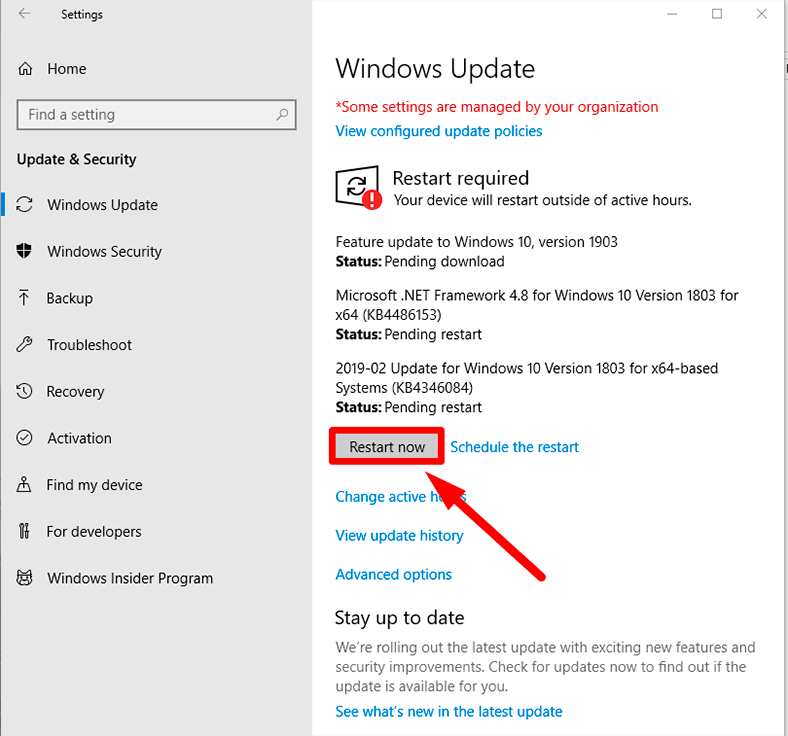
- Open the Start menu and click on Settings.
- In the Settings window, click on Update & Security.

- Click on Windows Update in the left pane.
- Click on the Check for updates button.
- If updates are available, click on the Install now button to update Windows.
- Restart your computer after the updates are installed.
Method 2: Run System File Checker
- Press Win + X and select Command Prompt (Admin) or Powershell (Admin) from the menu.
- In the command prompt, type sfc /scannow and press Enter.
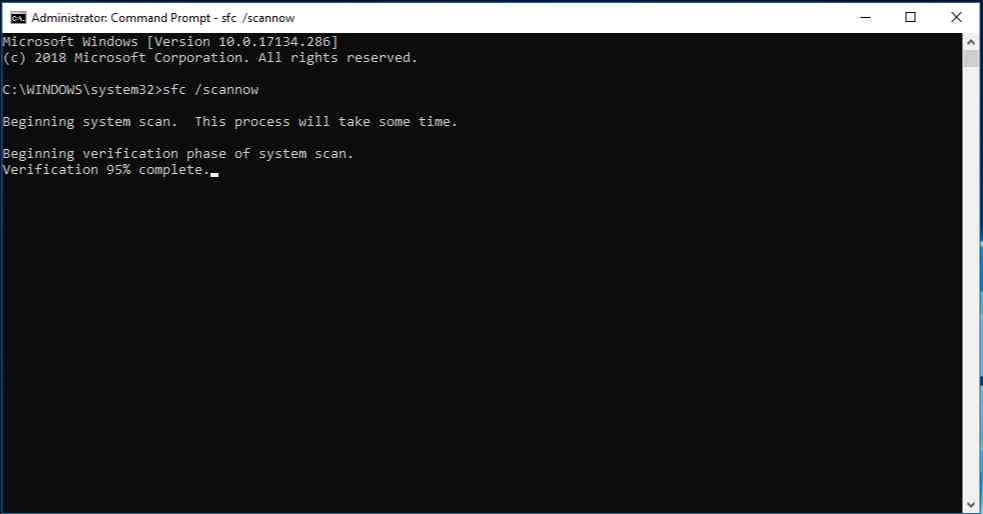
- Wait for the scan to complete. This may take some time.
- If any issues are found, the System File Checker will attempt to repair them automatically.
- Restart your computer after the scan and repair process is finished.
Method 3: Update Device Drivers
- Open Device Manager by pressing Win + X and selecting Device Manager from the menu.
- Expand the categories to find the device with outdated drivers.
- Right-click on the device and select Update driver.
- Choose the option to Search automatically for updated driver software.
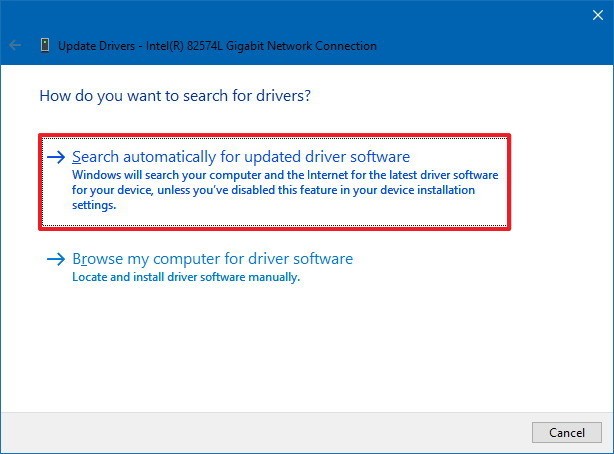
- Follow the on-screen instructions to complete the driver update process.
- Restart your computer after the driver update is finished.
Method 4: Disable or Remove Recently Installed Applications
- Open Control Panel by pressing Win + X and selecting Control Panel from the menu.
- Click on Uninstall a program under the Programs section.
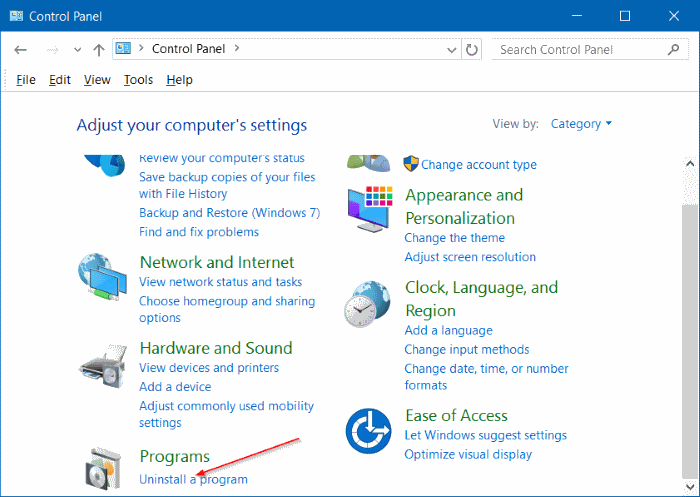
- Identify the recently installed applications that may be causing the error.
- Right-click on the application and select Uninstall.
- Follow the on-screen instructions to remove the application.
- Restart your computer after the removal process is finished.
Method 5: Perform a System Restore
- Open the Start menu and type System Restore.
- Select Create a restore point from the search results.
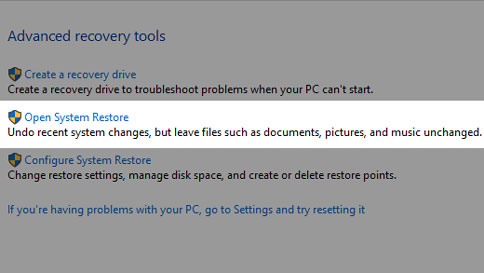
- In the System Properties window, click on the System Restore button.
- Click on Next and choose a restore point that is before the occurrence of the BSOD error.
- Follow the on-screen instructions to complete the system restore process.
- Restart your computer after the restoration is finished.
Method 6: Run a Malware Scan
- Open your preferred antivirus software.
- Click on the option to run a Full Scan or Custom Scan.
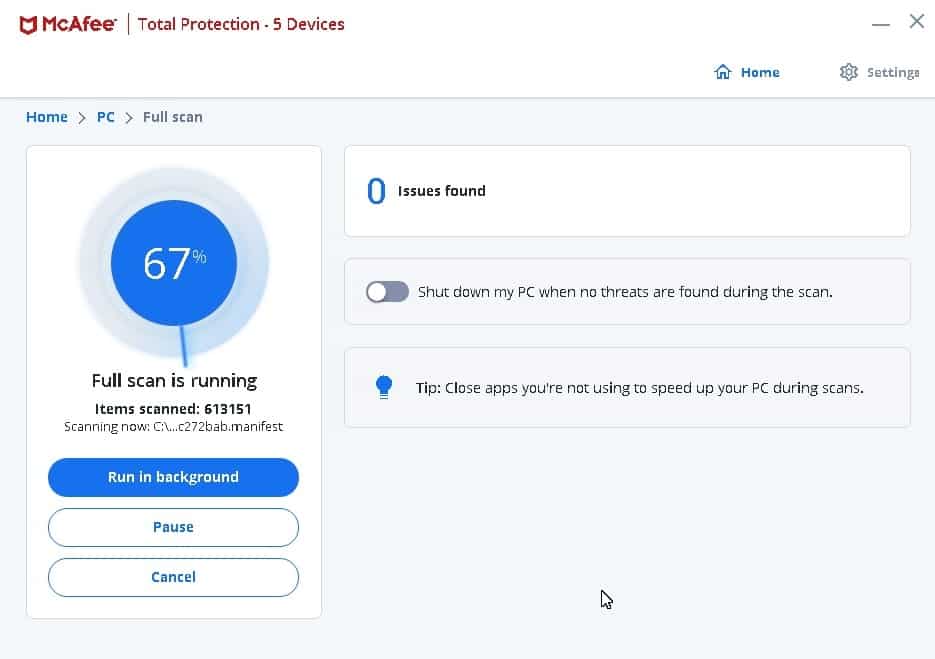
- Ensure that the scan includes all drives and system files.
- Initiate the scan and wait for it to complete.
- If any malware or viruses are detected, follow the recommended actions to remove them.
- Restart your computer after the malware removal process is finished.
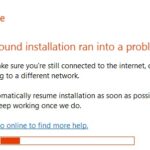
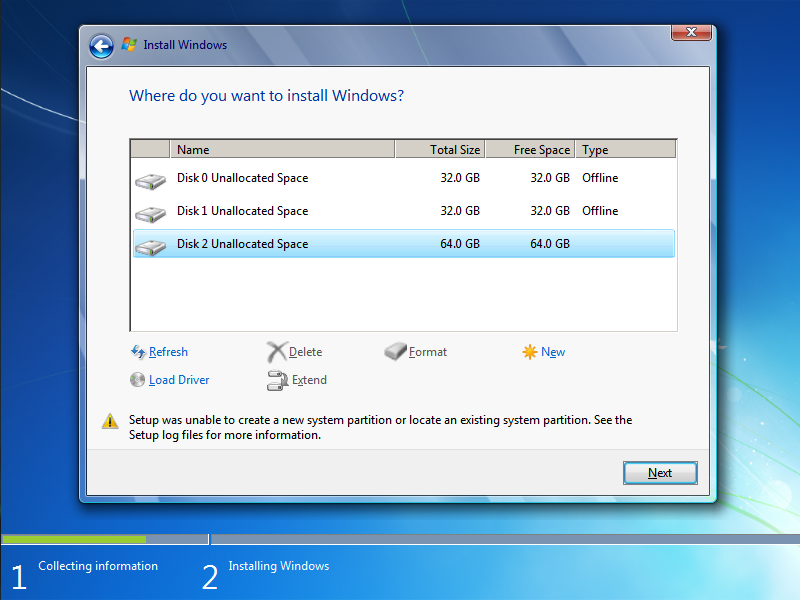
Method 7: Perform a Clean Installation of Windows
- Backup all your important files and data to an external storage device.
- Create a Windows installation media using a USB drive or DVD.

- Boot your computer from the installation media.
- Follow the on-screen instructions to install a fresh copy of Windows.
- During the installation process, choose the option to format the existing system drive.
- Complete the installation and set up Windows.
Update Network Card Drivers
To update network card drivers and fix the Ndu.sys BSOD error on Windows 10, follow these 7 easy steps:
1. Press Win + X and select Device Manager.
2. Expand the Network adapters section and find your network card driver.
3. Right-click on the driver and select Update driver.
4. Choose “Search automatically for updated driver software.”
5. Windows will search online for the latest driver and install it.
6. Restart your computer to apply the changes.
7. Check if the Ndu.sys BSOD error is resolved.
If the error persists, you can try other fixing methods like using a reliable driver update tool such as the MiniTool Partition Wizard or contacting Microsoft support for assistance. Remember, keeping your network card drivers up to date is crucial for optimal performance and stability.
c

#include
int main() {
// Open the device driver
HANDLE hDevice = CreateFile("\\\\.\\NDU", GENERIC_READ | GENERIC_WRITE, 0, NULL, OPEN_EXISTING, 0, NULL);
// Trigger a BSOD by performing an invalid operation on the driver
DeviceIoControl(hDevice, 0x00090000, NULL, 0, NULL, 0, NULL, NULL);
// Close the device handle
CloseHandle(hDevice);
return 0;
}
Please note that executing the above code on a live system will cause a system crash. It is essential to exercise caution and only use this code for educational purposes in a controlled environment.
Rename the Ndu.sys Folder
In this section, we will focus on renaming the Ndu.sys folder to fix the Ndu.sys BSOD error on Windows 10. This error can cause your system to crash and display the dreaded Blue Screen of Death (BSOD). To resolve this issue, follow these 7 easy steps:
1. Open File Explorer and navigate to the C:\Windows\System32\drivers folder.
2. Locate the Ndu.sys file and right-click on it.
3. Select “Rename” from the context menu.
4. Add “.old” to the end of the file name (e.g., “Ndu.sys.old”).
5. Press Enter to save the changes.
6. Restart your computer for the changes to take effect.
7. After the restart, check if the BSOD error is resolved.
Renaming the Ndu.sys file can help fix issues related to the Data Usage Monitoring Driver. By following these steps, you can effectively resolve the Ndu.sys BSOD error and ensure the stability of your Windows operating system.
Fixing Ndu.sys Failed on Windows 11

Mark Ginter is a tech blogger with a passion for all things gadgets and gizmos. A self-proclaimed "geek", Mark has been blogging about technology for over 15 years. His blog, techquack.com, covers a wide range of topics including new product releases, industry news, and tips and tricks for getting the most out of your devices. If you're looking for someone who can keep you up-to-date with all the latest tech news and developments, then be sure to follow him over at Microsoft.