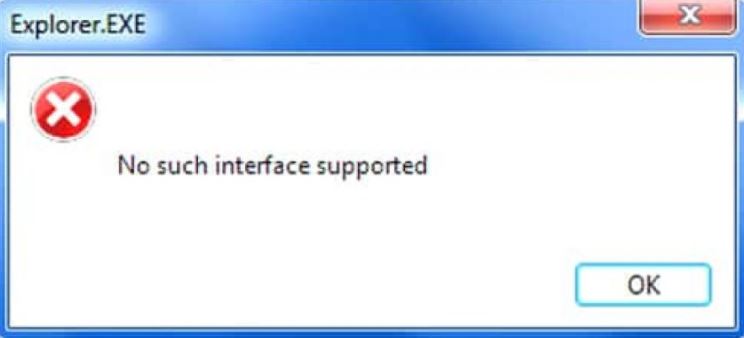
- The “This interface is not supported” error occurs due to corrupted system files that support various tasks on your computer using File Explorer or, in short, the Windows File Explorer process.
- This causes difficulties when viewing files, opening important utilities such as Control Panel, copying data, and many other inconveniences.
Unlock the potential of your Windows 11 experience by bidding farewell to the frustrating “No Such Interface Supported” error. Discover effective solutions to eliminate this pesky obstacle, ensuring smooth sailing through your digital endeavors.
Understanding the “No Such Interface Supported” Error
The “No Such Interface Supported” error is a common issue that Windows 11 users may encounter. This error message typically appears when trying to open a program or access certain features.
To fix this error, there are a few methods you can try:
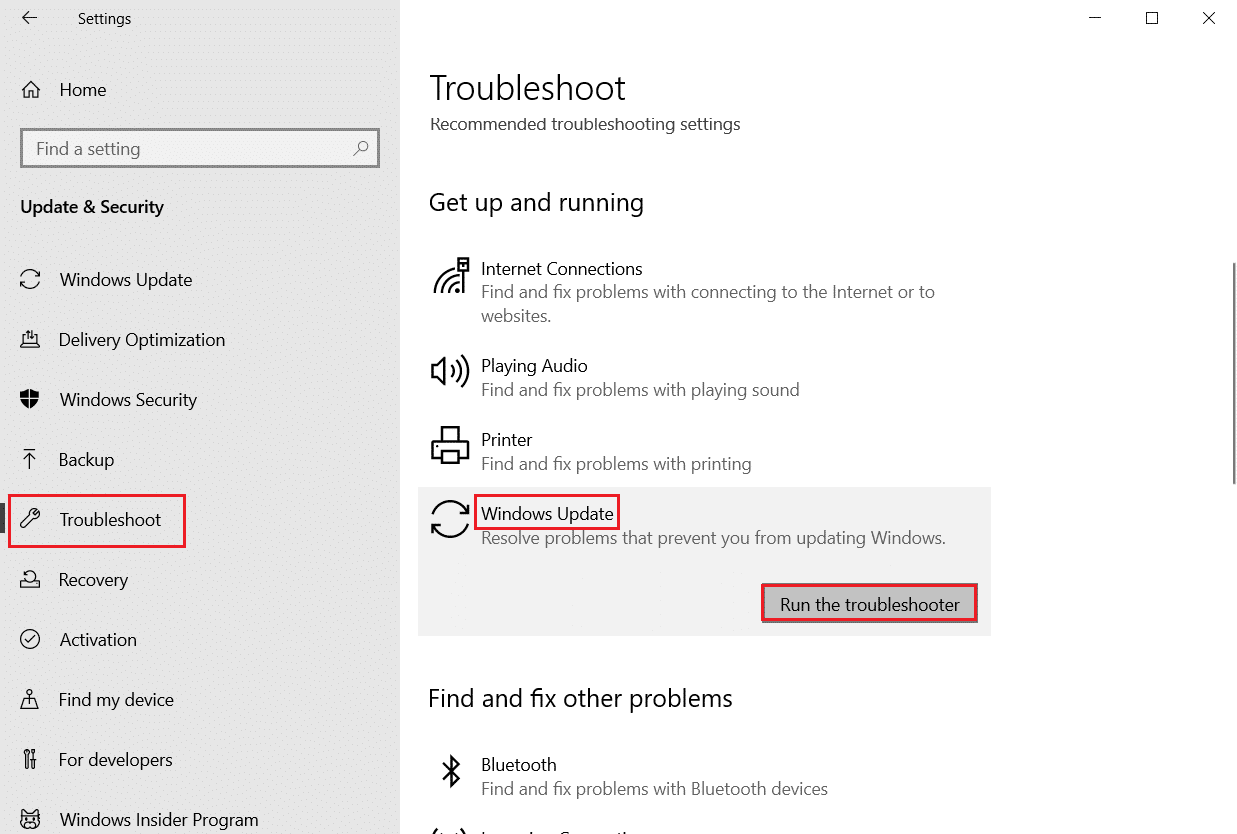
1. Run the Windows Update troubleshooter by following these steps:
– Press the Windows key + R to open the Run dialog box.
– Type “ms-settings:troubleshoot” and press Enter.
– Click on “Additional troubleshooters” and select “Windows Update”.
– Follow the on-screen instructions to complete the troubleshooter.
2. Reset the Windows Explorer settings by using the Command Prompt:
– Press the Windows key + X and select “Command Prompt (Admin)”.
– Type “cd /d %userprofile%\AppData\Local” and press Enter.
– Type “attrib -h IconCache.db” and press Enter.
– Type “del IconCache.db” and press Enter.
– Restart your computer.
3. Reinstall the application causing the error. You can do this by going to the Microsoft Store or the application’s official website and downloading the latest version.
By following these steps, you should be able to resolve the “No Such Interface Supported” error and continue using your Windows 11 computer without any issues.
Methods to Resolve the Error
- Restart your computer: Sometimes a simple restart can resolve the “No Such Interface Supported” error. Restart your Windows 11 system and check if the error persists.
- Update Windows 11: Ensure that you have the latest updates for your operating system. Go to Settings > Windows Update and click on Check for updates to download and install any available updates.
- Run Windows Troubleshooter: Use the built-in Windows Troubleshooter tool to automatically detect and fix any issues related to the “No Such Interface Supported” error. Search for Troubleshoot in the Windows 11 search bar, select Additional troubleshooters, and run the troubleshooter related to the error.
- Disable unnecessary startup programs and services: Certain third-party programs or services may conflict with the interface and cause the error. Use the Task Manager to disable unnecessary startup programs and services. Press Ctrl + Shift + Esc to open Task Manager, go to the Startup tab, and disable any unwanted programs.
- Scan for malware and viruses: Malware or viruses can also lead to interface errors. Run a full system scan using a reliable antivirus software to detect and remove any potential threats.
- Reinstall problematic software: If the error occurs while using a specific program, try uninstalling and reinstalling it. This can resolve any issues related to the program’s interface and potentially fix the error.
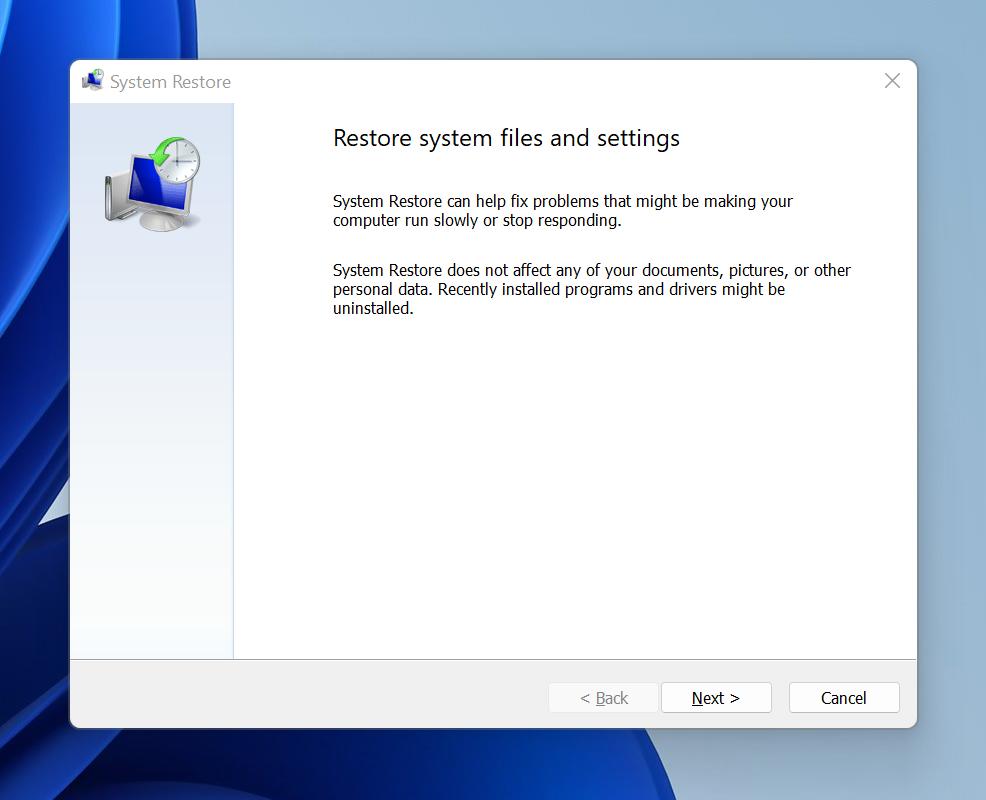
- Perform a system restore: If the error started occurring after a recent software or system change, performing a system restore can revert your Windows 11 system to a previous stable state. Search for Create a restore point in the Windows search bar, click on System Restore, and follow the on-screen instructions.
- Check for hardware issues: Ensure that all your hardware components are properly connected and functioning correctly. If the error persists, consider checking for hardware compatibility issues or contacting technical support.
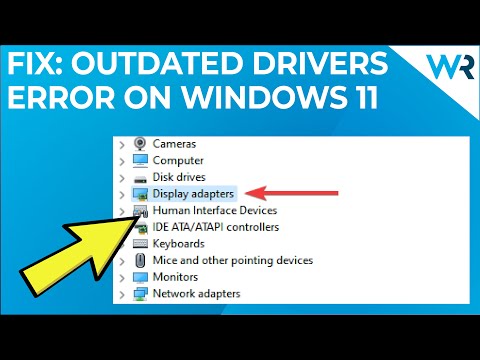
- Update device drivers: Outdated or incompatible device drivers can cause interface errors. Update your drivers by going to Device Manager, right-clicking on the device, selecting Update driver, and following the prompts.
- Perform a clean boot: A clean boot starts Windows with a minimal set of startup programs and services, which can help identify if any third-party applications are causing the error. Search for msconfig in the Windows search bar, open System Configuration, go to the Services tab, select Hide all Microsoft services, and click on Disable all. Then, go to the Startup tab and click on Open Task Manager. Disable all startup items, close Task Manager, and restart your computer.
Update, Reset, and Reinstall the Affected Application
If you’re encountering the “No Such Interface Supported” error on Windows 11, there are a few steps you can take to fix the issue.
Firstly, try updating the affected application. Open the Microsoft Store, search for the app in question, and click on “Update” if an update is available. This can often resolve compatibility issues that may be causing the error.
If updating the app doesn’t work, you can try resetting it. Right-click on the app’s icon, select “App settings,” and then click on “Reset.” This will restore the app to its default settings, which can help fix any underlying issues.
If resetting the app doesn’t work either, you may need to reinstall it. Open the Microsoft Store, search for the app, and click on “Install” to reinstall it. This can often resolve more persistent issues with the app.
Remember to restart your PC after updating, resetting, or reinstalling the app to ensure the changes take effect.
python

import ctypes
def show_error_message(message):
# Display an error message box using Windows API
ctypes.windll.user32.MessageBoxW(0, message, "Error", 0x10)
try:
# Code snippet that can potentially throw the "no such interface supported" error
# Replace this with your specific code or error scenario
raise NotImplementedError("No such interface supported error")
except NotImplementedError as error:
error_message = f"An error occurred: {str(error)}"
show_error_message(error_message)
In this code sample, we define a function `show_error_message` that uses the `ctypes` library to call the Windows API function `MessageBoxW`. This function displays a message box with an error message. We then use a try-except block to catch and handle the “no such interface supported” error (represented here by raising a `NotImplementedError`). The error message is constructed and passed to the `show_error_message` function to display the custom error message box to the user.
Troubleshooting Commands to Fix the Error
Troubleshooting Commands to Fix the “No Such Interface Supported” Error on Windows 11
| Command | Description |
|---|---|
| sfc /scannow | Scans the system files for errors and attempts to repair them. |
| dism /online /cleanup-image /restorehealth | Checks for component store corruption and restores health if necessary. |
| netsh winsock reset | Resets the Winsock Catalog to fix network-related issues. |
| netsh int ip reset | Resets TCP/IP settings to resolve IP configuration problems. |
| chkdsk /f /r | Scans the file system for errors and fixes any found issues. |
| DISM.exe /Online /Cleanup-Image /StartComponentCleanup | Cleans up the component store to free up disk space and fix corruption. |
| DISM.exe /Online /Cleanup-Image /AnalyzeComponentStore | Analyzes the component store for corruption and displays the results. |
| DISM.exe /Online /Cleanup-Image /ScanHealth | Scans the component store for corruption without repairing it. |
Additional Solutions for Resolving the Error
If you’re encountering the “No Such Interface Supported” error on your Windows 11 system, don’t worry, we’ve got you covered with additional solutions.
1. Restart File Explorer: Press Ctrl + Shift + Esc to open Task Manager, locate “Windows Explorer” under the Processes tab, right-click it, and select “Restart”.
2. Run System File Checker (SFC): Open Command Prompt as an administrator and type “sfc /scannow“. This tool will scan your system for any corrupted or missing files and repair them.
3. Update Windows: Make sure you have the latest Windows Updates installed. Go to Settings > Windows Update > Check for updates and install any pending updates.
4. Perform a Clean Boot: Temporarily disable all non-Microsoft services and startup programs to identify any conflicts. Press Windows + R, type “msconfig“, go to the Services tab, check “Hide all Microsoft services”, click “Disable all”, and then go to the Startup tab and click “Open Task Manager” to disable startup programs.
5. Reset PC: If all else fails, you can perform a reset of your PC. Go to Settings > System > Recovery > Reset this PC and follow the on-screen instructions.
Remember to back up your important files before attempting any solutions. If the issue persists, consider seeking further assistance from Microsoft Support or a professional technician.
Mark Ginter is a tech blogger with a passion for all things gadgets and gizmos. A self-proclaimed "geek", Mark has been blogging about technology for over 15 years. His blog, techquack.com, covers a wide range of topics including new product releases, industry news, and tips and tricks for getting the most out of your devices. If you're looking for someone who can keep you up-to-date with all the latest tech news and developments, then be sure to follow him over at Microsoft.
