- Windows 10 comes with a Windows firewall and allows you to install and run a third-party firewall.
- These firewalls work independently of each other to block suspicious activity on your computer.
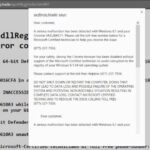
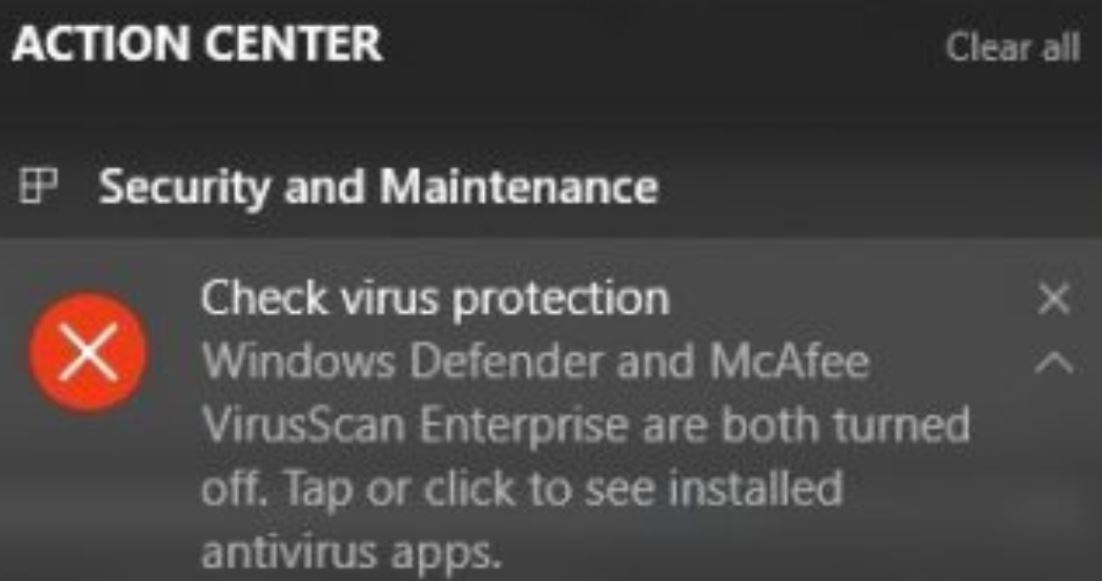
- But after installing Windows 10, some users report receiving a startup notification that says “Windows firewall and (third-party) are disabled; click or tap to see available options.” This error is caused by unknown causes.
Unlocking the Gates: Unleashing the Power of Disabled Windows Firewall & Third-Party Firewall
Disabling Windows Firewall and Third-Party Firewall
To disable Windows Firewall and third-party firewalls in Windows 10, follow these steps:
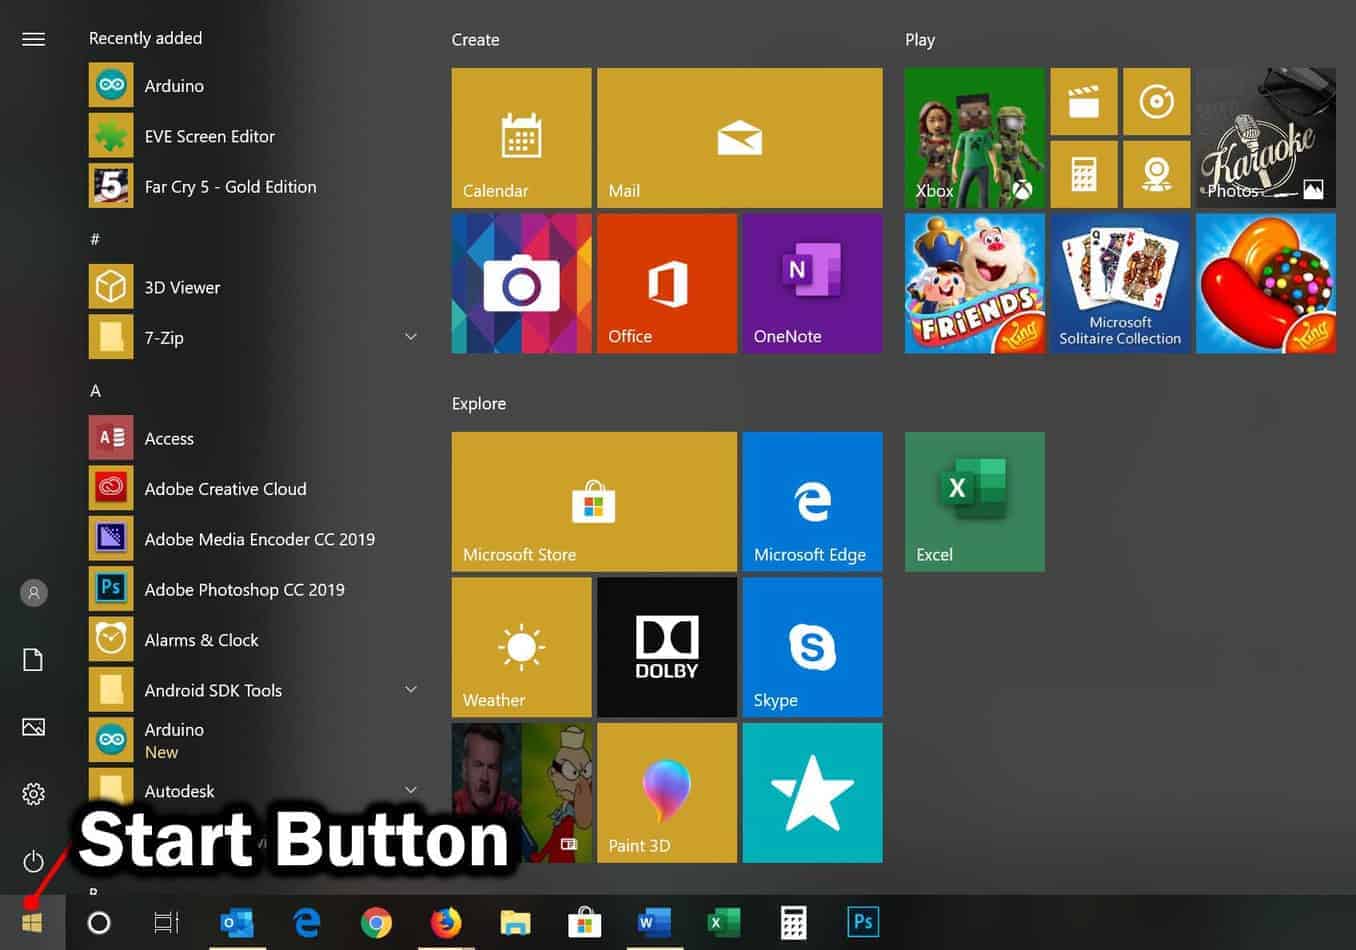
1. Open the Start Menu and select “Control Panel.”
2. In the Control Panel, choose “System and Security.”
3. Under the “Windows Defender Firewall” section, click on “Windows Defender Firewall.”
4. In the left-hand sidebar, click on “Turn Windows Defender Firewall on or off.”
5. Select the option to “Turn off Windows Defender Firewall” for both private and public networks.
6. Click “OK” to save the changes.
To disable a third-party firewall, refer to the software’s documentation or settings. Typically, you can find an option to disable or turn off the firewall in the software’s control panel or settings menu.
Keep in mind that disabling firewalls can leave your device vulnerable to security threats. Only disable firewalls if you have alternative security measures in place or if specified by a system administrator.
Remember to re-enable the firewalls when necessary to ensure the proper operation and security of your system.
Methods to Turn Off Windows Firewall
To turn off the Windows Firewall on your Windows 10 device, follow these steps:
1. Open the Start Menu and select System and Security.
2. In the System and Security window, select Windows Defender Firewall.
3. In the Windows Defender Firewall window, on the left-hand sidebar, select Turn Windows Defender Firewall on or off.
4. In the Customize Settings window, select Turn off Windows Defender Firewall (not recommended) for both private and public networks.
5. Click OK to save the changes.
Keep in mind that turning off the Windows Firewall can leave your computer vulnerable to security threats. If you have a third-party firewall installed, make sure to disable it through its own settings to avoid conflicts. It’s important to maintain proper operation and security by regularly updating your firewall software and configuring it to allow necessary network traffic and connections.
Steps to Deactivate Firewall on Windows
To deactivate the firewall on Windows, follow these steps:
1. Open the Start menu and select “Control Panel.”
2. Click on “System and Security.”
3. Under the “Windows Firewall” section, click on “Turn Windows Firewall on or off.”
4. Select the option to turn off the firewall for both private and public networks.
5. Click “OK” to save the changes.
Please note that disabling the firewall can leave your computer vulnerable to security risks. If you are using a third-party firewall, make sure to disable it through the program’s settings.
It’s important to remember to enable the firewall again once you have completed the tasks that required it to be disabled.
If you encounter any issues or error messages, consult the documentation or seek assistance from a system administrator or IT support professional.
FAQs and Tips for Temporarily Disabling Windows Firewall
- Open the Start Menu by clicking on the Windows icon located at the bottom left corner of the screen.
- Click on Settings to open the Windows Settings menu.
- In the Windows Settings menu, click on Update & Security.
- From the left sidebar, select Windows Security.
- In the Windows Security window, click on Firewall & network protection.
- Under the Firewall & network protection settings, click on the currently active network profile (e.g., Domain network).
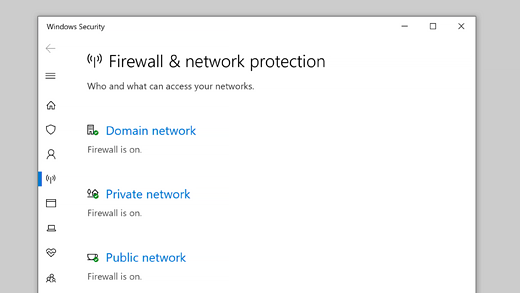
- Scroll down to the Windows Firewall section and click on Turn off Windows Firewall.
- A confirmation prompt will appear, asking if you want to disable Windows Firewall for this network profile. Click on Yes to proceed.
- Repeat steps 6-8 for any additional network profiles (e.g., Private network, Public network) if necessary.

Mark Ginter is a tech blogger with a passion for all things gadgets and gizmos. A self-proclaimed "geek", Mark has been blogging about technology for over 15 years. His blog, techquack.com, covers a wide range of topics including new product releases, industry news, and tips and tricks for getting the most out of your devices. If you're looking for someone who can keep you up-to-date with all the latest tech news and developments, then be sure to follow him over at Microsoft.