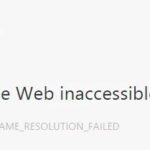
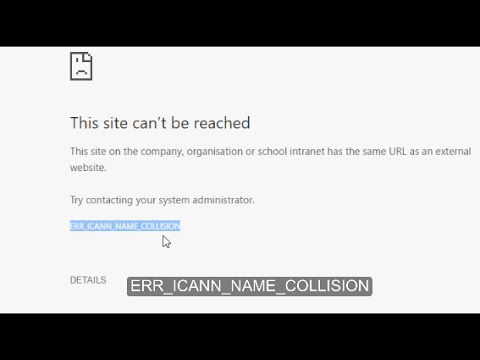
- Google Chrome error causes ERR ICANN_NAME_COLLISION error message in Google Chrome on Windows 10.
- This problem is caused by a private namespace error or accidental redirection to the wrong proxy server.
- You can try checking the integrity of the host file or checking the proxy server or deleting conflicting browser extensions or clear DNS cache and run a malware scan to resolve the issue.
- You may need to run Google Chrome in safe mode to identify the extension causing the problem.
Welcome to a guide that will help you troubleshoot the persistent ERR_ICANN_NAME_COLLISION error in Google Chrome. Uncover effective solutions to resolve this frustrating issue and regain seamless browsing on your favorite browser.
Privacy & Transparency in Chrome
If you’re encountering the ERR_ICANN_NAME_COLLISION error in Google Chrome, here’s how you can resolve it.
First, make sure your antivirus software, firewall, and DNS settings are not blocking any connections. These security solutions can sometimes interfere with your browsing experience.
Next, check if any browser extensions or ad-blocking tools are causing the error. Disable them temporarily and see if the problem persists.
If the error is specific to a certain website, try clearing your browser’s cache and cookies for that site. You can do this by going to the Chrome Settings, clicking on “Privacy and Security,” and then selecting “Clear browsing data.”
If the issue still persists, you can try accessing the site through a proxy server or using a different device.
Remember, privacy and transparency are important to us. We are continuously working to enhance the security and integrity of your browsing experience. If you have any concerns or need further assistance, please don’t hesitate to contact us.
Resolving Access Issues on Chrome
If you’re experiencing access issues on Chrome due to the ERR_ICANN_NAME_COLLISION error, there are a few steps you can take to resolve it.
First, make sure to clear your browser’s cache and cookies. This can help resolve any conflicts that may be causing the error.
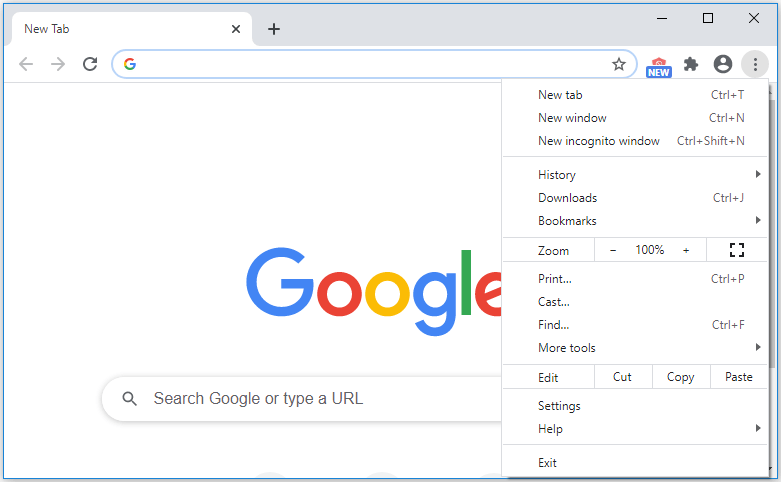
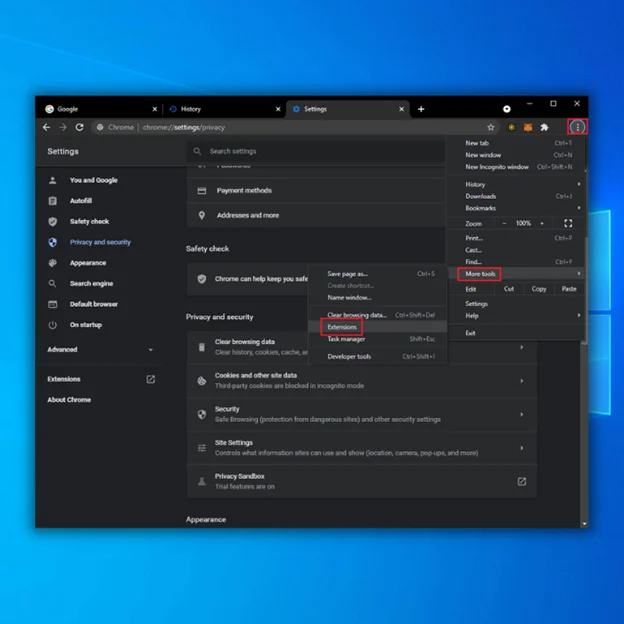
If that doesn’t work, try disabling any browser extensions or plugins that may be interfering with your internet access. You can do this by clicking on the three-dot menu at the top right corner of your Chrome browser, then selecting “More tools” and “Extensions”.
Additionally, check if your antivirus software or firewall is blocking the website you’re trying to access. You may need to add an exception or whitelist the site to allow access.
If you’re still encountering the ERR_ICANN_NAME_COLLISION error, you can try accessing the website using a proxy server. This can help bypass any local network restrictions that may be causing the issue.
For more detailed instructions on how to resolve this error, you can visit thegeekpage.com’s article on “How to Resolve ERR_ICANN_NAME_COLLISION in Chrome”.
Methods to Remove ERR_ICAN_NAME_COLLISION Error in Chrome
- Update Chrome: Make sure you are running the latest version of Google Chrome to ensure any known issues related to ERR_ICANN_NAME_COLLISION error are fixed.
- Disable Extensions: Disable any recently installed extensions or plugins that might be causing conflicts with website addresses.
- Clear Browser Cache: Clearing your browser cache can help resolve ERR_ICANN_NAME_COLLISION error by removing any corrupted or outdated data that might be causing conflicts.
- Disable Experimental Features: Temporarily disable any experimental features or flags in Chrome as they can sometimes cause conflicts and trigger the ERR_ICANN_NAME_COLLISION error.
- Reset Chrome Settings: Resetting Chrome to its default settings can help resolve various issues, including ERR_ICANN_NAME_COLLISION. However, note that this will remove your personalized settings and preferences.
- Check DNS Settings: Ensure your DNS settings are correct by switching to a different DNS provider or resetting the DNS settings on your computer or router.
- Scan for Malware: Run a full system scan using reliable antivirus software to detect and remove any malware that might be interfering with Chrome’s functionality.
- Disable Proxy Settings: Disable any proxy settings in Chrome as they can sometimes cause conflicts and trigger the ERR_ICANN_NAME_COLLISION error.
- Contact Website Administrator: If you consistently encounter the ERR_ICANN_NAME_COLLISION error on a specific website, reach out to the website administrator or support team to report the issue and seek assistance.
- Reinstall Chrome: If all else fails, consider uninstalling and reinstalling Chrome to ensure a fresh installation, which can often resolve persistent ERR_ICANN_NAME_COLLISION errors.
python

import requests
def make_request(url):
try:
response = requests.get(url)
response.raise_for_status() # Raises an exception if status code is not 2xx
return response.text
except requests.exceptions.RequestException as e:
print("An error occurred while making the request:", e)
# Further error handling or logging can be implemented here
# Example usage
url = "https://example.com"
response_data = make_request(url)
if response_data:
print("Response:", response_data)
This code demonstrates a simple HTTP GET request using the requests library in Python. It tries to make a request to a specified URL and handles any exceptions that might occur during the process. The response is then printed if successful, or an error message is displayed otherwise.
Please note that this code is not directly related to the “err_icann_name_collision” error in Chrome, but it serves as an example of error handling in a web request scenario.
Troubleshooting Steps for ERR_ICAN_NAME_COLLISION Error in Chrome
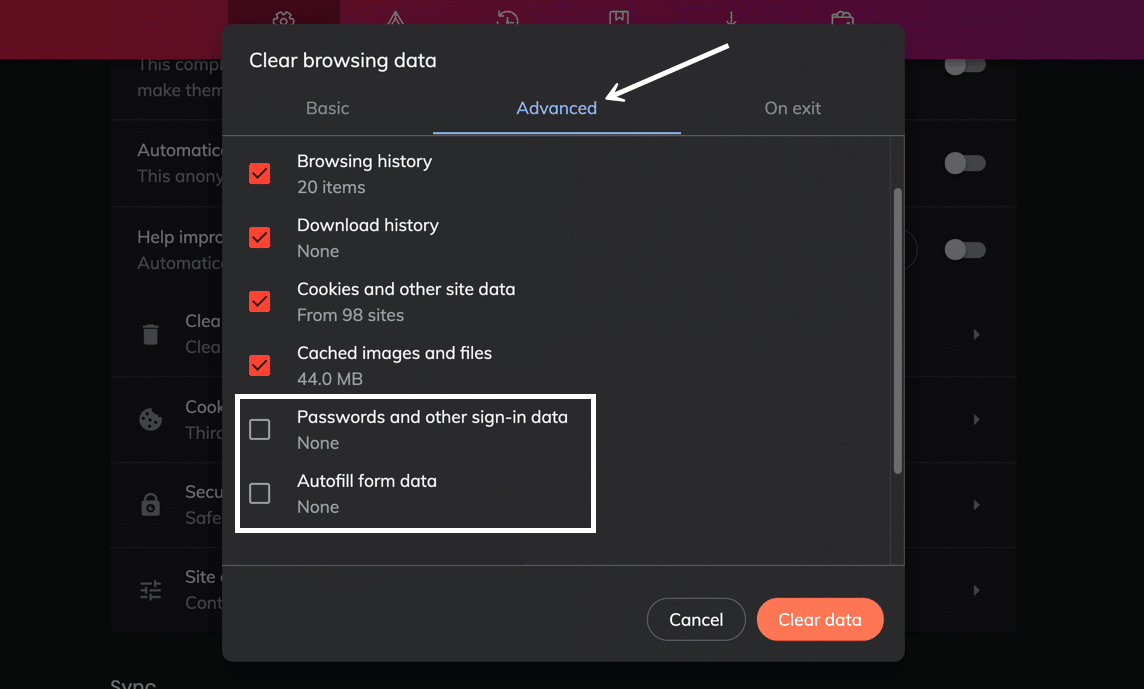
- Clear Browser Cache and Cookies:
- Open Chrome and click on the three dots at the top right corner of the browser window.
- Select “Settings” from the dropdown menu.
- Scroll down and click on “Privacy and security” in the left sidebar.
- Click on “Clear browsing data”.
- Choose the time range for which you want to clear the data.
- Make sure “Cookies and other site data” and “Cached images and files” are selected.

- Click on “Clear data” to clear the cache and cookies.
- Disable Extensions:
- Open Chrome and click on the three dots at the top right corner of the browser window.
- Select “More tools” from the dropdown menu.
- Click on “Extensions”.
- Toggle off the switch next to each extension to disable them.
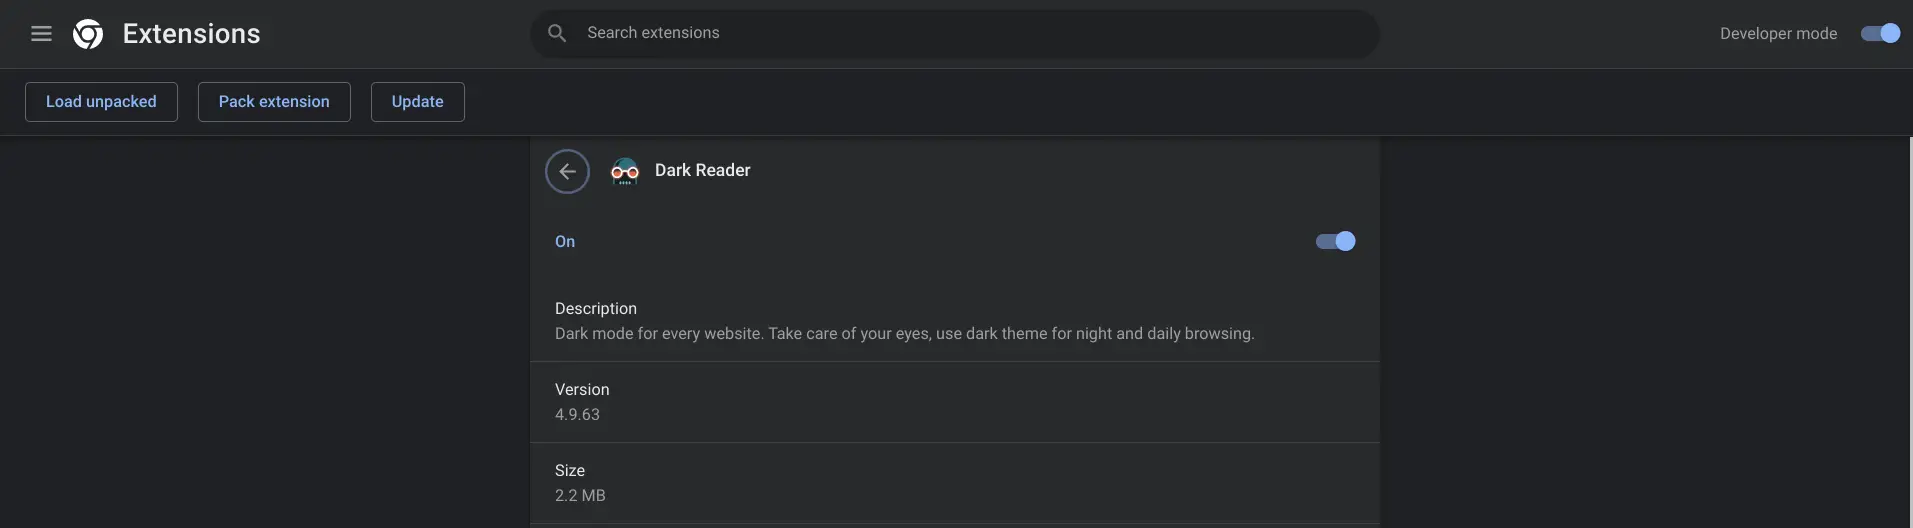
- Restart Chrome and check if the error is resolved.
- Reset Chrome Flags:
- Open Chrome and type “chrome://flags” in the address bar.
- Press Enter to access the Chrome Flags page.
- Click on “Reset all to default” button at the top right corner of the page.
- Restart Chrome and see if the error persists.
- Disable Experimental Features:
- Open Chrome and type “chrome://flags” in the address bar.
- Press Enter to access the Chrome Flags page.
- Search for the experimental feature causing the error (e.g., “dns-over-https”).
- Disable the feature by selecting “Disabled” from the dropdown menu.
- Restart Chrome and check if the error is resolved.
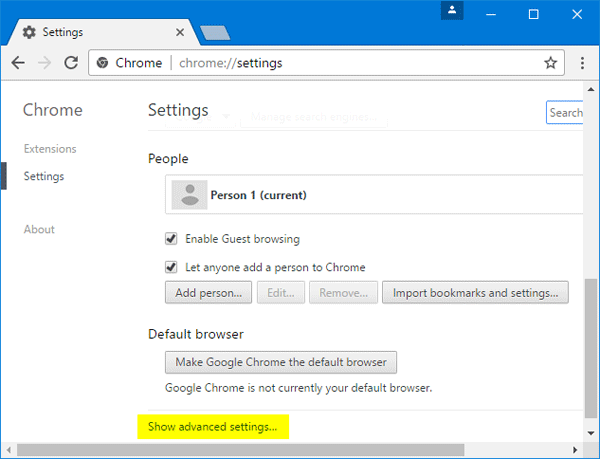
- Check Proxy Settings:
- Open Chrome and click on the three dots at the top right corner of the browser window.
- Select “Settings” from the dropdown menu.
- Scroll down and click on “Advanced” to expand the settings.
- Under the “System” section, click on “Open proxy settings”.
- In the “Internet Properties” window, go to the “Connections” tab.
- Click on “LAN settings”.
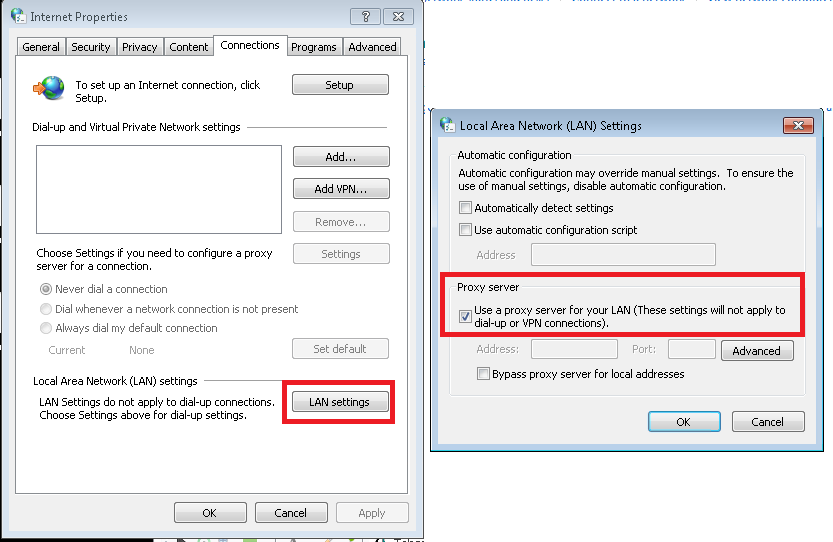
- Ensure that the “Automatically detect settings” option is checked.
- Click “OK” to save the changes.
- Restart Chrome and see if the error is resolved.
- Disable Antivirus or Firewall:
- Open your antivirus or firewall software.
- Temporarily disable the antivirus or firewall protection.
- Restart Chrome and check if the error is resolved.
- Remember to re-enable the antivirus or firewall after troubleshooting.
- Reset Chrome Settings:
- Open Chrome and click on the three dots at the top right corner of the browser window.
- Select “Settings” from the dropdown menu.
- Scroll down and click on “Advanced” to expand the settings.
- Scroll down to the “Reset and clean up” section and click on “Restore settings to their original defaults”.
- Click on “Reset settings” to confirm.
- Restart Chrome and see if the error persists.

Mark Ginter is a tech blogger with a passion for all things gadgets and gizmos. A self-proclaimed "geek", Mark has been blogging about technology for over 15 years. His blog, techquack.com, covers a wide range of topics including new product releases, industry news, and tips and tricks for getting the most out of your devices. If you're looking for someone who can keep you up-to-date with all the latest tech news and developments, then be sure to follow him over at Microsoft.