- When running Enhanced Pre-Boot System Assessment (ePSA) diagnostics on a Dell Windows 11 or Windows 10 PC, error code 2000-0415 may appear.
- In this article, we provide the most suitable solutions that affected PC users can try to fix the problem.
- If you’ve recently made some hardware changes to your Dell PC, you can expect this error to occur because the CMOS battery stores outdated configuration data, which confuses the ePSA scan.
Welcome to the world of troubleshooting Dell PC Error Code 2000-0415! In this article, we will embark on a quest to unravel the mysteries behind this pesky error code and equip you with effective methods to resolve and fix it. So, grab your tech-savvy gear and let’s dive into the realm of Dell PC problem-solving!
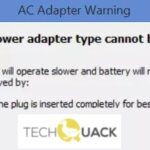
Power Adapter and Cable Issues
If you’re experiencing Power Adapter and Cable issues on your Dell PC and encountering Error Code 2000-0415, there are a few steps you can take to resolve the problem.
First, make sure your power adapter and cable are securely connected to both the wall outlet and your laptop. Check for any signs of damage or fraying on the cable. If you find any issues, consider replacing the power adapter or cable.
Next, try performing a Pre-Boot System Assessment (PSA) scan using the built-in diagnostics tool. To do this, restart your computer and press F12 to access the boot menu. From there, select the “Diagnostics” option. The PSA scan will test your hardware components and help identify any potential issues.
If the PSA scan detects any errors, note down the specific error codes and messages. You can then search for the error code online to find possible solutions or contact Dell support for further assistance.
In some cases, a faulty CMOS battery can cause power-related issues. If you suspect this may be the problem, consider replacing the CMOS battery.
Remember to always keep your computer and its components clean and free from dust or debris, as this can also cause power-related problems.
Clearing CMOS Battery
To clear the CMOS battery on your Dell PC and resolve error code 2000-0415, follow these steps:
1. Turn off your Dell laptop or desktop computer and unplug the power cable from the back.
2. Locate the CMOS battery on the motherboard. It is a round, silver battery.
3. Gently remove the CMOS battery from its slot.
4. Press and hold the power button for 10 seconds to discharge any remaining power.
5. Wait for 5 minutes to ensure that all residual power is drained from the system.
6. Insert the CMOS battery back into its slot.
7. Reconnect the power cable to your Dell PC.
8. Turn on the computer and enter the BIOS setup by pressing the designated key during startup (usually F2 or Del).
9. In the BIOS setup, navigate to the “Reset to default” or “Load optimized defaults” option.
10. Save the changes and exit the BIOS.
11. Restart your Dell PC and check if the error code 2000-0415 is resolved.
Note: Clearing the CMOS battery will reset the BIOS settings to default. Make sure to reconfigure any necessary settings after the process.
Troubleshooting Fan Errors
If you’re encountering a fan error with your Dell PC and seeing error code 2000-0415, follow these steps to resolve the issue:
1. Check the fan: Ensure the fan is properly connected and functioning. Make sure there are no obstructions or dust buildup that could impede its operation.
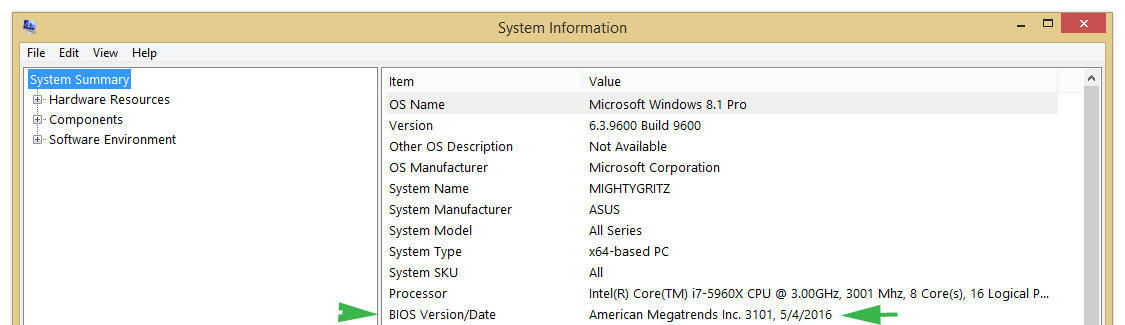
2. Update BIOS: Visit the Dell support website and download the latest BIOS update for your specific model. Updating the BIOS can often resolve fan errors.
3. Run diagnostics: Use the Dell Pre-Boot System Assessment (PSA) tool to run a hardware diagnostic scan. This can help identify any underlying issues causing the fan error.
4. Clean the system: Remove any dust or debris from the computer’s interior, paying special attention to the fan and heat sink. Dust buildup can lead to overheating and fan errors.
5. Check power cables: Ensure all power cables and connections are secure. A loose or faulty power cable can trigger fan errors.
If the issue persists after following these steps, it may indicate a hardware problem. Consider contacting Dell support for further assistance.
python

import subprocess
def repair_error_code_2000_0415():
# Run the Dell diagnostic tool
diagnostic_result = subprocess.run(['dell_diagnostic_tool.exe'], capture_output=True, text=True)
# Check the output for error code 2000-0415
if '2000-0415' in diagnostic_result.stdout:
# Perform repair actions specific to error code 2000-0415
fix_result = subprocess.run(['repair_tool.exe'], capture_output=True, text=True)
# Check the repair tool's output for success/failure
if 'Success' in fix_result.stdout:
print('Error code 2000-0415 repaired successfully!')
else:
print('Repair unsuccessful. Further troubleshooting may be required.')
else:
print('Error code 2000-0415 not found. No repair actions necessary.')
# Call the function to repair the error code
repair_error_code_2000_0415()
Please note that this is just a basic example, and the actual repair actions may vary depending on the specific error and Dell PC model. It assumes the existence of `dell_diagnostic_tool.exe` and `repair_tool.exe` as executable files that perform the diagnostics and repair actions, respectively. You would need to replace these with the appropriate tools or methods relevant to fixing error code 2000-0415 on your Dell PC.
Solutions for Error Code 2000
- Run a Diagnostic Test
- Restart your Dell PC and press the F12 key repeatedly during startup.
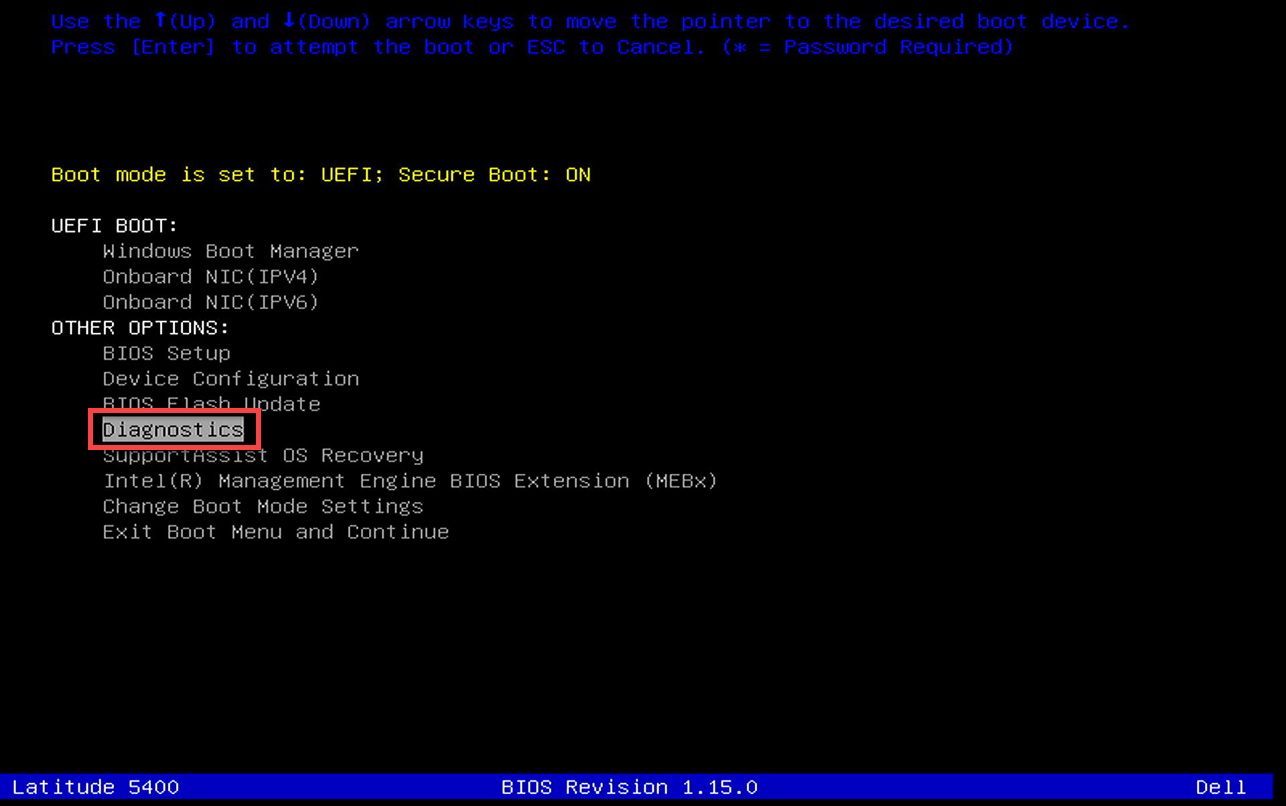
- Select Diagnostics from the boot menu.
- Follow the on-screen instructions to complete the diagnostic test.
- Check Memory Modules
- Power off your Dell PC and disconnect all external devices.
- Open the computer case and locate the memory modules.
- Remove the memory modules and clean the contacts with a soft cloth.
- Reinstall the memory modules firmly into their slots.
- Update BIOS
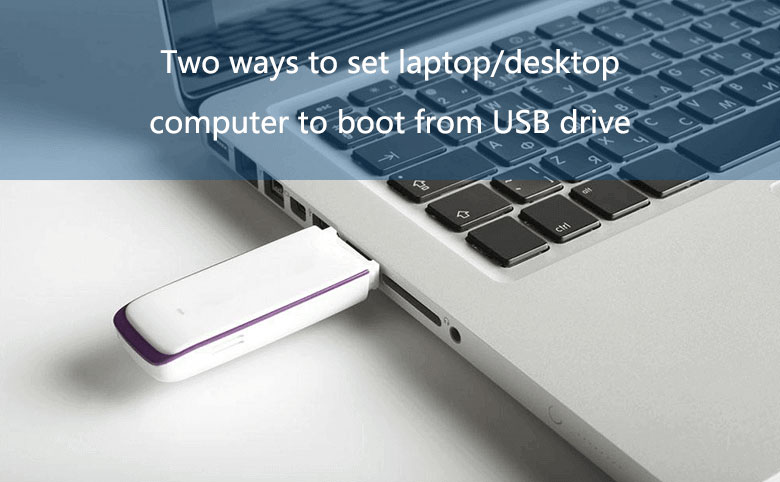
- Visit the Dell support website and download the latest BIOS version for your PC model.
- Save the BIOS update file to a USB flash drive.
- Insert the USB flash drive into your Dell PC.
- Restart the computer and press the F12 key repeatedly during startup.
- Select BIOS Setup from the boot menu.
- Navigate to the BIOS Update or Flash BIOS section.
- Select the USB flash drive as the source for the BIOS update.
- Follow the on-screen instructions to complete the BIOS update process.
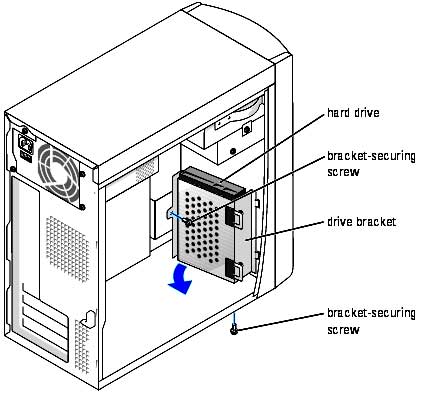
- Replace Hard Drive
- Power off your Dell PC and disconnect all cables.
- Open the computer case and locate the hard drive.
- Disconnect the cables and remove the faulty hard drive.
- Install a new hard drive into the same slot and connect the cables securely.
- Close the computer case and reconnect all cables.
- Contact Dell Support
- If the above solutions do not resolve the error code, it is recommended to contact Dell Support for further assistance.
- Provide them with the details of the error code and any troubleshooting steps you have already taken.
- Follow their instructions to troubleshoot and fix the issue.

Mark Ginter is a tech blogger with a passion for all things gadgets and gizmos. A self-proclaimed "geek", Mark has been blogging about technology for over 15 years. His blog, techquack.com, covers a wide range of topics including new product releases, industry news, and tips and tricks for getting the most out of your devices. If you're looking for someone who can keep you up-to-date with all the latest tech news and developments, then be sure to follow him over at Microsoft.