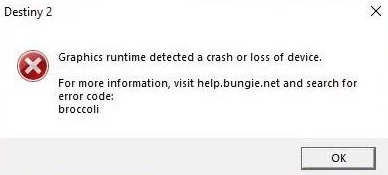
- Destiny 2 is an online multiplayer shooter developed by Bungie to satisfy the desires of video game fans by providing a virtual environment with fictional characters.
- We’ve reviewed this problem and provided some effective solutions to help you fix the error code Broccoli on your system.
- In some cases, this problem may be caused by one or more corrupt files in the dependent drivers.
Are you a Destiny 2 enthusiast encountering the frustrating Broccoli error on your Windows 10 PC? Don’t worry, we’ve got you covered! In this article, we will explore effective solutions to fix this irksome issue and get you back into the game smoothly. So, let’s dive in and bid farewell to the Broccoli error once and for all!
Minimum Requirements for Destiny 2 on Windows 10 PC
To fix the Broccoli Error on your Windows 10 PC while playing Destiny 2, follow these steps:
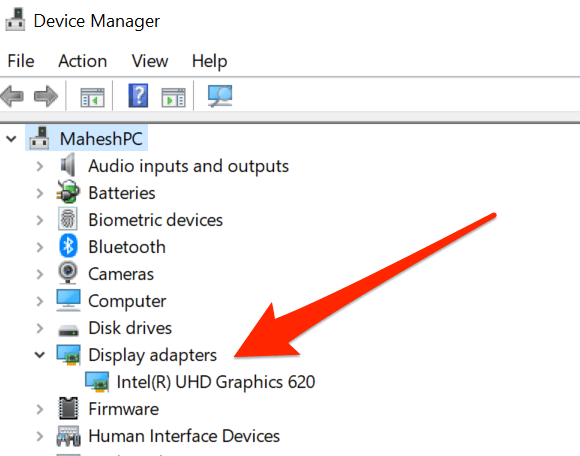
1. Search for Device Manager: Press the Windows key + X and select Device Manager from the menu.
2. Expand the Display Adapters section: Look for your graphics card driver and right-click on it.
3. Select Update Driver: Choose the option to update the driver software.
4. Use MiniTool Solution: If updating the driver doesn’t work, you can try using MiniTool Solution to fix the issue.
5. Free up disk space: Make sure you have enough free space on your PC for Destiny 2 to run smoothly.
6. Check for game updates: Visit the Destiny 2 website or the game’s home page to see if there are any updates available.
7. Disable Vsync: In the game settings, disable Vsync to improve graphics performance.
Updating Device Drivers for Destiny 2 on Windows 10 PC
To fix the Destiny 2 Broccoli Error on your Windows 10 PC, you may need to update your device drivers. Here’s a quick guide to help you:
Step 1: Search for Device Manager. Open the Start menu, type “Device Manager,” and select it from the search results.
Step 2: Expand the “Display adapters” category. Look for your graphics card driver. If there’s a yellow exclamation mark next to it, that means there’s an issue.
Step 3: Right-click on your graphics card driver and select “Update driver.” Choose the option to search automatically for updated driver software.
Step 4: Wait for Windows to search and install the latest driver for your graphics card. If there’s no update available or the issue persists, you may need to visit the manufacturer’s website and manually download the latest driver.
Updating your device drivers can often resolve the Broccoli Error in Destiny 2. If you continue to experience issues, you may want to reach out to Bungie’s support for further assistance.
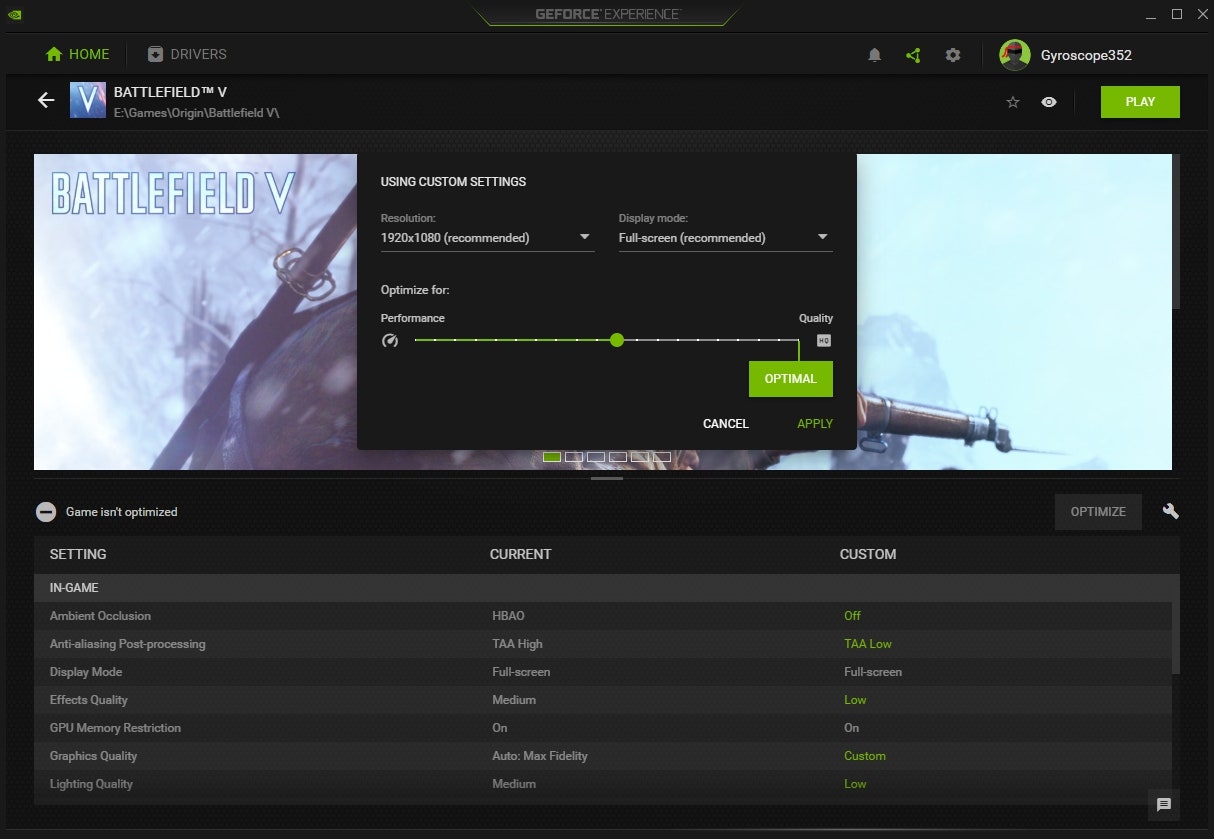
Optimizing Game Settings for Destiny 2 on Windows 10 PC
- Update Graphics Drivers
- Adjust In-Game Graphics Settings
- Disable Background Applications
- Change Power Plan Settings
- Disable Windows Game Mode
- Disable Windows DVR
Update Graphics Drivers:
- Open Device Manager by right-clicking on the Start button and selecting Device Manager.
- Expand the Display adapters category.
- Right-click on your graphics card and select Update driver.
- Choose the option to automatically search for updated driver software.
- Follow the on-screen instructions to install any available updates.
- Restart your computer to apply the changes.
Adjust In-Game Graphics Settings:
- Launch Destiny 2 and navigate to the Settings menu.
- Open the Graphics or Video settings.
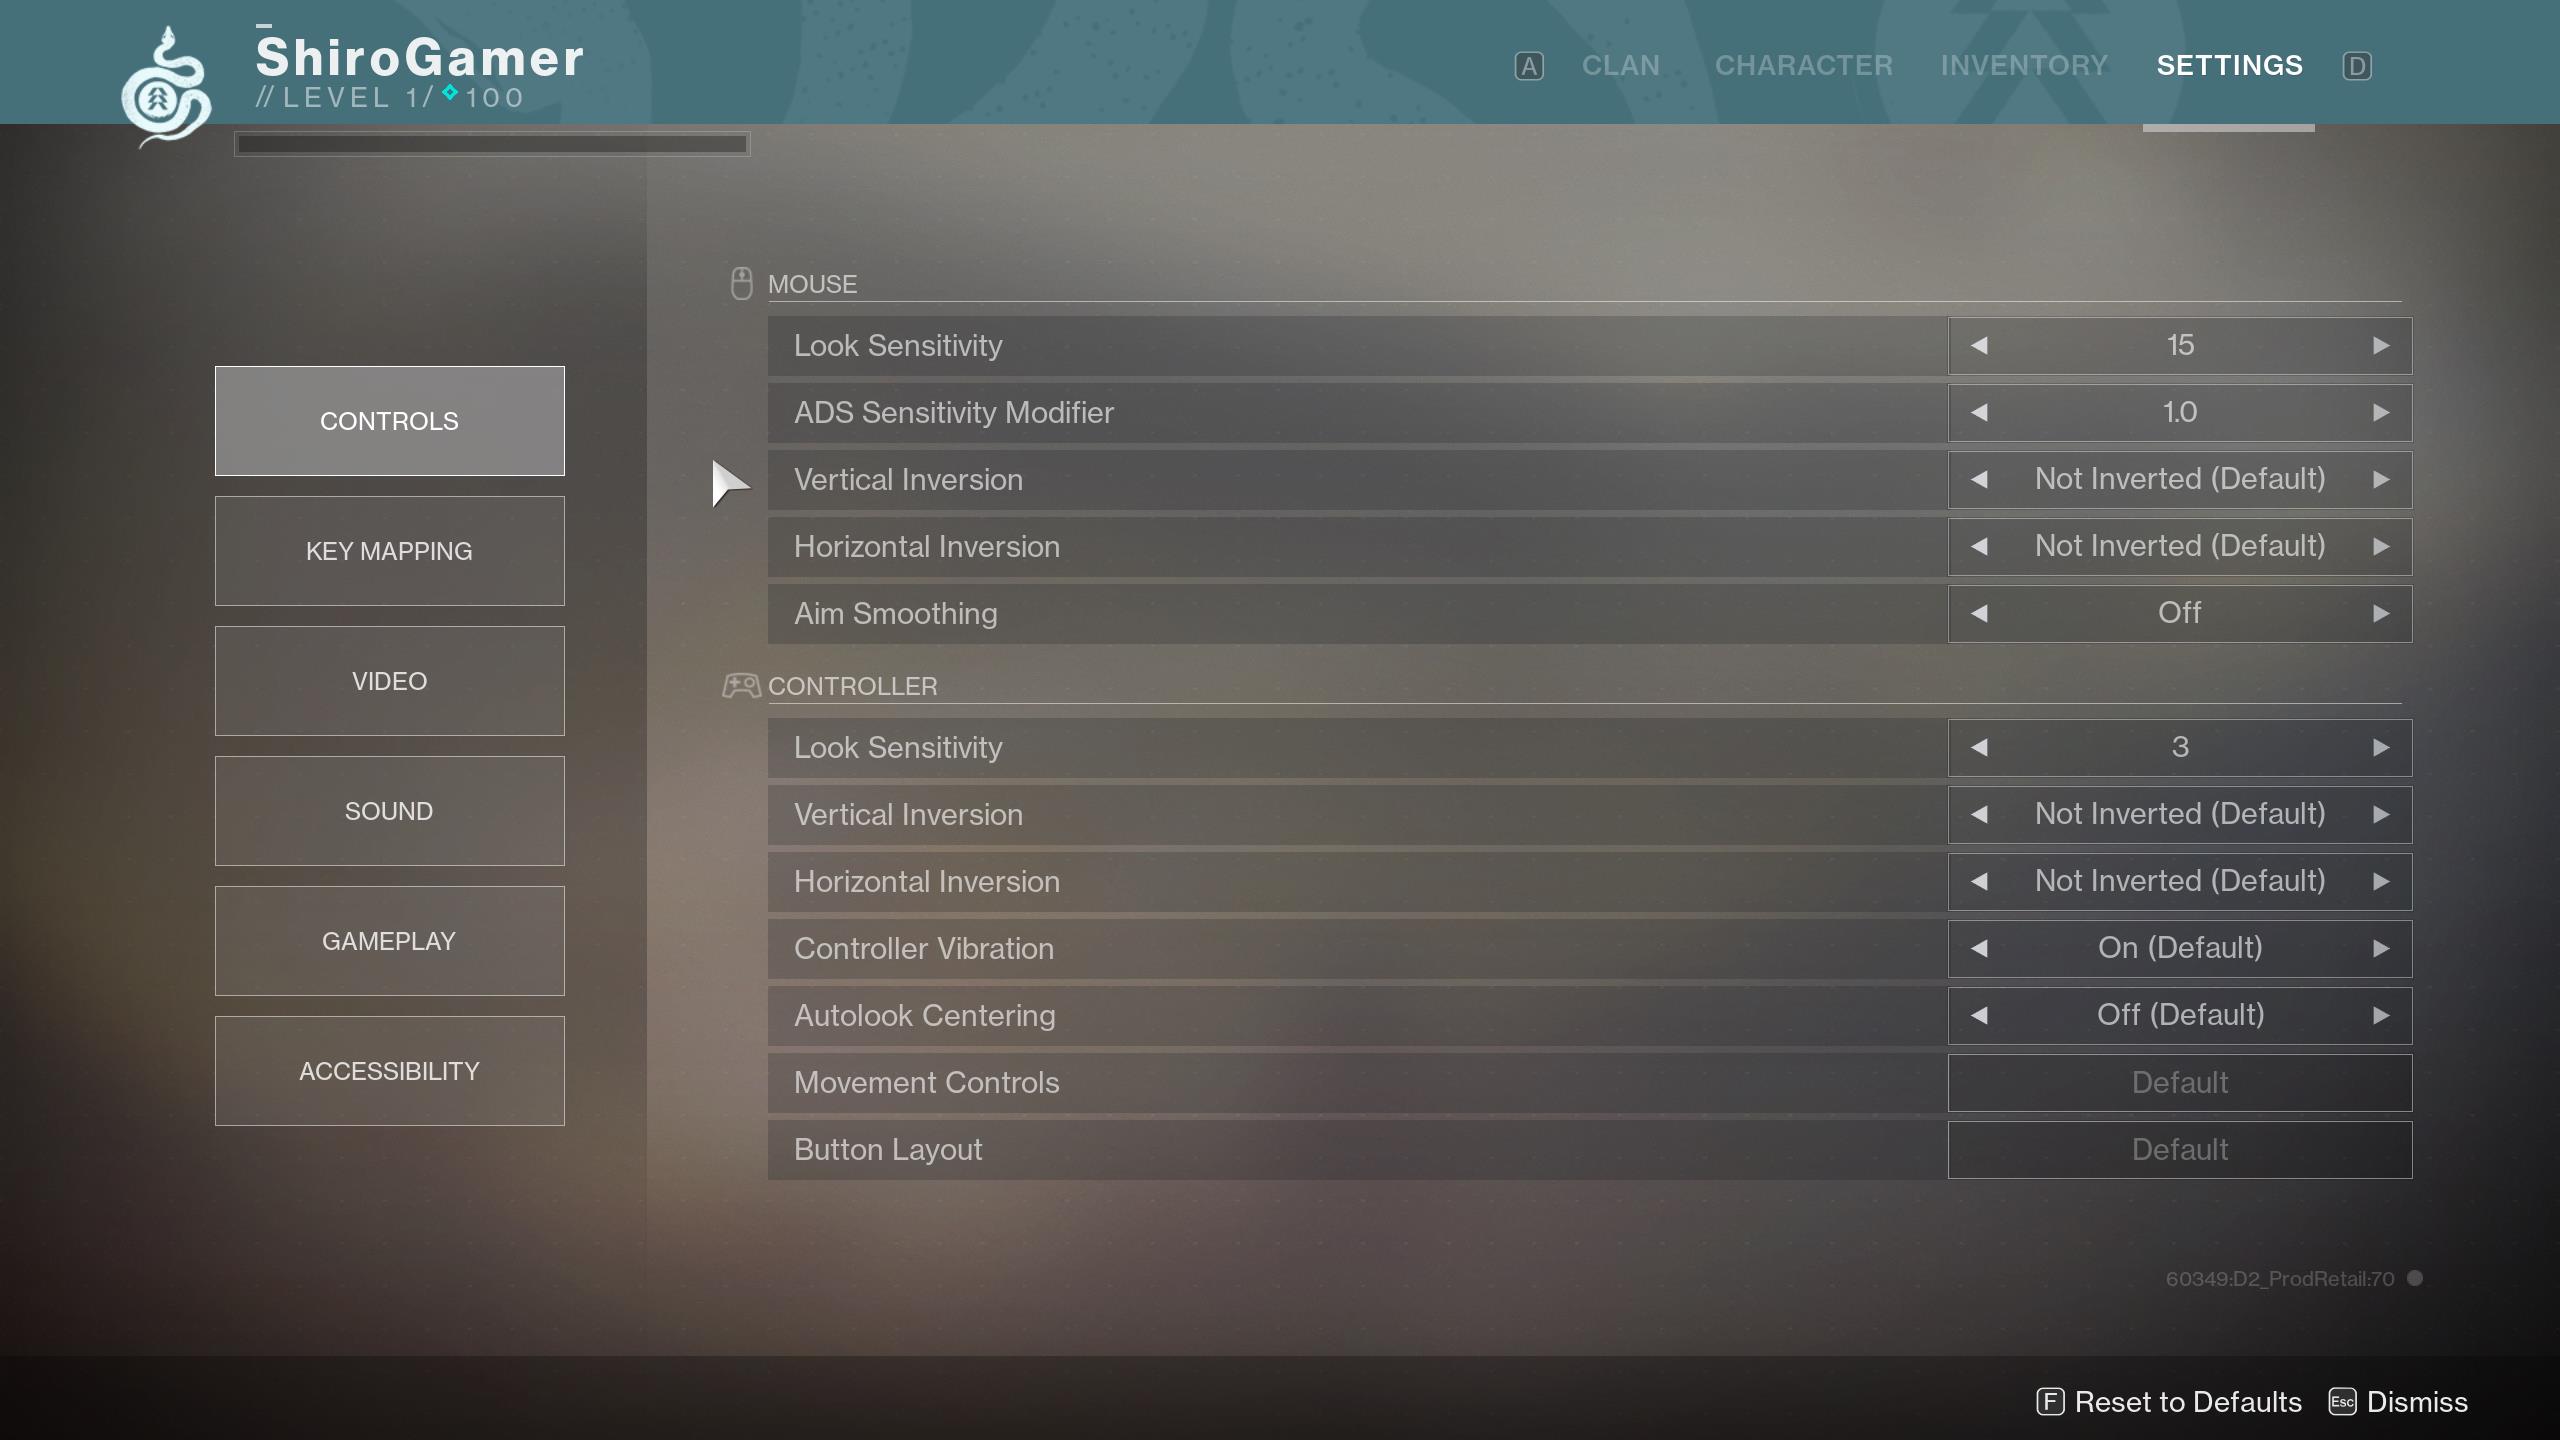
- Lower the graphics settings to a level that your PC can handle without performance issues.
- Apply the changes and restart the game to see if the Broccoli error is resolved.
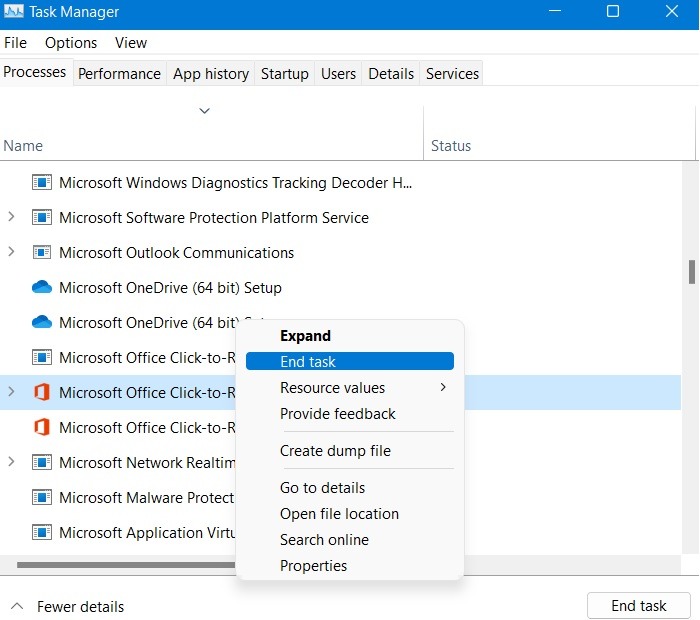
Disable Background Applications:
- Press Ctrl+Shift+Esc to open Task Manager.
- Switch to the Processes or Details tab.
- Identify any unnecessary or resource-intensive applications running in the background.
- Right-click on the application and select End task or End process.
Change Power Plan Settings:
- Open the Control Panel by searching for it in the Windows search bar.
- Select Power Options or System and Security and then Power Options.
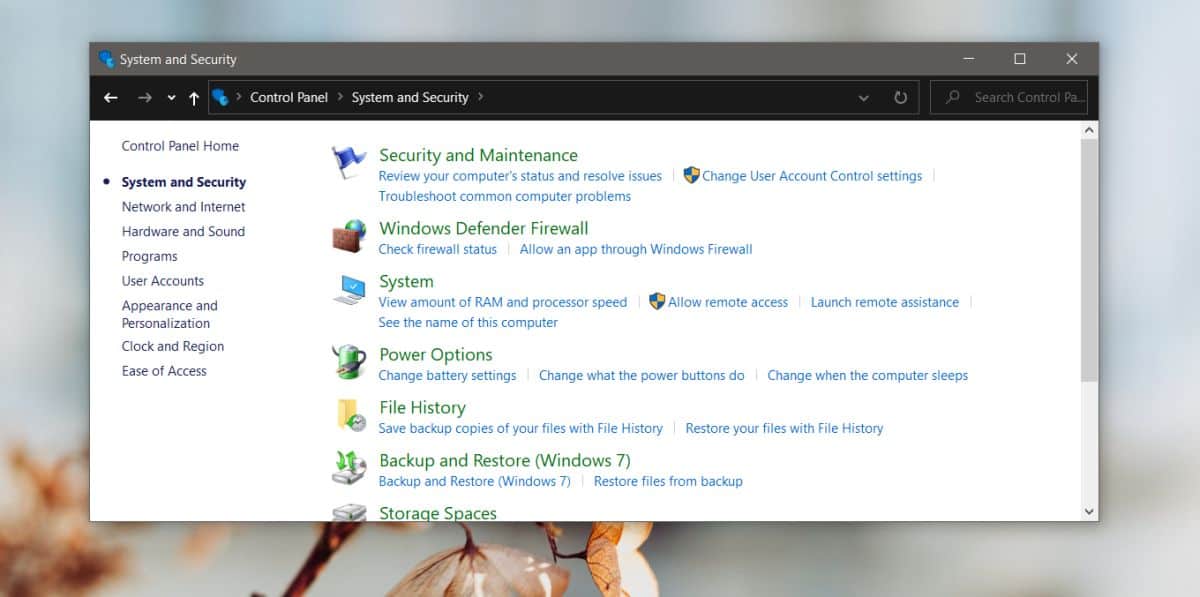
- Choose a power plan that prioritizes performance, such as High performance.
- Apply the changes and restart your computer.
Disable Windows Game Mode:
- Open the Settings menu by pressing Windows key + I.
- Select Gaming.
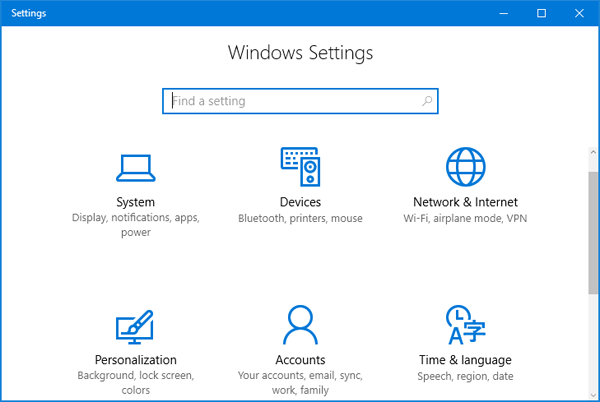
- Click on Game Mode in the left sidebar.
- Toggle off the Game Mode option.
Disable Windows DVR:
- Open the Xbox app by searching for it in the Windows search bar.
- Click on the Settings icon (gear) at the bottom left of the app.
- Select Game DVR on the left sidebar.
- Toggle off the Record game clips and screenshots using Game DVR option.
python

import requests
def get_error_code_description(error_code):
# Make an API request to Destiny 2 error code database
url = f"https://api.example.com/error-codes/{error_code}"
response = requests.get(url)
if response.status_code == 200:
# Parse the response and extract the error code description
error_data = response.json()
description = error_data.get("description")
return description
else:
return "Error code description not found."
# Example usage
error_code = "BROCCOLI"
description = get_error_code_description(error_code)
print(f"Error Code: {error_code}")
print(f"Description: {description}")
In this sample code, we create a function `get_error_code_description` that takes an error code as input and makes an API request to a hypothetical Destiny 2 error code database. It retrieves the description associated with the provided error code and returns it. The example usage demonstrates how to fetch and display the description for the “BROCCOLI” error code.
Please note that this code assumes the existence of a suitable error code database/API, which may not be readily available in reality. It’s important to refer to official documentation or developer resources for accurate and up-to-date information regarding error codes in Destiny 2.
Windows 10 Game Mode and Destiny 2 Error Code Broccoli
If you’re experiencing the Destiny 2 Broccoli error on your Windows 10 PC, follow these steps to fix it:
Step 1: Search for Device Manager in the Windows search bar.
Step 2: Expand the “Display adapters” section and right-click on your GPU.
Step 3: Select “Update driver” and choose the option to search automatically for updated driver software.
Step 4: If an updated driver is found, follow the on-screen instructions to install it.
Step 5: Restart your PC and launch Destiny 2 again.
These steps should help resolve the Broccoli crash issue. If the problem persists, you may need to check for any available updates for your graphics cards’ runtime. Additionally, you can visit Bungie’s support page or seek assistance from the Destiny 2 community for further troubleshooting.
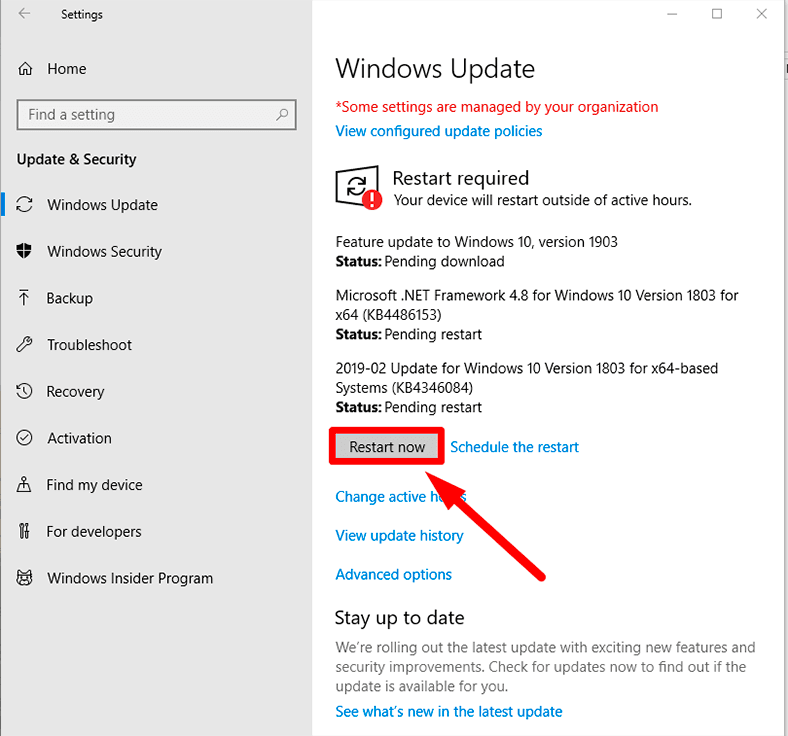
Installing Windows Updates for Destiny 2 on Windows 10 PC
To fix the Broccoli error in Destiny 2 on your Windows 10 PC, it’s important to ensure that your Windows system is up to date with the latest updates. Follow these steps:
Step 1: Search for Device Manager in the Windows start menu.
Step 2: Expand the Display Adapters section and right-click on your graphics card.
Step 3: Select Update driver and choose the option to search automatically for updated driver software.
Step 4: If an update is found, follow the on-screen instructions to install it.
Step 5: Restart your PC and launch Destiny 2 to see if the Broccoli error persists.
If the issue continues, you may need to try other troubleshooting methods or seek assistance from Destiny 2’s support team. Remember to keep your graphics card drivers up to date to ensure optimal performance and stability in the game.
Overclocking and Destiny 2 Error Code Broccoli
To fix the Destiny 2 Broccoli Error on your Windows 10 PC, follow these steps:
Step 1: Search for Device Manager in the Windows search bar and open it.
Step 2: Expand the “Display adapters” category and right-click on your GPU.
Step 3: Select “Update driver” and choose the option to search automatically for updated driver software.
Step 4: If an update is found, let it install. If not, try uninstalling the driver and then reinstalling it.
Step 5: Restart your PC and launch Destiny 2 again to see if the Broccoli Error is resolved.
If the issue persists, you can also try adjusting your GPU settings or contacting Microsoft support for further assistance. Keep in mind that overclocking can sometimes cause stability issues, so it’s recommended to revert any overclocking changes you’ve made.
Remember to regularly update your graphics driver and ensure you have enough free space on your PC for optimal performance.

Mark Ginter is a tech blogger with a passion for all things gadgets and gizmos. A self-proclaimed "geek", Mark has been blogging about technology for over 15 years. His blog, techquack.com, covers a wide range of topics including new product releases, industry news, and tips and tricks for getting the most out of your devices. If you're looking for someone who can keep you up-to-date with all the latest tech news and developments, then be sure to follow him over at Microsoft.