
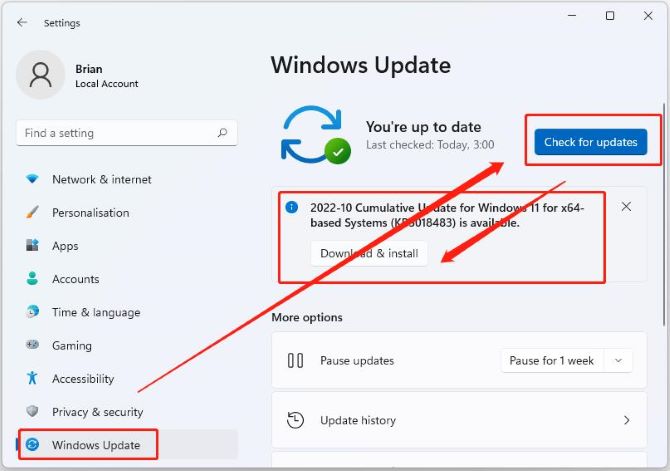
- Several Windows 10 users have recently complained that their Event Viewer is flooded with errors with Event ID 7009.
- The error in question appears with the following message: “Timeout reached (30000 milliseconds) while waiting for Service Name to connect” The trap service is disabled.
- The problem is caused by services specific to Windows Session Monitor does not have time to start.
- The tool will scan your computer to find problems.
- It will then correct the issues that were discovered.
Unraveling the Mysteries of Event ID 7009: Battling the Elusive 30000 Milliseconds Timeout
Re-configure relevant services to resolve the timeout issue
To resolve the timeout issue with Event ID 7009, you can re-configure relevant services on your PC. Follow these steps:
1. Open the Services tool: Press Windows Key + R, type “services.msc”, and hit Enter.
2. Locate the service causing the timeout issue in the list.
3. Right-click on the service and select “Properties”.
4. In the Properties dialogue box, go to the “Recovery” tab.
5. Under “First failure”, select “Restart the Service” from the drop-down menu.
6. Repeat the same for “Second failure” and “Subsequent failures”.
7. Click “Apply” and then “OK” to save the changes.
8. Restart your PC for the changes to take effect.
By re-configuring the relevant services, you can prevent timeouts and ensure smooth operation of your system.
Verify and address potential culprits for the timeout problem
- Check for system performance issues
- Identify and terminate resource-intensive processes
- Adjust service timeout settings
- Update or reinstall problematic drivers
- Disable unnecessary startup programs
Try using CleanMyPC to troubleshoot the event ID 7009 error
If you’re experiencing the Event ID 7009 error and need a solution, try using CleanMyPC. This powerful troubleshooting tool can help resolve the Timeout Reached 30000 Milliseconds issue quickly and efficiently. To get started, follow these steps:
1. Download and install CleanMyPC from the official website.
2. Launch the program and navigate to the “Maintenance” tab.
3. Click on “Scan” to initiate a thorough system scan.
4. Once the scan is complete, click on “Fix” to resolve any identified issues.
5. Restart your computer to apply the changes.
CleanMyPC’s comprehensive scanning and fixing capabilities can help resolve the Event ID 7009 error and prevent future occurrences. Give it a try and enjoy a smoother computing experience.
python

import time
def event_handler():
print("Event ID 7009: A timeout was reached (30,000 milliseconds)")
def start_timer():
timeout = 30000 # milliseconds
time.sleep(timeout / 1000) # convert to seconds
event_handler()
start_timer()
In this example, the `event_handler` function represents the action you want to perform when the timeout occurs. In this case, it simply prints a message indicating the event. The `start_timer` function sets the timeout duration using the `timeout` variable (30,000 milliseconds in this case) and then uses `time.sleep()` to pause the program execution for the specified duration. After the timeout, the `event_handler` function is called.
You can modify the `event_handler` function to perform any specific actions you need when the timeout event occurs.
Resolve the issue by performing a system restore
To resolve the Event ID 7009 Timeout Reached 30000 Milliseconds error, you can perform a system restore on your Windows computer.
Here’s how:
1. Press the Windows key + R to open the Run dialogue box.
2. Type “rstrui” and press Enter to open the System Restore tool.
3. In the System Restore window, click “Next” to proceed.
4. Select a restore point that was created before the error occurred and click “Next”.
5. Review the selected restore point and click “Finish” to start the restoration process.
6. Confirm the restoration by clicking “Yes” or “OK” when prompted.
7. Wait for the process to complete and your computer will restart.
Performing a system restore can help resolve issues caused by software conflicts, recent changes, or errors in the system. Remember to regularly back up your data to avoid any potential data loss during the restoration process.

Mark Ginter is a tech blogger with a passion for all things gadgets and gizmos. A self-proclaimed "geek", Mark has been blogging about technology for over 15 years. His blog, techquack.com, covers a wide range of topics including new product releases, industry news, and tips and tricks for getting the most out of your devices. If you're looking for someone who can keep you up-to-date with all the latest tech news and developments, then be sure to follow him over at Microsoft.
Related posts:
 How to Repair: “Cannot Currently Check for Updates” Error Message on Windows 7
 How to Troubleshoot Error 0x8007003B “An unexpected network error occurred” on Windows 10
 How to Troubleshoot “The User Profile Service Failed the Logon” Error Message in Windows 10
 Repairing the error “VSS service interrupted due to inactivity delay”