- Many users have reported experiencing high NVIDIA Container CPU utilization on their computer, which has affected the performance of their computer.
- Malware is the main cause of CPU throttling.
- If your computer’s specifications are not of good quality, your PC will have a lot of problems with this.
- In some cases, the Shadowplay feature in Geforce Experience can affect important game components, causing this error to appear.
Unleashing the Power Within: Resolving Nvidia Container’s CPU Usage Woes
Understanding NVIDIA Container and its Impact on CPU Usage
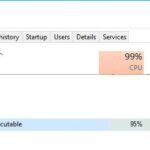
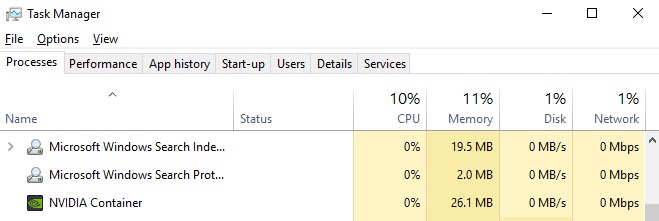
If you’re experiencing high CPU usage due to NVIDIA Container, there are a few steps you can take to resolve the problem. First, open the Task Manager by pressing Ctrl+Shift+Esc. Look for processes like nvcontainer.exe, nvidia display container.exe, and nvdisplay.container. If any of these processes are using a significant amount of CPU, it may be causing the issue.
To fix the problem, you can try disabling NVIDIA services in the settings menu of the GeForce Experience app. Simply open the app, click on the settings cog icon, and navigate to the General tab. From there, toggle off the option for “Enable NVIDIA services.”
Additionally, make sure your NVIDIA drivers are up to date. You can download the latest drivers from the NVIDIA website or use the GeForce Experience app to automatically update them.
By following these steps, you should be able to resolve the high CPU usage problem caused by NVIDIA Container and enjoy smoother performance while gaming or using any other applications that rely on NVIDIA graphics.
Effective Solutions to Resolve High CPU Usage Caused by NVIDIA Container
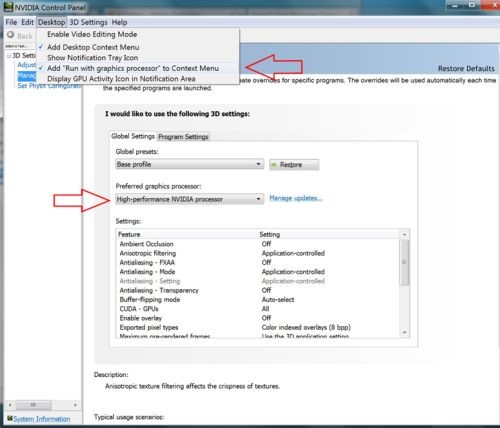
If you are experiencing high CPU usage caused by NVIDIA Container on your Windows 10 machine, there are effective solutions to resolve this issue. First, open the Task Manager by pressing Ctrl+Shift+Esc and go to the “Processes” tab. Look for processes such as “nvcontainer.exe” or “NVIDIA Display Container.exe” and end them. Next, navigate to the NVIDIA Control Panel in your settings menu and select “Manage 3D settings.” Under the “Global Settings” tab, change the preferred graphics processor to “Integrated graphics” or “Auto-select.” This will reduce the load on your CPU. Lastly, make sure you have the latest NVIDIA graphics drivers installed by visiting their official website. By following these steps, you can effectively fix the high CPU usage problem caused by NVIDIA Container.
Methods to Address the NVIDIA Container High CPU Usage Problem
- Open Task Manager by pressing Ctrl+Shift+Esc
- Click on the Services tab
- Scroll down and locate the NVIDIA Telemetry Container service
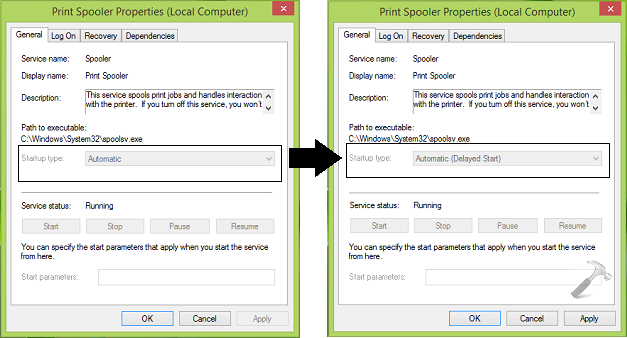
- Right-click on the service and select Properties
- In the General tab, change the Startup type to Disabled
- Click Apply and then OK
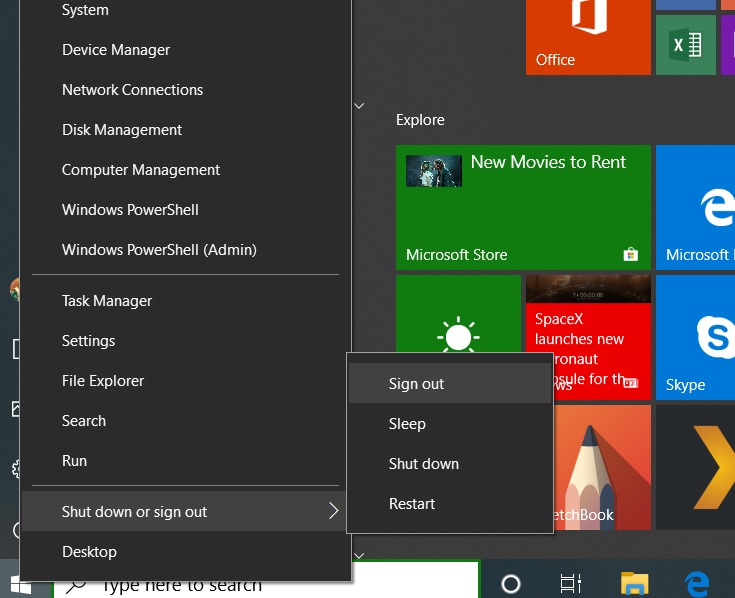
- Restart your computer for the changes to take effect
Method 2: Update your NVIDIA graphics drivers
- Go to the NVIDIA website
- Click on the Drivers tab
- Enter your graphics card details and click Search
- Download the latest driver for your graphics card
- Run the downloaded file and follow the on-screen instructions to install the driver
- Restart your computer after the installation is complete
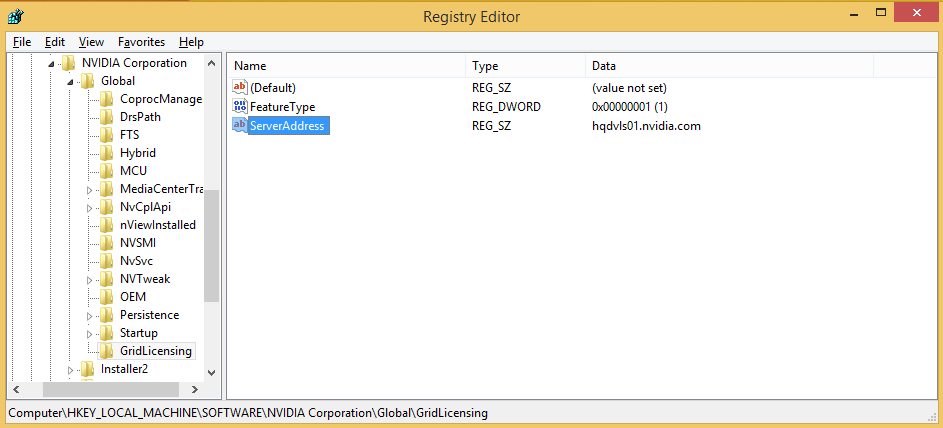
Method 3: Disable NVIDIA Container in the Windows Registry
- Press Win + R to open the Run dialog box
- Type regedit and press Enter
- In the Registry Editor, navigate to HKEY_LOCAL_MACHINE\SOFTWARE\NVIDIA Corporation\Global\NVTweak
- Double-click on NvTweakEnable
- Change the Value data to 0
- Click OK to save the changes
- Close the Registry Editor
- Restart your computer for the changes to take effect
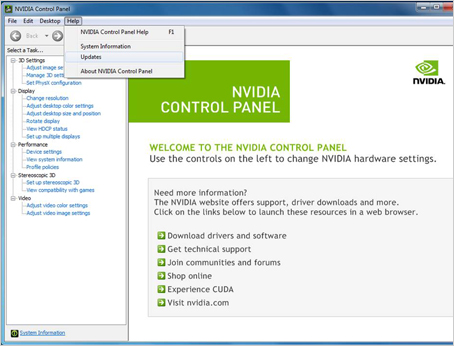
Method 4: Disable NVIDIA Container in the NVIDIA Control Panel
- Right-click on your desktop and select NVIDIA Control Panel
- In the left pane, click on Desktop and then Display GPU Activity Icon in Notification Area
- Uncheck the Show Notification Tray Icon option
- Click Apply and then OK
- Restart your computer for the changes to take effect
python

import subprocess
def check_nvidia_container_cpu_usage():
process = subprocess.Popen(['docker', 'stats', '--no-stream', '--format', '{{.Name}} {{.CPUPerc}}'],
stdout=subprocess.PIPE, stderr=subprocess.PIPE)
stdout, _ = process.communicate()
container_cpu_usages = stdout.decode().split('\n')
for container_cpu_usage in container_cpu_usages:
if 'nvidia' in container_cpu_usage.lower():
container_name, cpu_usage = container_cpu_usage.split()
print(f"Container {container_name} CPU Usage: {cpu_usage}")
check_nvidia_container_cpu_usage()
The above code utilizes the `docker stats` command to fetch CPU usage information for all running containers. It filters the results based on the container name (in this case, looking for “nvidia” in the name) and prints the CPU usage for each matching container.
To use this code, ensure you have Docker installed on your system and run the Python script. It will provide you with CPU usage information for containers with “nvidia” in their name. You can modify the code as per your requirements and add further functionalities to address the high CPU usage problem.
Remember, this is a general code sample, and the NVIDIA container high CPU usage problem might require more specific analysis and debugging.
Optimizing Performance by Managing NVIDIA Container and its Components
NVIDIA Container High CPU Usage Problem Fix
| Component | Description | Optimization Technique |
|---|---|---|
| NVIDIA Container | A lightweight process that provides isolation and resource management for GPU-accelerated applications. | 1. Update NVIDIA drivers to the latest version. 2. Disable unnecessary GPU acceleration in applications. 3. Optimize GPU settings for specific applications. |
| NVIDIA Container Runtime Library (nvidia-container-runtime) | A library used by the NVIDIA Container to manage container execution. | 1. Ensure the runtime library is up to date. 2. Adjust resource limits and constraints for containers. 3. Optimize container configurations for better resource utilization. |
| Docker | A containerization platform used for managing and deploying applications. | 1. Use the latest version of Docker. 2. Enable GPU support and configure resource limits. 3. Optimize Docker configurations for better performance. |
| Operating System | The underlying system that hosts the NVIDIA Container and its components. | 1. Keep the operating system updated with the latest patches. 2. Optimize system resources for GPU workloads. 3. Monitor and manage system processes to ensure efficient resource allocation. |

Mark Ginter is a tech blogger with a passion for all things gadgets and gizmos. A self-proclaimed "geek", Mark has been blogging about technology for over 15 years. His blog, techquack.com, covers a wide range of topics including new product releases, industry news, and tips and tricks for getting the most out of your devices. If you're looking for someone who can keep you up-to-date with all the latest tech news and developments, then be sure to follow him over at Microsoft.