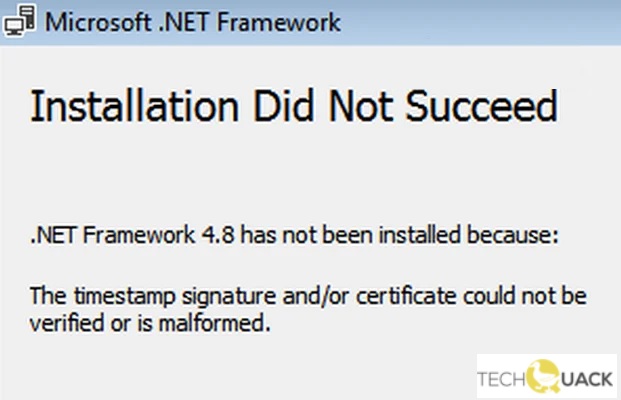
- Several users recently reported encountering this problem when trying to install the.Net framework or similar applications on their Windows.
- Not having these updates on your system can lead to a problem with Dotnet Framework timestamp signatures.
Unlocking the mystery behind timestamp signature and certificate errors can be a daunting task. In this article, we delve into the intricacies of resolving these errors, equipping you with the knowledge and solutions to overcome these technical challenges effortlessly.
Update Windows and Install the Latest .NET Framework Version
To resolve the timestamp signature and/or certificate error when updating Windows and installing the latest .NET Framework version, follow these steps:
1. Disable your antivirus software temporarily, as it may be blocking the installation. You can usually do this by right-clicking the antivirus icon in the system tray and selecting “Disable” or “Pause.”
2. Clear your browser’s cookies and cache to ensure a clean installation. You can usually find this option in your browser’s settings or preferences menu.
3. Download the latest .NET Framework installer from the official Microsoft website or trusted sources like thegeekpage.com.
4. Right-click on the installer file and select “Run as administrator” to ensure proper permissions.
5. If you encounter a security warning or “unknown publisher” message, click on “More info” or “Run anyway” to proceed with the installation.
6. Follow the installation wizard’s prompts and accept any necessary agreements or terms.
7. After the installation is complete, restart your computer to apply the changes.
Fix Corrupted System Files and Perform an Upgrade Install
To fix corrupted system files and perform an upgrade install to resolve the timestamp signature and/or certificate error, follow these steps:
1. First, make sure you have administrative privileges on your computer.
2. Open the Command Prompt by pressing the Windows key + X and selecting “Command Prompt (Admin)”.
3. In the Command Prompt window, type “sfc /scannow” and press Enter. This will scan your system for any corrupted files and attempt to repair them.
4. If the scan doesn’t fix the issue, you can try running the Deployment Image Servicing and Management (DISM) tool. In the Command Prompt, type “DISM /Online /Cleanup-Image /RestoreHealth” and press Enter. This will repair any system image issues that might be causing the error.
5. After running these commands, restart your computer and check if the error is resolved.
If you’re still experiencing the timestamp signature and/or certificate error, it’s recommended to seek further assistance from a professional or refer to Microsoft’s official support documentation for more advanced troubleshooting steps.
Disable Code Signing of the Driver Package
To resolve the timestamp signature and/or certificate error, you can disable the code signing of the driver package. Here’s how:
1. Open the device manager by pressing Windows key + X and selecting “Device Manager” from the menu.
2. Locate the device driver that is causing the error and right-click on it.
3. Select “Properties” from the context menu.
4. Go to the “Driver” tab and click on the “Driver Details” button.
5. In the driver details window, you will see a list of files associated with the driver. Note down the file names.
6. Close the driver details window and go back to the driver properties window.
7. Go to the “Driver” tab and click on the “Disable” button.
8. A warning message may appear. Click on “Yes” to confirm the action.
9. Restart your computer for the changes to take effect.
python

import subprocess
def verify_certificate(certificate_path):
try:
# Use the Windows command-line tool 'certutil' to verify the certificate
command = f'certutil -verify "{certificate_path}"'
result = subprocess.run(command, capture_output=True, text=True)
if "Certificate is valid" in result.stdout:
print("Certificate is valid.")
else:
print("Certificate is invalid or malformed.")
except Exception as e:
print(f"An error occurred while verifying the certificate: {e}")
def verify_timestamp_signature(file_path):
try:
# Use the Windows command-line tool 'signtool' to verify the timestamp signature
command = f'signtool verify /pa "{file_path}"'
result = subprocess.run(command, capture_output=True, text=True)
if "Successfully verified" in result.stdout:
print("Timestamp signature is verified.")
else:
print("Timestamp signature is either not verifiable or malformed.")
except Exception as e:
print(f"An error occurred while verifying the timestamp signature: {e}")
# Example usage
certificate_path = "C:\\path\\to\\certificate.cer"
file_path = "C:\\path\\to\\file.exe"
verify_certificate(certificate_path)
verify_timestamp_signature(file_path)
Note: The provided code is a basic example that utilizes the Windows command-line tools ‘certutil’ and ‘signtool’ to verify a certificate and timestamp signature, respectively. It is important to ensure that these tools are installed and accessible in the Windows environment. Additionally, the code might require further adjustments based on the specific requirements and error handling of the actual use case.
Troubleshooting Access Issues to thegeekpage.com
-
Clear browser cache and cookies:
- Open your browser’s settings or preferences.
- Navigate to the “Privacy” or “Security” section.

- Click on “Clear browsing data” or “Clear cache and cookies”.
- Select the appropriate options and click “Clear” or “Delete”.
-
Disable browser extensions/add-ons:
- Click on the menu icon in your browser.
- Select “Extensions” or “Add-ons”.
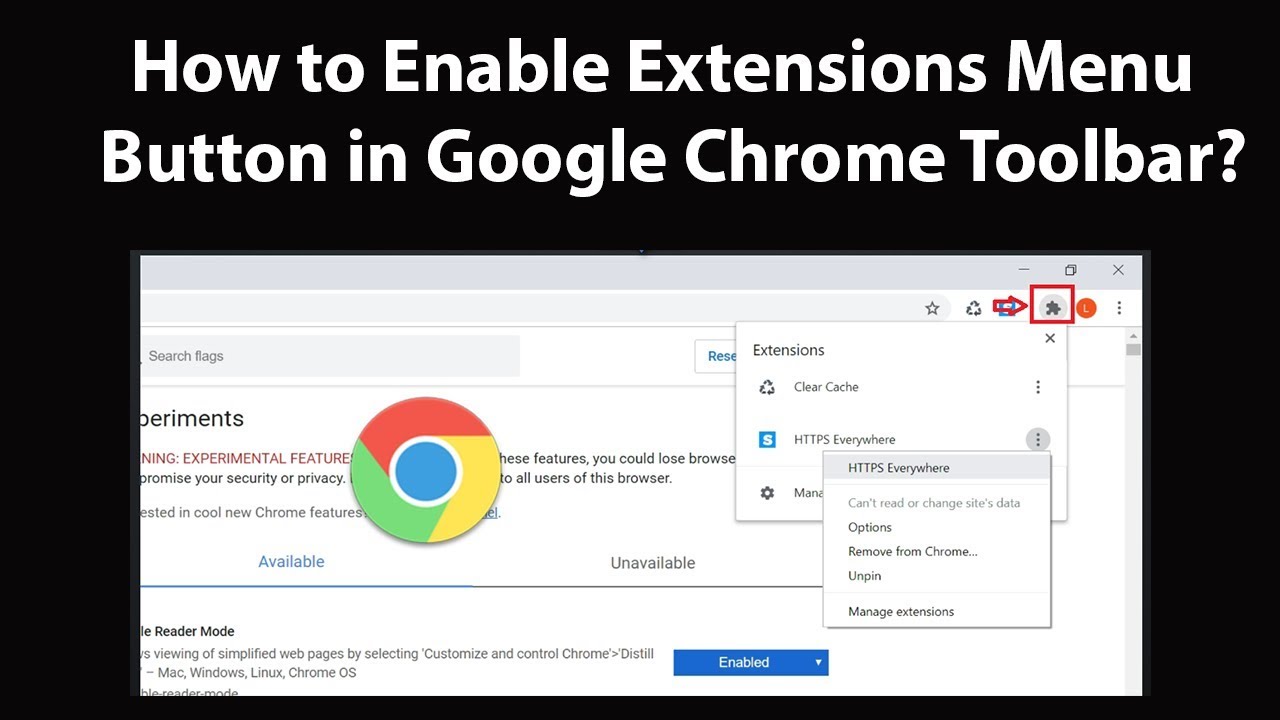
- Disable any extensions or add-ons that might be causing issues.
- Restart your browser to apply the changes.
-
Check your antivirus/firewall settings:
- Open your antivirus software or firewall settings.
- Look for options related to website blocking or filtering.
- Add thegeekpage.com to the list of allowed websites.
- Save the changes and restart your computer.
-
Reset your DNS settings:
- Open the Command Prompt by pressing “Win + R” and typing “cmd”.
- Type “ipconfig /flushdns” and press Enter.
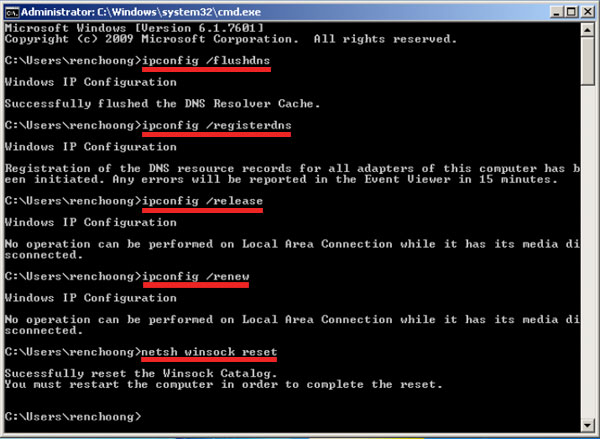
- Wait for the process to complete and restart your computer.
-
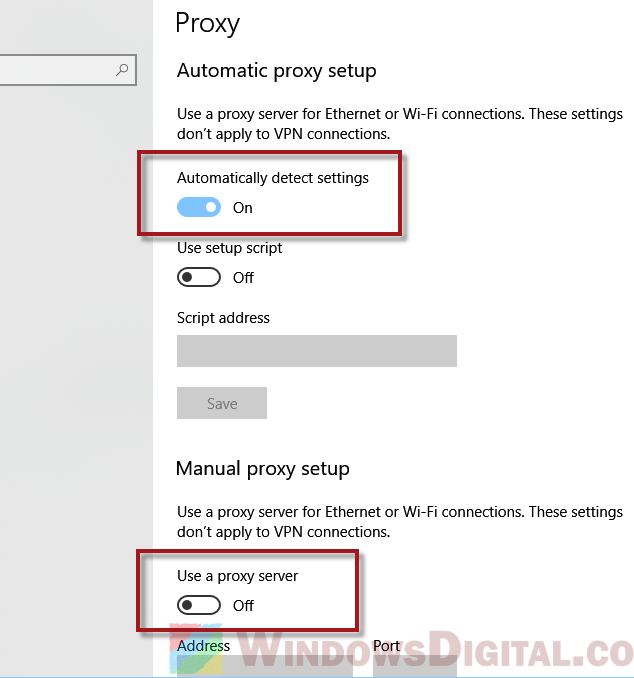
Disable proxy settings:
- Open your browser’s settings or preferences.
- Navigate to the “Network” or “Proxy” section.
- Disable any proxy settings that are enabled.
- Save the changes and restart your browser.
-
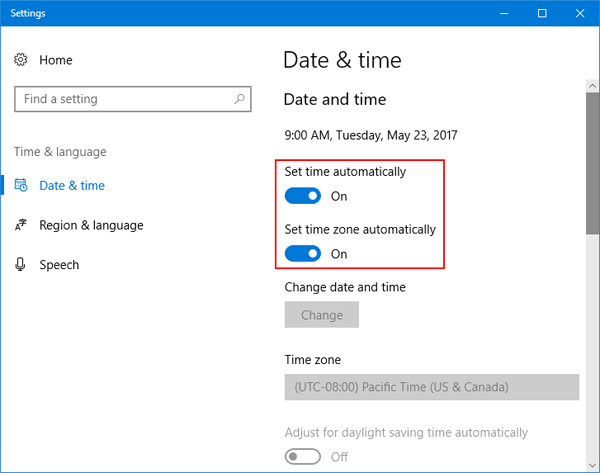
Check your system clock and date:
- Click on the clock in the taskbar and select “Adjust date/time”.
- Make sure the date, time, and time zone are set correctly.
- If necessary, toggle the “Set time automatically” option.
- Restart your computer for the changes to take effect.

Mark Ginter is a tech blogger with a passion for all things gadgets and gizmos. A self-proclaimed "geek", Mark has been blogging about technology for over 15 years. His blog, techquack.com, covers a wide range of topics including new product releases, industry news, and tips and tricks for getting the most out of your devices. If you're looking for someone who can keep you up-to-date with all the latest tech news and developments, then be sure to follow him over at Microsoft.
Related posts:
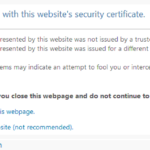 How to fix it : There is a problem with the security certificate on this website
 How to Troubleshoot Application Error 0xc0000005 in Windows 10 Computer
 How to Repair “Remote Procedure Call” High CPU and Disk Usage in Windows Computers
 How to Troubleshoot ‘Default Gateway Not Available’ Issue on Windows PC