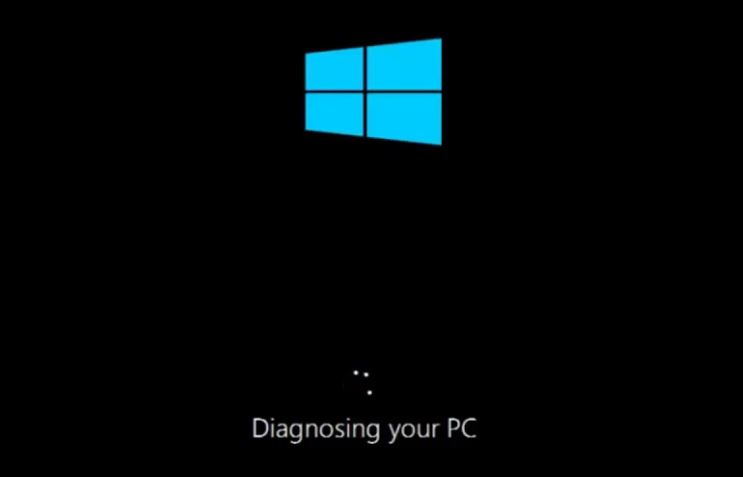
- The “Prepare for auto repair” or “PC Diagnostics” error message in Windows is blocked at startup.
- This article will show you several solutions to fix the ‘Prepare Auto Repair’ error message.
- It turns out that several scenarios cause the computer to hang on the “Diagnose Your PC” screen.
- If data is lost due to these messages, use the Techquack guide to find a solution.
Unlocking the secrets to resolving the frustrating issue of Windows 10 getting stuck during PC diagnosis, this article provides invaluable insights and effective solutions to effortlessly troubleshoot your system.
Troubleshooting Steps for Windows Stuck on “Diagnosing Your PC”
If your Windows 10 PC is stuck on “Diagnosing Your PC,” follow these troubleshooting steps to resolve the issue:
1. Force restart your computer: Press and hold the power button until the device powers off. Then, press the power button again to turn it back on.
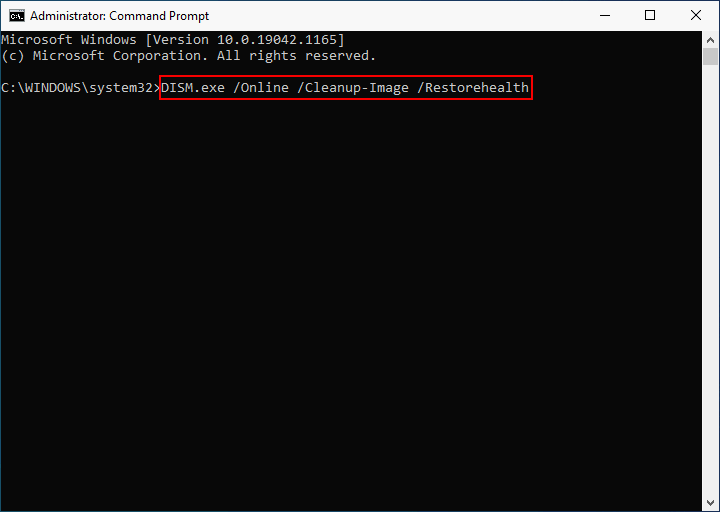
2. Run DISM: Open Command Prompt as an administrator and type “dism /online /cleanup-image /restorehealth” to repair any system file corruption.
3. Run System File Checker: In Command Prompt, type “sfc /scannow” to scan and repair any corrupted files.
4. Try Safe Mode: Restart your computer and repeatedly press the F8 key to access the Advanced Boot Options menu. Select “Safe Mode” to start Windows with a minimal set of drivers and services.
If these steps don’t resolve the issue, you may need to seek further assistance or consider reinstalling Windows.
Clearing Space and Running System Scans to Fix Stuck Windows 10
-
Clear unnecessary files:
- Open the Start menu and type “Disk Cleanup”.
- Select the Drive (C:) option and click “OK”.
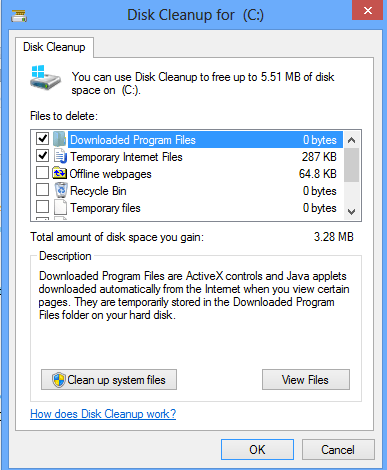
- Check the boxes next to the file types you want to remove.
- Click “OK” and then “Delete Files”.
-
Free up disk space:
- Press Windows Key + R to open the Run dialog box.
- Type “cleanmgr.exe” and press Enter.
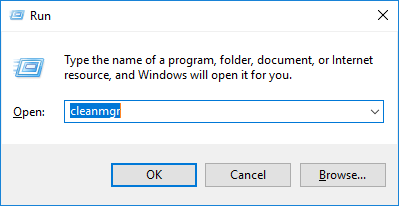
- Select the drive you want to clean up and click “OK”.
- Check the boxes next to the file types you want to delete.
- Click “OK” and then “Delete Files”.
-
Perform a Windows Update:
- Open the Start menu and click on “Settings”.
- Go to “Update & Security”.
- Click on “Check for updates”.
- If updates are available, click on “Download and install”.
- Restart your computer after the updates are installed.
-
Run a System File Checker (SFC) scan:
- Open Command Prompt as an administrator.
- Type “sfc /scannow” and press Enter.

- Wait for the scan to complete.
- If any errors are found, restart your computer.
-
Run a DISM (Deployment Image Servicing and Management) scan:
- Open Command Prompt as an administrator.
- Type “DISM /Online /Cleanup-Image /RestoreHealth” and press Enter.
- Wait for the scan to finish.
- If any issues are found, restart your computer.
Restoring the System and Performing Hard Reboot for Windows Stuck Issue
If your Windows 10 is stuck when diagnosing your PC, you can try restoring the system and performing a hard reboot to resolve the issue. Here’s how:
1. Start by forcing a hard reboot. Press and hold the power button on your device until it shuts down completely. Then, wait a few seconds and turn it back on.
2. If the Windows is still stuck, you can try running DISM (Deployment Image Servicing and Management) and System File Checker to fix any potential corruption issues. Open PowerShell as an administrator and run the following commands:
– Dism /Online /Cleanup-Image /RestoreHealth
– sfc /scannow
3. If neither of these steps resolves the issue, you may need to use a DVD or USB with the Windows installation media to perform a repair. Boot your computer from the DVD or USB and follow the on-screen instructions to repair your operating system.
python

# Sample code to demonstrate a general approach for troubleshooting Windows 10 stuck during diagnosis
# Step 1: Restart the computer
# Often, a simple restart can resolve temporary issues causing the diagnosis process to get stuck.
# Step 2: Boot into Safe Mode
# If the restart doesn't resolve the issue, you can try booting into Safe Mode to isolate any conflicting software or drivers.
# This step might require user intervention and cannot be achieved solely through code execution.
# Step 3: Update drivers and software
# Outdated or incompatible drivers or software can cause system instability. Ensuring they are up to date might help resolve the issue.
# You can check the manufacturer's website or use specific update tools to update drivers and software.
# Step 4: Perform a System File Check
# The System File Checker (SFC) tool scans for and repairs corrupted system files.
# You can run the SFC tool from the command prompt:
# Open Command Prompt as an administrator and execute the following command:
# sfc /scannow
# Step 5: Use Windows Troubleshooters
# Windows 10 provides built-in troubleshooters for various system components and issues.
# Open the Windows Settings, navigate to Update & Security > Troubleshoot, and run relevant troubleshooters.
# Step 6: Reset or reinstall Windows 10
# If all else fails, you may consider resetting or reinstalling Windows 10 to resolve the persistent issue.
# This step involves user intervention and should be executed cautiously, following official guidelines.
# Note: The above steps are general guidelines and might not guarantee a solution for every case. It's advisable to consult official documentation or seek professional assistance if you encounter persistent issues.
Remember, the provided code is a general approach and may not address all possible scenarios or guarantee a fix for Windows 10 stuck during diagnosis. It is always recommended to consult official documentation, relevant forums, or seek professional assistance for specific issues.
Disabling Automatic Startup Repair and Uninstalling Updates to Resolve Stuck Windows 10
To resolve a stuck Windows 10 situation when diagnosing your PC, you may need to disable Automatic Startup Repair and uninstall recent updates. Here’s how:
1. Start by preventing the Automatic Repair feature from running. Restart your machine and wait for the “Preparing Automatic Repair” message to appear. When it does, press and hold the power button to force shut down your computer. Repeat this process three times.
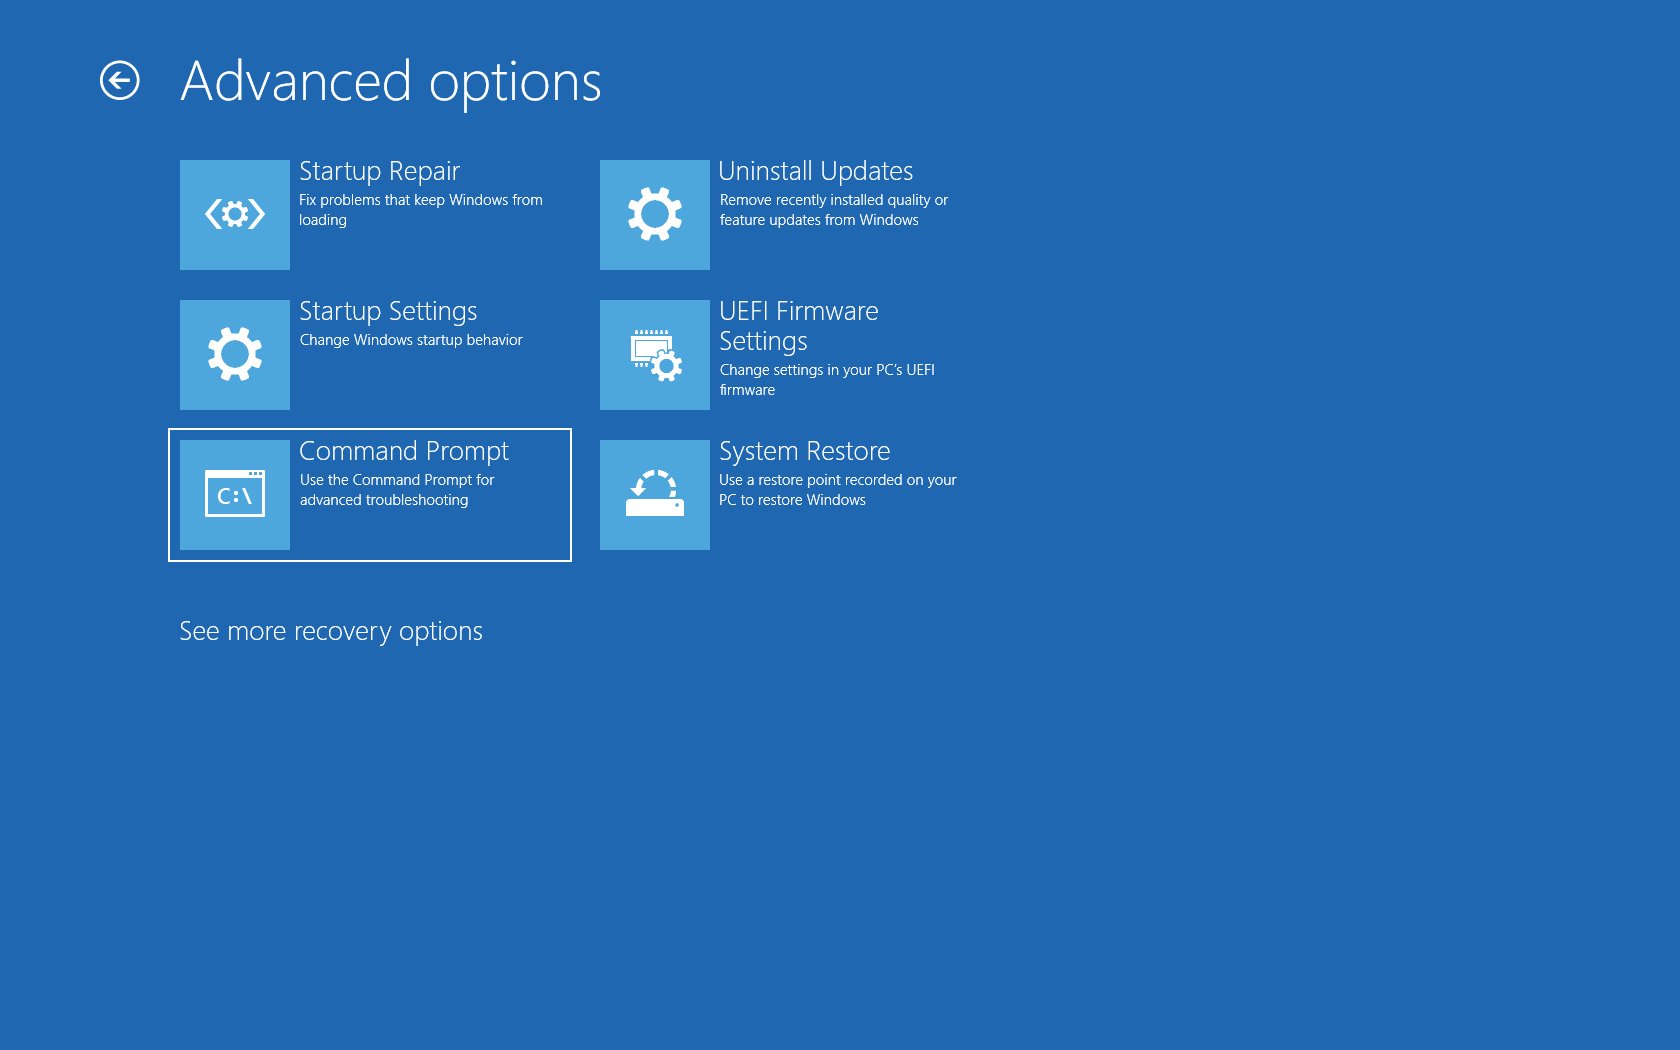
2. After the third attempt, your computer will enter the Automatic Repair screen. Click on “Advanced options” and select “Troubleshoot.”
3. In the Troubleshoot menu, choose “Advanced options” again and then select “Uninstall Updates.” This will allow you to remove any recent updates that may be causing the issue.
4. Follow the on-screen instructions to uninstall the updates. Once completed, restart your computer and check if the problem persists.
By disabling Automatic Startup Repair and uninstalling updates, you can address the issue of Windows 10 getting stuck during diagnostics.
Repairing System Files and Rebuilding BCD to Fix Windows Stuck Problem
If your Windows 10 is stuck when diagnosing your PC, you may need to repair system files and rebuild the BCD (Boot Configuration Data). Here’s how to do it:
1. Run DISM (Deployment Image Servicing and Management) to repair system files. Open Command Prompt as an administrator and type “dism /online /cleanup-image /restorehealth“. This will scan your system and fix any corrupted files.
2. Run System File Checker to check for and repair any missing or corrupted system files. Open Command Prompt as an administrator and type “sfc /scannow“. Wait for the scan to complete and follow any prompts to fix the files.
3. If your computer still can’t start, try rebuilding the BCD. Open Command Prompt as an administrator and type “bootrec /rebuildbcd“. This will scan for Windows installations and add them to the BCD.
Using USB Recovery Drive and Repair Install as Solutions for Windows Stuck
Repair Windows 10 Stuck When Diagnosing Your PC
In this article, we will discuss two potential solutions for fixing a Windows 10 PC that is stuck while diagnosing issues: using a USB recovery drive and performing a repair install.
Using USB Recovery Drive
If your Windows 10 PC is stuck while diagnosing problems, one solution is to use a USB recovery drive. Follow these steps:
- Create a USB recovery drive by connecting a USB flash drive to a working Windows PC.
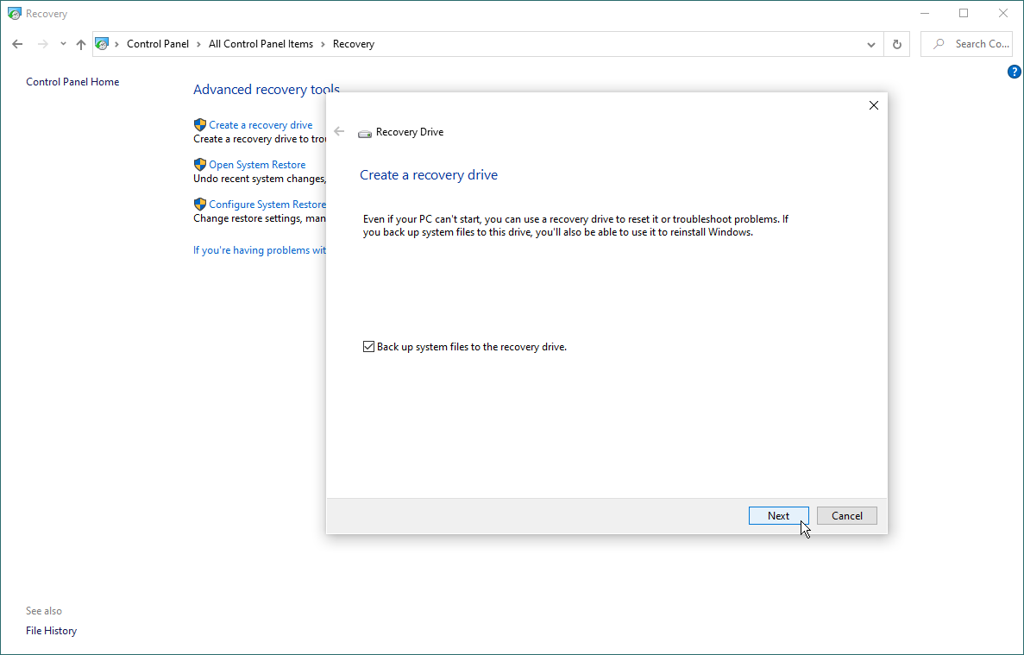
- Open the Control Panel and navigate to the “Recovery” section.
- Click on “Create a recovery drive” and follow the on-screen instructions.
- Once the recovery drive is created, connect it to the affected Windows 10 PC.
- Restart the PC and boot from the USB recovery drive.
- Follow the prompts to access the recovery options and select the appropriate troubleshooting steps.
- Once the necessary repairs are completed, restart the PC and check if the issue is resolved.
Repair Install
If using a USB recovery drive doesn’t resolve the issue, you can try performing a repair install. Here’s how:
- Create a backup of your important files and data.
- Download the Windows 10 installation media from the official Microsoft website.
- Connect the installation media (USB or DVD) to the affected PC.
- Run the setup.exe file from the installation media.
- Select “Upgrade this PC now” and follow the on-screen instructions.
- Choose the option to keep your personal files and apps.
- Wait for the installation process to complete.
- Once the repair install is finished, restart the PC and check if the problem is resolved.
Conclusion
If your Windows 10 PC gets stuck while diagnosing issues, it can be a frustrating experience. However, by using a USB recovery drive or performing a repair install, you have potential solutions to fix the problem and get your PC back to working condition.

Mark Ginter is a tech blogger with a passion for all things gadgets and gizmos. A self-proclaimed "geek", Mark has been blogging about technology for over 15 years. His blog, techquack.com, covers a wide range of topics including new product releases, industry news, and tips and tricks for getting the most out of your devices. If you're looking for someone who can keep you up-to-date with all the latest tech news and developments, then be sure to follow him over at Microsoft.