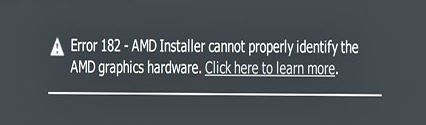
- It’s not uncommon to encounter an error 182 – AMD installer cannot correctly identify AMD graphics hardware.
- D software contains many drivers for various AMD hardware, so AMD can’t find a graphics driver for Windows 10.
- D hardware identification software will be able to find your hardware model and install the driver.
- But if your AMD graphics card models are AMD Embedded graphics, AMD Legacy graphics, and AMD graphics configured for an OEM (Original Equipment Manufacturer) system, then your PC falls into an AMD installer that can’t identify Windows 10 hardware.
Unveiling the Key to Resolving AMD Driver Error 182
AMD Radeon™ Graphics Options for Different Systems
For different systems experiencing AMD Driver Error 182 with AMD Radeon™ Graphics, there are a few steps you can take to fix the issue. First, make sure you have the latest software version by visiting the AMD website and downloading the appropriate driver for your graphics card. If you’re unsure which driver to choose, use the AMD Driver Selector tool.
Once you have the driver downloaded, use a tool like Display Driver Uninstaller (DDU) to completely remove any existing AMD drivers from your system. After uninstalling, restart your computer and then install the new driver.
If you’re still experiencing issues, try installing the driver using the Windows Basic Display Driver. To do this, go to Device Manager and locate your GPU adapter. Right-click on it and select “Update Driver.” Choose the option to browse your computer for drivers and then select the folder where you extracted the AMD driver files (e.g., C:\AMD).
By following these steps, you should be able to resolve the AMD Driver Error 182 and get your graphics card working properly again.
Updating and Installing AMD Drivers
-
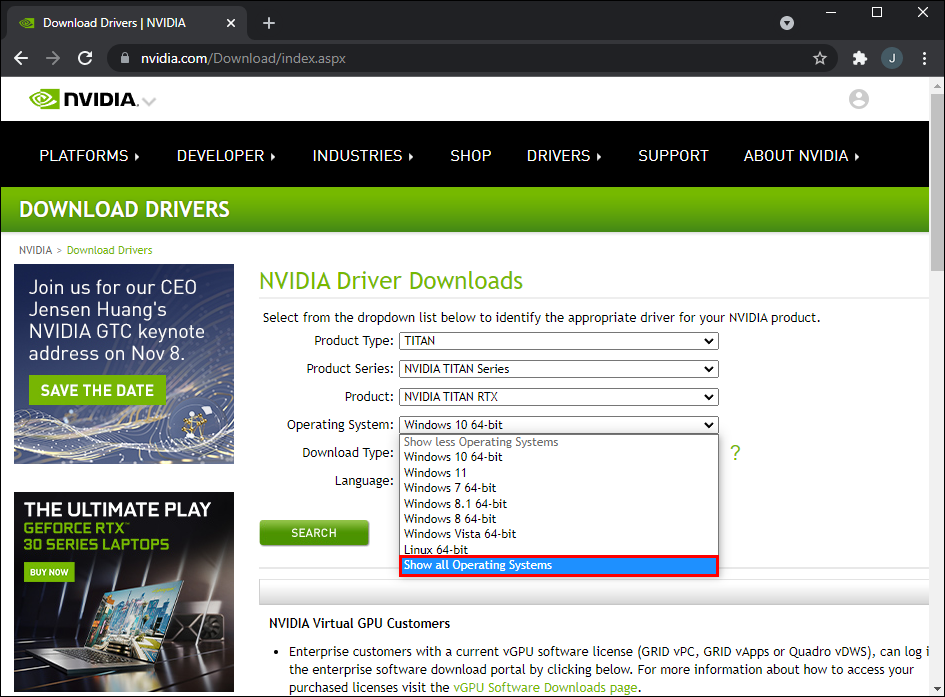
Download the latest AMD drivers:
- Open a web browser and navigate to the official AMD website.
- Locate the “Drivers & Support” section on the website.

- Select your product family, series, and model from the dropdown menus.
- Click on the “Submit” or “Search” button to proceed.
- Find the latest driver version compatible with your operating system.
- Click on the download link to start the download process.
-
Uninstall the existing AMD drivers:
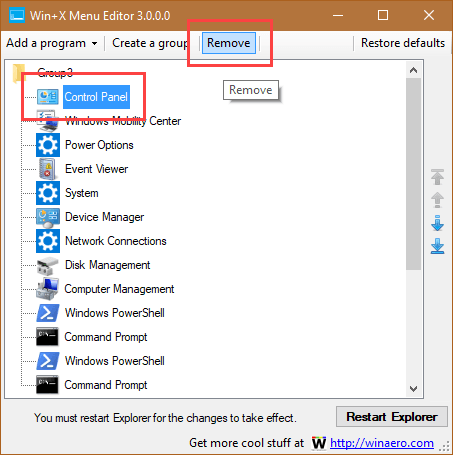
- Press the Windows key + X on your keyboard to open the Power User Menu.
- Select “Device Manager” from the list.
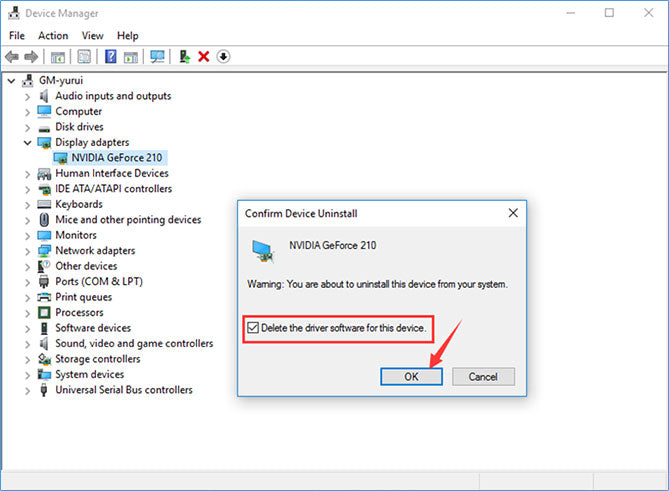
- Expand the “Display adapters” category.
- Right-click on your AMD graphics card and select “Uninstall device”.
- Check the box that says “Delete the driver software for this device” if available.
- Click on the “Uninstall” or “OK” button to confirm the uninstallation.
-
Restart your computer:
- Click on the “Start” or “Windows” button.
- Select the “Power” option.
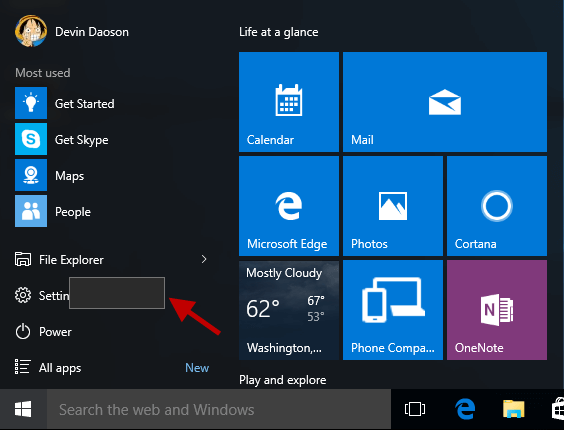
- Choose “Restart” from the dropdown menu.
- Wait for your computer to reboot.
-
Install the downloaded AMD drivers:
- Navigate to the location where you downloaded the AMD driver file.
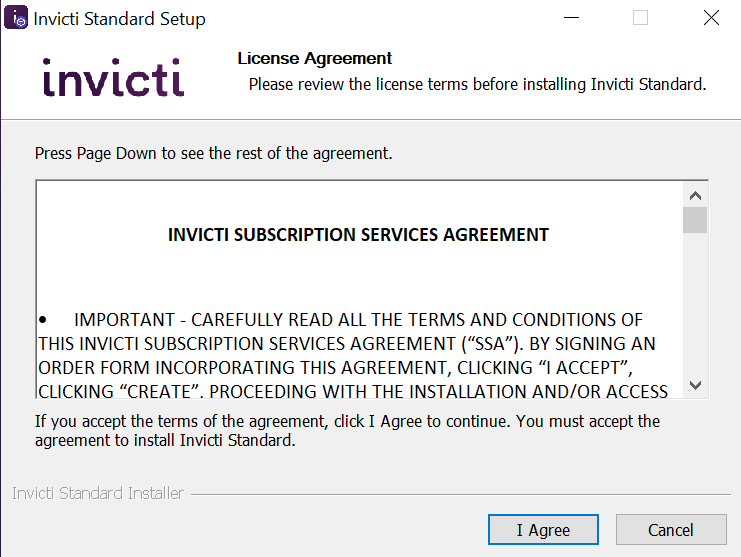
- Double-click on the downloaded file to start the installation.
- Follow the on-screen instructions to proceed with the installation.
- Accept any license agreements or terms of use if prompted.
- Choose the installation options that suit your preferences.
- Wait for the installation process to complete.
-
Restart your computer:
- Click on the “Start” or “Windows” button.
- Select the “Power” option.
- Choose “Restart” from the dropdown menu.
- Wait for your computer to reboot.
Disabling Integrated GPU for AMD Graphics
To disable the integrated GPU for AMD graphics and fix the AMD driver error 182, follow these steps:
1. Open Device Manager by pressing Windows key + X and selecting Device Manager from the menu.
2. Expand the “Display Adapters” section and right-click on your AMD graphics driver.
3. Select “Properties” and go to the “Driver” tab.
4. Click on “Disable Device” to disable the integrated GPU.
5. If prompted, confirm the action.
6. Restart your computer to apply the changes.
7. After the restart, go to the AMD website and download the latest graphics driver for your specific AMD graphics hardware.
8. Run the AMD software installer, and during the installation process, choose the “Custom” installation option.
9. On the “Select Additional Tasks” page, make sure to check the box that says “Clean Install.”
10. Follow the on-screen instructions to complete the installation.
By disabling the integrated GPU and updating your graphics drivers, you should be able to fix the AMD driver error 182 and improve the performance of your AMD Radeon graphics.
Maintaining Privacy and Transparency with AMD Drivers
To maintain privacy and transparency with AMD drivers, follow these steps to fix error 182.
First, identify the driver version causing the issue. Open Device Manager and expand the “Display adapters” section. Note the name of your GPU adapter.
Next, download the latest AMD graphics driver from the official website. Use the AMD Driver Selector to find the best driver for your GPU.
Before installing the new driver, uninstall the current one using Display Driver Uninstaller (DDU). This ensures a clean installation.
Once the old driver is removed, run the AMD Software Installer to install the new driver. Choose a custom installation and select the “Clean Install” option.
During installation, make sure to select the correct installation folder. The default folder is C:\AMD, but you can choose a different location if desired.
After the installation is complete, restart your system and check if the error is resolved. If the problem persists, consider seeking further assistance on forums or Reddit threads.

Mark Ginter is a tech blogger with a passion for all things gadgets and gizmos. A self-proclaimed "geek", Mark has been blogging about technology for over 15 years. His blog, techquack.com, covers a wide range of topics including new product releases, industry news, and tips and tricks for getting the most out of your devices. If you're looking for someone who can keep you up-to-date with all the latest tech news and developments, then be sure to follow him over at Microsoft.