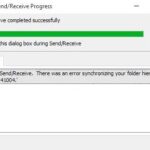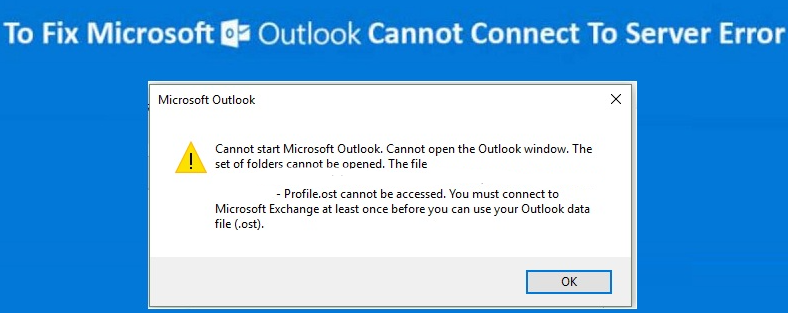
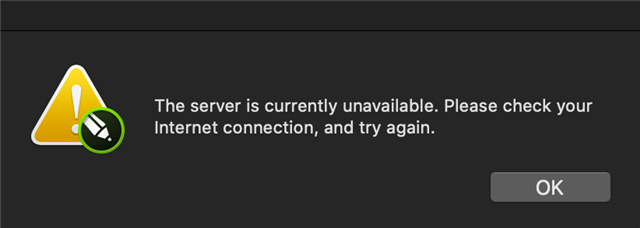
- An Outlook server connection problem prevents you from sending or receiving mail or messages from recipients.
- Don’t panic! Then just try the various troubleshooting tips mentioned below.
- You can ask your IT administrator for help, but what do you do when you’re at home? Try a few troubleshooting tricks yourself and see if you can get Outlook to connect to the Exchange server.
Unraveling the Mystery: Resolving Outlook’s Server Connection Glitch
Verify Account Credentials and Server Name
To fix the “Outlook Not Connect to Server” error, start by verifying your account credentials and server name. First, double-check that you’re using the correct email address and password for your Outlook account. Then, ensure that the server name is entered correctly, including any necessary prefixes (e.g., “mail.” or “smtp.”).
If you’re unsure about your server name, contact your email service provider for assistance. Additionally, make sure your internet connection is stable and functioning properly.
If the issue persists, try using the “Repair” option in Microsoft Outlook to fix any potential glitches or errors. To do this, open Outlook, go to the “File” tab, and select “Account Settings.” Then, choose “Repair” and follow the on-screen instructions.
If none of these steps resolve the problem, consider reaching out to your email service provider or consult online resources for further troubleshooting options. Remember to always keep your Outlook client and operating system up to date for optimal performance.
Check Network Connection
If you’re experiencing “Outlook Not Connect to Server” error, there are a few ways you can check your network connection to resolve the issue.
First, make sure your computer or phone is connected to the internet. Check if other apps or websites are working properly to rule out any general network problems.
Next, verify the settings for your email accounts in Outlook. Go to the “File” menu and select “Account Settings.” Ensure that the incoming and outgoing server settings are correct.
If you’re using an Exchange server, check if there are any server problems or maintenance happening. You can also try accessing your email through a web browser to see if the issue is with the Outlook client.
Another method is to open a web search and look for any reported server issues or outages. This can help you determine if the problem is specific to your system or if it’s a widespread issue.
If none of these solutions work, you can try repairing your Outlook data file (PST). Use Microsoft’s built-in repair tool or a third-party software like Wondershare Repairit to fix any glitches or corruption in the file.
Remember to always keep your Outlook client and operating system up to date to avoid any compatibility issues or security vulnerabilities.
Verify Microsoft Exchange Server Connection
To verify your Microsoft Exchange Server connection in Outlook and fix the “Not Connect to Server” error, follow these steps:
1. Open Outlook and go to the “File” tab.
2. Select “Account Settings” and then choose “Account Settings” again from the dropdown menu.
3. In the Account Settings window, select your email account and click on “Change” at the top.
4. Click on “More Settings” and go to the “Connection” tab.
5. Check the box that says “Connect to Microsoft Exchange using HTTP” and click on the “Exchange Proxy Settings” button.
6. In the Proxy Settings window, enter the address of your Exchange server and check the box that says “Only connect to proxy servers that have this principal name in their certificate.”
7. Enter “msstd:” followed by the address of your Exchange server in the “msstd:” field.
8. Make sure the checkbox for “Connect using SSL only” is checked.
9. Click “OK” to save the settings and then click “Next” and “Finish” to complete the process.
By following these steps, you should be able to verify your Microsoft Exchange Server connection and resolve the Outlook “Not Connect to Server” error.
Use SSL for Exchange Server Connection
To ensure a secure connection between your Exchange Server and Outlook, it is recommended to use SSL. This will help prevent any potential security threats and maintain the confidentiality of your emails.
To enable SSL for your Exchange Server connection, follow these steps:
1. Launch Outlook and go to the “File” tab.
2. Select “Account Settings” and then click on “Account Settings” again.
3. In the “Email” tab, select your Exchange Server account and click on “Change”.
4. Under the “Connection” tab, check the box that says “Encrypt data between Microsoft Outlook and Exchange”.
5. Click on “Next” and then “Finish” to save the changes.
By using SSL, you can ensure that your Outlook connection to the Exchange Server is secure and protected. This will help you avoid any potential server errors or connection problems. Remember to always keep your email client and server settings up to date to ensure a smooth email experience.
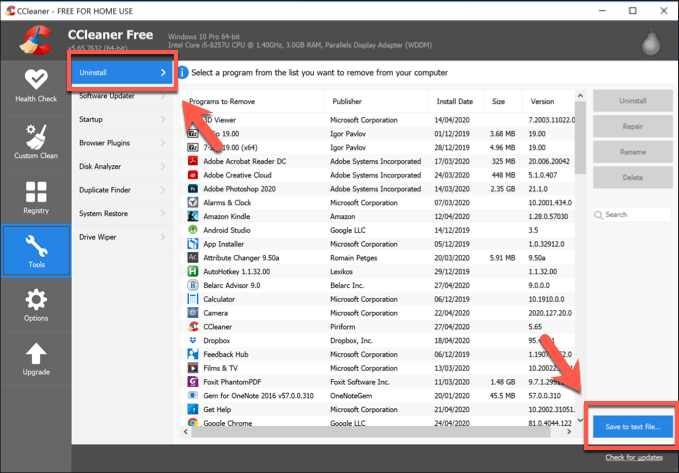
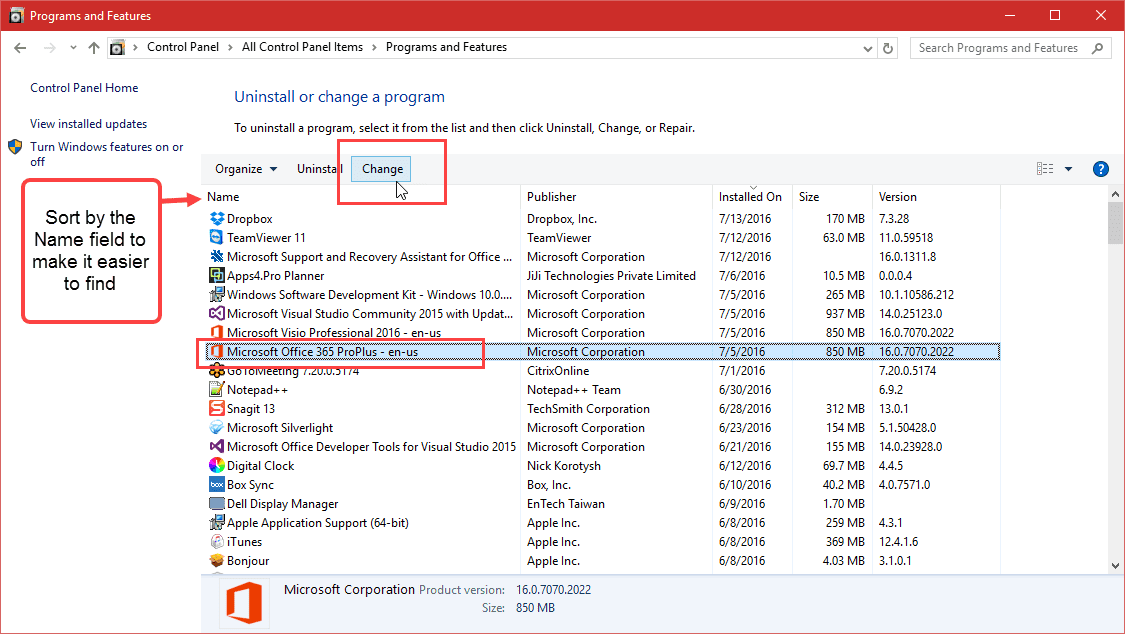
Repair or Reinstall Outlook
| Problem | Solution |
|---|---|
| Outlook not connecting to server |
|
| Repair Outlook installation |
|
| Reinstall Outlook |
|


Mark Ginter is a tech blogger with a passion for all things gadgets and gizmos. A self-proclaimed "geek", Mark has been blogging about technology for over 15 years. His blog, techquack.com, covers a wide range of topics including new product releases, industry news, and tips and tricks for getting the most out of your devices. If you're looking for someone who can keep you up-to-date with all the latest tech news and developments, then be sure to follow him over at Microsoft.