- When Steam crashes, one of the most common error messages is ‘The Steam client loader is not responding’ Problem can be caused by a corrupted game cache, the Steam client is blocked by an antivirus or an outdated graphics driver.
- The date and time on your computer are not set correctly, and you can fix the problem by updating the driver on your device.
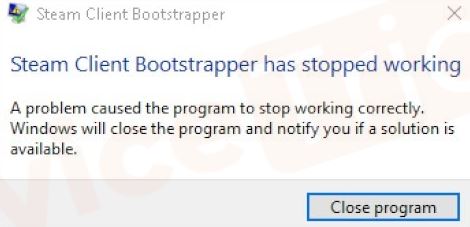
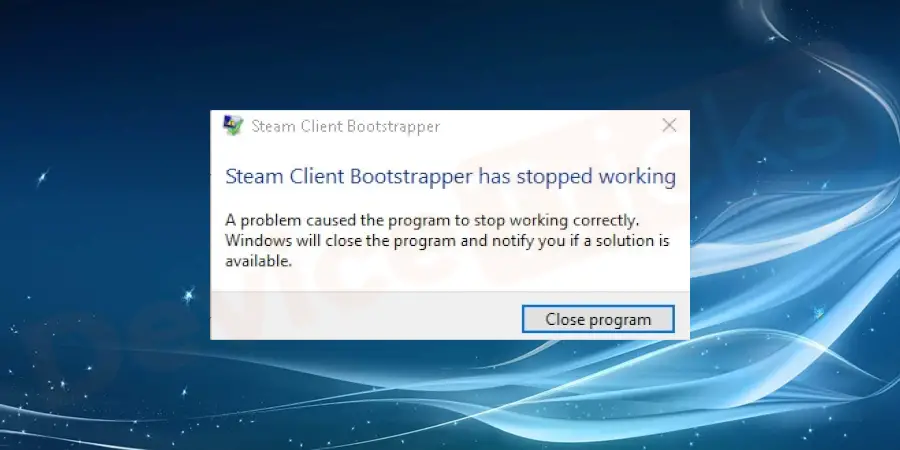
Welcome to this informative article addressing the common issue of Steam Client Bootstrapper not responding. If you’ve encountered this frustrating problem, fear not! We’ve got you covered with practical solutions to get your Steam client up and running smoothly again. So, let’s dive in and resolve this hiccup together!
Disconnecting Xbox 360 controller and disabling beta
To resolve the “Steam Client Bootstrapper Not Responding” problem, you may need to disconnect your Xbox 360 controller and disable the beta. Here’s how:
1. Disconnect the Xbox 360 controller from your PC to eliminate any potential conflicts. Simply unplug the controller from the USB port.
2. Disable the beta version of Steam if you are using it. Go to the Steam client, click on “Steam” in the top-left corner, and select “Settings.” In the “Account” tab, click on “Change” under the “Beta participation” section. Choose the “NONE – Opt out of all beta programs” option, and click “OK.”
3. Reset your Steam client by following these steps:
a. Press the Windows key and R simultaneously to open the Run dialog box.
b. Type “cmd” and press Enter to open the Command Prompt.
c. In the Command Prompt, type the following command and press Enter: steam://flushconfig
d. A dialogue box will appear asking for your confirmation. Click “OK” to proceed.
4. After resetting, restart your PC and launch Steam again. This should resolve the “Steam Client Bootstrapper Not Responding” issue.
Remember to keep your PC and Steam client up to date with the latest updates, and ensure that your antivirus software or firewall is not blocking Steam processes. If the problem persists, check your internet connection and bandwidth usage as high CPU usage or limited bandwidth can cause Steam to stop responding.
Clearing your download cache
To clear your download cache, follow these steps:
1. Close the Steam Client Bootstrapper and make sure all Steam processes are closed.
2. Press the Windows key + R to open the Run dialog box.
3. Type “steam://flushconfig” (without quotes) and press Enter. This will reset your Steam configuration and clear the download cache.
4. Restart your computer and launch Steam again.
Clearing the download cache can fix various issues, such as slow download speeds, game update errors, or game launch failures. It’s worth trying this step if you’re experiencing any of these problems.
If the issue persists after clearing the download cache, there may be other factors at play. Check for any antivirus or firewall applications that could be interfering with Steam. Make sure your internet connection is stable and that you have sufficient bandwidth for downloading games.
By following these steps, you can troubleshoot the Steam Client Bootstrapper Not Responding problem and get back to enjoying your favorite games.
Running the client as administrator
Running the Steam Client as Administrator can help resolve the issue of the Steam Client Bootstrapper not responding. To do this, follow these steps:
1. Close the Steam Client.
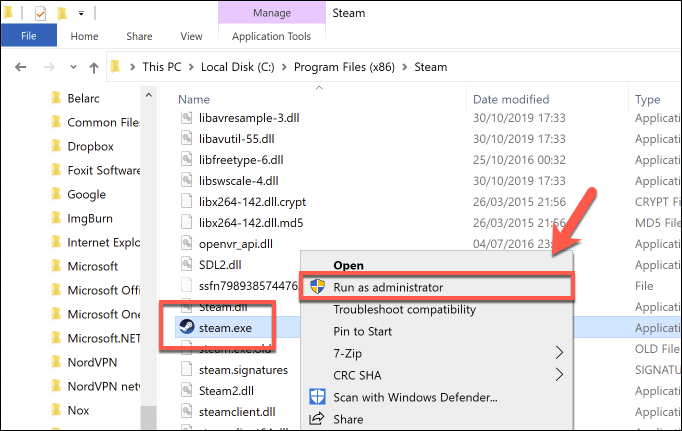
2. Right-click on the Steam shortcut and select “Run as administrator.”
3. If prompted for confirmation, click “Yes.”
Running the client as administrator can provide the necessary permissions for the Steam Client to function properly. By doing this, you can overcome any potential conflicts or restrictions that may be causing the bootstrapper to not respond.
Keep in mind that running the client as administrator should be done with caution, as it grants elevated privileges to the application. It is also worth noting that this fix may not work for all cases of the bootstrapper not responding. If the issue persists, it may be necessary to explore other troubleshooting options, such as verifying the integrity of game files or performing a clean reinstall of the Steam Client.
Disabling Cortana
To resolve the “Steam Client Bootstrapper Not Responding” problem, you may need to disable Cortana. Here’s how:
1. Open the Task Manager by pressing Ctrl + Shift + Esc.
2. Look for the Steam Client Bootstrapper in the list of running processes.
3. Right-click on it and select End Task to close it.
4. Press Win + R to open the Run dialog box.
5. Type regedit and press Enter to open the Registry Editor.
6. Navigate to HKEY_LOCAL_MACHINE\Software\Policies\Microsoft\Windows\Windows Search in the left pane.
7. Right-click on the Windows Search folder and select New > DWORD (32-bit) Value.
8. Name the new value AllowCortana and set its value to 0.
9. Close the Registry Editor and restart your computer.
10. Launch Steam again and check if the problem persists.
Disabling Cortana can help resolve issues with the Steam Client Bootstrapper not responding. Make sure to follow these steps carefully to avoid any unintended consequences.
Disabling VPN programs
If you are experiencing the “Steam Client Bootstrapper Not Responding” issue, it may be due to conflicts with your VPN program. Disabling the VPN temporarily can help resolve this problem.
To disable your VPN, follow these steps:
1. Open the VPN program on your device.
2. Look for an option to disconnect or turn off the VPN. Click on it to disable the VPN.
Once the VPN is disabled, try launching Steam again to see if the issue persists. If the problem is resolved, you can continue using Steam without the VPN or consider using a different VPN program that is compatible with Steam.
Remember to re-enable your VPN after you are done using Steam if you rely on it for privacy and security purposes.
If you continue to experience the “Steam Client Bootstrapper Not Responding” issue even after disabling the VPN, there may be other factors at play. Consider checking your internet bandwidth, updating Steam, or scanning your device for any viruses or malware using a reliable antivirus program.
Checking if Steam is running in compatibility mode
If you’re experiencing the “Steam Client Bootstrapper Not Responding” issue, it’s important to check if Steam is running in compatibility mode. Compatibility mode can cause conflicts and prevent the Steam client from functioning properly.
To check if Steam is running in compatibility mode, follow these steps:
1. Close Steam completely.
2. Press the Windows key + R to open the Run dialog box.
3. Type “steam://flushconfig” (without quotes) and press Enter. This will reset your Steam settings to default.
4. Open Steam again and go to the Settings menu.
5. Click on the “Interface” tab.
6. Uncheck the box that says “Run Steam in compatibility mode for:” if it’s checked.
7. Click “OK” to save the changes.
8. Restart Steam and check if the issue persists.
By ensuring that Steam is not running in compatibility mode, you can resolve the “Steam Client Bootstrapper Not Responding” problem and enjoy uninterrupted gaming.
Adding Steam to your antivirus exceptions
To resolve the Steam Client Bootstrapper Not Responding problem, you may need to add Steam to your antivirus exceptions. Follow these steps:
1. Open your antivirus software and locate the settings or preferences section.
2. Look for an option related to exceptions or exclusions.
3. Add Steam.exe and SteamService.exe to the list of exceptions.
4. Save the changes and exit the antivirus settings.
5. Restart your computer and launch Steam to see if the issue persists.
Adding Steam to your antivirus exceptions can prevent your antivirus program from interfering with Steam’s operations, which may be causing the bootstrapper problem. By following these steps, you can ensure that Steam has the necessary permissions to function properly without compromising your computer’s security.
If the problem persists, consider seeking further assistance from Steam support or your antivirus software’s customer support.
Perform Clean Startup
Performing a clean startup can help resolve the “Steam Client Bootstrapper Not Responding” problem. To do this:
1. Press the Windows key + R to open the Run dialog box.
2. Type “msconfig” and press Enter to open the System Configuration window.
3. Click on the “Services” tab.
4. Check the box that says “Hide all Microsoft services” to prevent disabling essential system processes.
5. Click on “Disable all” to stop all non-Microsoft services from starting up.
6. Go to the “Startup” tab and click on “Open Task Manager.”
7. In the Task Manager, disable any startup programs that are not necessary.
8. Close the Task Manager and go back to the System Configuration window.
9. Click on “Apply” and then “OK” to save the changes.
10. Restart your computer for the changes to take effect.
Performing a clean startup can help identify any conflicting programs or services that may be causing the Steam Client Bootstrapper to stop responding.
Update GPU Drivers
To resolve the Steam Client Bootstrapper Not Responding problem, it is recommended to update your GPU drivers. Outdated drivers can often cause issues with the Steam application. Here’s a step-by-step guide to updating your GPU drivers:
1. Identify your GPU: Open the Device Manager by pressing Windows key + X and selecting “Device Manager.” Look for the “Display adapters” category and expand it to see your GPU’s identifier.
2. Visit the GPU manufacturer’s website: Go to your GPU manufacturer’s website (e.g., NVIDIA, AMD) and navigate to the drivers section.
3. Download the latest drivers: Locate the appropriate driver for your GPU model and download it. Make sure to choose the correct driver for your operating system.
4. Install the drivers: Once downloaded, open the installation file and follow the on-screen instructions to install the updated GPU drivers.
5. Restart your computer: After the installation is complete, restart your computer to apply the changes.
Updating your GPU drivers can often resolve issues with the Steam Client Bootstrapper. If the problem persists, consider reaching out to Steam support for further assistance.
Reset TCP/IP
To resolve the Steam Client Bootstrapper Not Responding problem, you can try resetting the TCP/IP settings. This can help fix any network-related issues that may be causing the problem. Here’s how you can do it:
1. Press the Windows key + R to open the Run dialog box.
2. Type cmd and press Enter to open the Command Prompt.
3. In the Command Prompt, type the following command and press Enter: netsh int ip reset
4. Wait for the process to complete and then restart your computer.
Resetting TCP/IP can help resolve various network problems, including the Steam Client Bootstrapper Not Responding issue. If you’re still experiencing the problem after trying this solution, you may need to explore other troubleshooting options, such as checking for updates, scanning for viruses, or optimizing your internet bandwidth. Remember to consult Steam support or seek assistance from their partners if needed.
Install Steam On A Different Hard Drive
To install Steam on a different hard drive, follow these steps:
1. Launch the Steam client and go to “Steam” in the top-left corner.
2. Select “Settings” from the drop-down menu.
3. In the Settings window, click on the “Downloads” tab.
4. Under “Content Libraries,” click on “Steam Library Folders.”
5. Click on “Add Library Folder” and choose the desired location on your different hard drive.
6. Click “Select” and then “OK” to confirm the new library location.
7. Steam will now install games and other content to the specified hard drive.
By installing Steam on a separate hard drive, you can manage your game library more efficiently and free up space on your main drive.
Update the Date And Time Settings
To update the date and time settings on your computer, follow these steps:
1. Click on the Start menu and select “Settings.”
2. In the Settings window, click on “Time & Language.”
3. Under the “Date & Time” section, make sure the toggle switch for “Set time automatically” is turned on. This will synchronize your computer’s time with the internet.
4. If the time is still incorrect, click on “Change” under “Set the date and time manually” and adjust the date and time accordingly.
5. Additionally, you can click on “Additional date, time, & regional settings” to access more advanced settings.
By keeping your date and time settings up to date, you can ensure that your Steam Client Bootstrapper is not affected by any issues related to incorrect time stamps.
Refresh Client Registry
To resolve the Steam Client Bootstrapper not responding problem, you can try refreshing the client registry. Here’s how:
1. Close the Steam client completely.
2. Press Windows Key + R to open the Run dialog box.
3. Type “regedit” and press Enter to open the Registry Editor.
4. Navigate to the following location: HKEY_CURRENT_USER\Software\Valve\Steam
5. Right-click on the “Steam” folder and select “Delete.”
6. Confirm the deletion and close the Registry Editor.
7. Restart your computer.
8. Launch Steam again and it will recreate the necessary registry entries.
This process should help resolve any issues with the Steam Client Bootstrapper not responding. If the problem persists, you may need to try other troubleshooting steps or reach out to Steam support for further assistance.
Check File System For Your Hard Drive
To resolve the Steam Client Bootstrapper not responding problem, it’s important to check the file system for your hard drive. Follow these steps:
1. Press the Windows key + R to open the Run dialog box.
2. Type “cmd” and press Enter to open the Command Prompt.
3. In the Command Prompt, type “chkdsk /f /r” and press Enter.
4. You will be prompted to schedule a disk check for the next restart. Type “Y” and press Enter.
5. Restart your computer and let the disk check run. This may take some time.
6. Once the disk check is complete, try launching Steam again to see if the issue is resolved.
Checking the file system can help identify and fix any errors or inconsistencies that may be causing the Steam Bootstrapper to not respond. This simple troubleshooting step can often resolve the problem and get you back to playing your Steam games without any issues.
Delete a Config File
To delete a config file and resolve the Steam Client Bootstrapper not responding problem, follow these steps:
1. Close the Steam client completely.
2. Open the File Explorer and navigate to the Steam installation folder (usually located in C:\Program Files\Steam).
3. Locate the “config” folder within the Steam installation directory.
4. Inside the “config” folder, find the file named “config.vdf”.
5. Right-click on the “config.vdf” file and select “Delete” from the context menu.
6. Confirm the deletion when prompted.
7. Restart the Steam client and check if the Bootstrapper not responding problem is resolved.
Note: Deleting the “config.vdf” file will reset some settings in the Steam client. You may need to reconfigure certain preferences and login information after deleting the file.
Remember to ensure that your virus program is not interfering with Steam’s behavior, and that your CPU usage is not abnormally high. Also, make sure your Steam games are up to date and that you have the latest version of Steam installed.
Privacy & Transparency
At Microsoft, we understand the importance of privacy and transparency. When it comes to resolving the Steam Client Bootstrapper Not Responding problem, we want to provide direct and helpful solutions without any fluff.
If you are facing the issue of Steam Client Bootstrapper Not Responding, follow these steps:
1. Clear your cookies and cache. This can help resolve any conflicts that may be causing the issue.
2. Disable any antivirus or virus program temporarily, as it may be interfering with the Steam Client Bootstrapper.
3. Check for any pending updates for your Steam application and make sure it is up to date.
4. Restart your modem to ensure a stable internet connection.
5. In case of high CPU usage, close any unnecessary applications running in the background.
6. If the problem persists, try reinstalling the Steam application.
Remember, your privacy is important to us. We only process data for the purpose of providing the service and do not use it for targeted ads or other business interests without your consent. We strive to be transparent in our data processing behavior, ensuring your trust in our services.
Basic Troubleshooting Methods
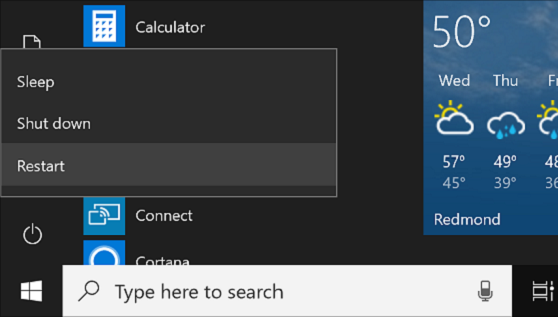
- Restart your computer
- Click on the Start button.
- Select Restart.
- Wait for your computer to reboot.
- Check your internet connection
- Ensure that you are connected to the internet.
- If using Wi-Fi, make sure you have a stable connection.

- If using an Ethernet cable, ensure it is properly connected.
- Close unnecessary programs and processes
- Open Task Manager by pressing Ctrl+Shift+Esc.
- Go to the Processes tab.
- Terminate any unnecessary programs or processes that may be consuming system resources.
- Restart the Steam Client Bootstrapper.
- Run Steam as an administrator
- Locate the Steam shortcut or executable.
- Right-click on it and select Run as administrator.
- If prompted for permission, click Yes.
- Update Steam
- Open Steam and go to the Steam menu.
- Select Check for Steam Client Updates.
- If an update is available, follow the prompts to install it.
- Repair Steam installation
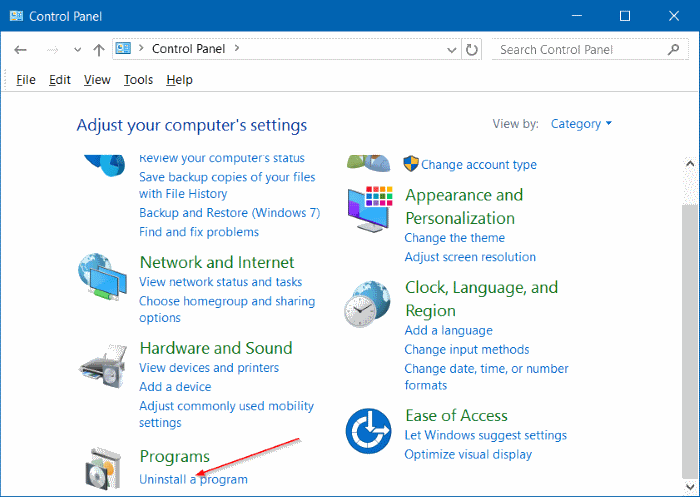
- Open Control Panel on your computer.
- Select Uninstall a program or Add or Remove Programs.
- Locate Steam in the list of installed programs.
- Right-click on it and select Repair.
- Follow the on-screen instructions to complete the repair process.
- Reinstall Steam
- Open Control Panel on your computer.
- Select Uninstall a program or Add or Remove Programs.
- Locate Steam in the list of installed programs.
- Right-click on it and select Uninstall.
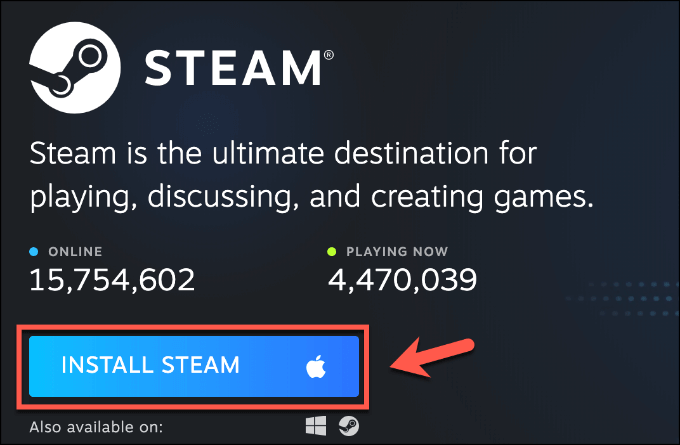
- Download the latest version of Steam from the official website.
- Install Steam by following the on-screen instructions.
- Contact Steam Support
- If none of the above methods resolve the issue, visit the Steam Support website.
- Submit a support ticket explaining the problem and steps you have already taken.
- Wait for a response from the Steam support team.
Run Big Picture Mode
If you’re experiencing the Steam Client Bootstrapper not responding problem, follow these steps to resolve it.
First, close the Steam application completely.
Next, press the Windows key + R to open the Run dialog box. Type “taskmgr” and hit Enter to open Task Manager.
In the Processes tab, locate “Steam Client Bootstrapper” and end the process by right-clicking and selecting “End task”.
Now, navigate to the Steam installation folder on your computer. This is usually located at “C:\Program Files (x86)\Steam”.
Find and delete the “htmlcache” folder within the Steam folder.
After that, open the Steam application again. It should now run smoothly without any issues.
If the problem persists, try restarting your computer and running Steam as an administrator.
These steps should help you resolve the Steam Client Bootstrapper not responding problem and get back to enjoying your games.
Reset Winsock
If you’re experiencing the frustrating issue of the Steam Client Bootstrapper not responding, one possible solution is to reset Winsock. This can help resolve any network-related problems that may be causing the Steam Bootstrapper to freeze or become unresponsive.
To reset Winsock, follow these steps:
1. Close the Steam application completely.
2. Press the Windows key + R to launch the Run dialog box.
3. Type “cmd” and press Enter to open the Command Prompt.
4. In the Command Prompt, type “netsh winsock reset” and press Enter.
5. Wait for the process to complete. You may see a message indicating that the Winsock catalog has been reset successfully.
6. Restart your computer.
After the restart, launch Steam again and check if the Steam Client Bootstrapper not responding problem has been resolved. If not, you may need to try other troubleshooting steps or seek further assistance from Steam support.
Remember, resetting Winsock can help with network-related issues, but it may not fix all problems with the Steam Client Bootstrapper.
Reset IP Settings
If you’re experiencing the “Steam Client Bootstrapper Not Responding” problem, resetting your IP settings may help resolve it. To do this:
1. Press the Windows key + R to open the Run dialog box.
2. Type “cmd” and press Enter to open the Command Prompt.
3. In the Command Prompt, type “ipconfig /release” and press Enter to release your IP address.
4. Type “ipconfig /renew” and press Enter to renew your IP address.
5. Finally, type “ipconfig /flushdns” and press Enter to flush the DNS cache.
These steps will reset your IP settings and can often resolve issues with the Steam Client Bootstrapper not responding. If the problem persists, you may need to reach out to Steam support for further assistance. Remember to restart your computer after completing these steps.
Add Exception in Antivirus
If you are experiencing the “Steam Client Bootstrapper Not Responding” problem and have an antivirus program installed, you may need to add an exception for Steam in your antivirus settings. Adding an exception allows the antivirus to exclude Steam from its scanning and monitoring processes, which can help resolve the issue. Here’s how to add an exception in your antivirus:
1. Open your antivirus program and navigate to its settings or options menu.
2. Look for an option related to “exclusions” or “exceptions.”
3. Add the Steam installation folder as an exception by selecting the folder or browsing for it manually.
4. Save the changes and exit the antivirus settings.
By adding this exception, you are ensuring that the antivirus program does not interfere with Steam’s functionality, allowing it to run smoothly without any “Not Responding” errors. Remember to follow similar steps if you have multiple antivirus programs installed.
Reinstall Steam
If your Steam Client Bootstrapper is not responding, follow these steps to reinstall Steam and resolve the issue.
1. Uninstall Steam completely from your computer.
2. Visit the official Steam website and download the latest version of the Steam installer.
3. Run the installer and follow the on-screen instructions to reinstall Steam.
4. After the installation is complete, launch Steam and sign in to your account.
5. If the issue persists, try disabling any antivirus or firewall software temporarily to see if it is causing the problem.
6. Ensure that your internet connection is stable and not experiencing any issues.
7. If all else fails, contact Steam Support for further assistance.
Remember to back up any important game files or settings before reinstalling Steam to avoid losing any data. With these steps, you should be able to resolve the Steam Client Bootstrapper not responding problem and get back to gaming without any interruptions.

Mark Ginter is a tech blogger with a passion for all things gadgets and gizmos. A self-proclaimed "geek", Mark has been blogging about technology for over 15 years. His blog, techquack.com, covers a wide range of topics including new product releases, industry news, and tips and tricks for getting the most out of your devices. If you're looking for someone who can keep you up-to-date with all the latest tech news and developments, then be sure to follow him over at Microsoft.