- The mouse wheel usually jumps when the user is scrolling the page.
- This problem can occur for desktop and laptop users, as long as a mouse is connected to their device.
- If your mouse wheel jumps, you may have outdated, corrupt, or missing drivers.
Unlock the secret to seamless navigation on your Windows 10 device as we delve into the perplexing world of mouse zooming versus scrolling.
Troubleshooting Mouse Zoom Issues on Windows
If your mouse is zooming instead of scrolling on Windows 10, there are a few repair strategies you can try.
First, make sure the CTRL key on your keyboard is not stuck. Press it a few times to ensure it’s functioning properly.
Next, check your mouse settings. Go to “Properties” in the Control Panel and navigate to the “Wheel” tab. Make sure the “One screen at a time” option is selected.
If the issue persists, try testing your mouse in different scenarios. Use it in applications like Excel, Photoshop, or File Explorer to see if the problem occurs across different programs.
If none of these methods work, it’s possible that there may be an issue with your mouse or the software it uses. Contact the manufacturer or check for updates for your mouse’s specific software, such as Synaptics for touch screen devices.
Remember, if you encounter any issues, you can always reach out to our support team or visit our website for further assistance.
Methods to Disable Zoom Functionality on Windows
To disable zoom functionality on Windows 10 and fix mouse zooming instead of scrolling, follow these steps:
1. Press the Windows key + I to open the Settings app.
2. Click on “Ease of Access”, then select “Mouse” from the left sidebar.
3. Under the “Mouse” section, locate the “Scroll Inactive Windows when I hover over them” option and toggle it off.
4. If the issue persists, press the Windows key + X and select “Device Manager”.
5. Expand the “Mice and other pointing devices” category and right-click on your mouse device.
6. Choose “Properties” and go to the “Driver” tab.
7. Click on “Roll Back Driver” if available, or select “Uninstall Device” and restart your computer to let Windows reinstall the driver automatically.
These steps should resolve the mouse zooming issue and restore normal scrolling functionality on your Windows 10 device. Remember to check for any specific software settings for certain applications like Excel, Blender, Photoshop, Tekla, Visual Studio, or others if the problem persists within those programs.
Resolving Access Issues on thegeekpage.com
If you’re experiencing issues with your mouse zooming instead of scrolling on Windows 10, there are a few possible solutions you can try.
First, check if the Ctrl key on your keyboard is stuck or pressed down. Sometimes, a stuck Ctrl key can cause this problem. If this is the case, gently press the Ctrl key a few times to see if it releases.
Another potential culprit could be a third-party software like Synaptics. Try disabling any third-party mouse or touchpad software and see if the issue persists.
If you’re using a touch screen, make sure to disable the “Pinch to Zoom” feature in your touch settings. This feature can interfere with the scrolling function.
If none of these solutions work, you can try repairing your mouse driver. Open the Device Manager, locate your mouse driver, right-click on it, and select “Update driver” or “Uninstall device”. Then, restart your computer to let Windows reinstall the driver.
Testing your mouse with a different computer or using a different mouse on your computer can also help determine if the issue is with your mouse or your computer.
Remember to always keep your Windows 10 up to date by installing the latest updates from Microsoft.
python

import pyautogui
def set_scroll_speed(scroll_speed):
# Get the current scroll speed setting
current_speed = pyautogui.getScrollAmount()
# Adjust the scroll speed by multiplying the current speed by a factor
new_speed = current_speed * scroll_speed
# Set the new scroll speed
pyautogui.scrollAmount(new_speed)
# Example usage: Adjust the scroll speed by a factor of 2 (doubles the speed)
set_scroll_speed(2)
Please note that this code uses the `pyautogui` library, which provides a cross-platform way to control the mouse and keyboard programmatically. However, it can only affect the behavior within the application it is executed in and cannot change the global mouse settings.
Steps to Unblock and Regain Access to thegeekpage.com
-
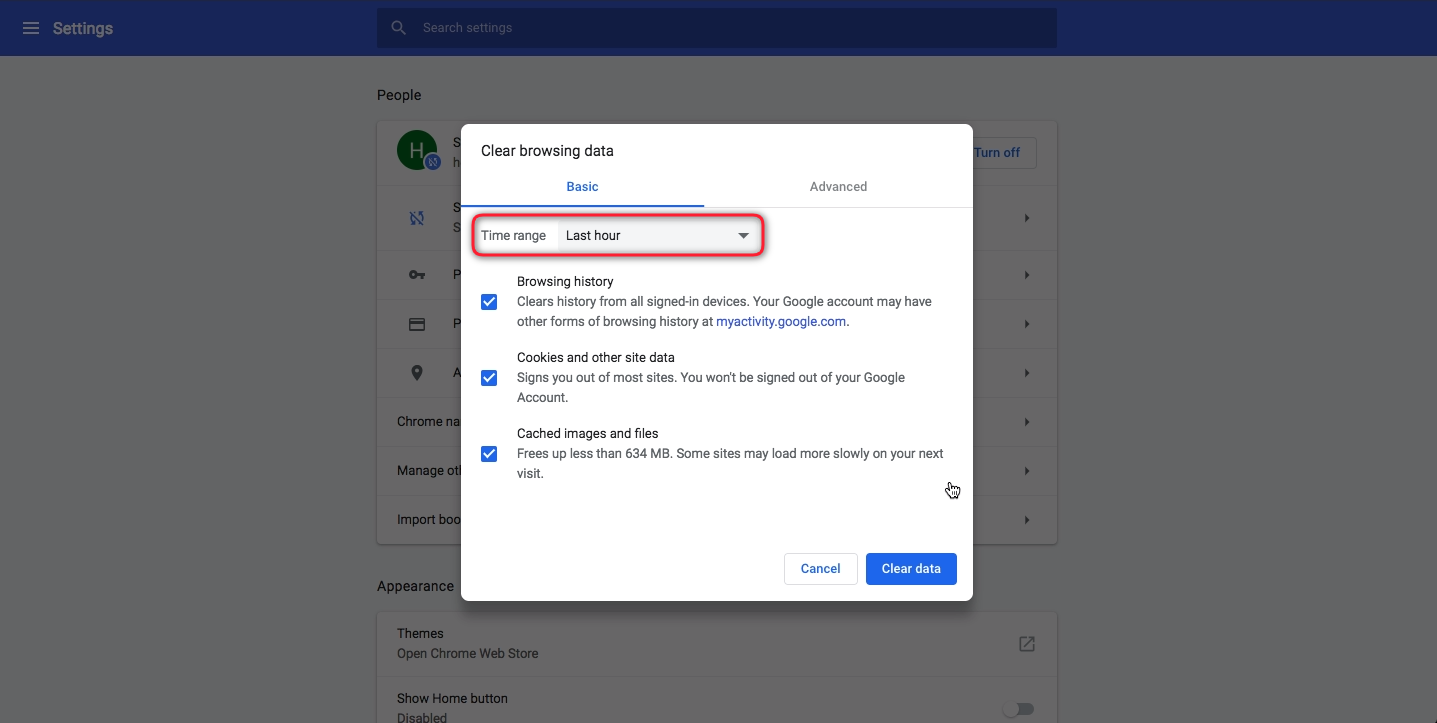
Clear the Browser Cache:
- Open the browser settings.
- Click on “Privacy and Security” or “Clear Browsing Data”.
- Select the option to clear the cache.
- Click on “Clear” or “Delete” to remove the cache.
-
Disable Proxy or VPN:
- Open the browser settings.
- Navigate to the “Network” or “Connections” section.
- Disable any proxy or VPN settings.
- Save the changes and restart the browser.
-
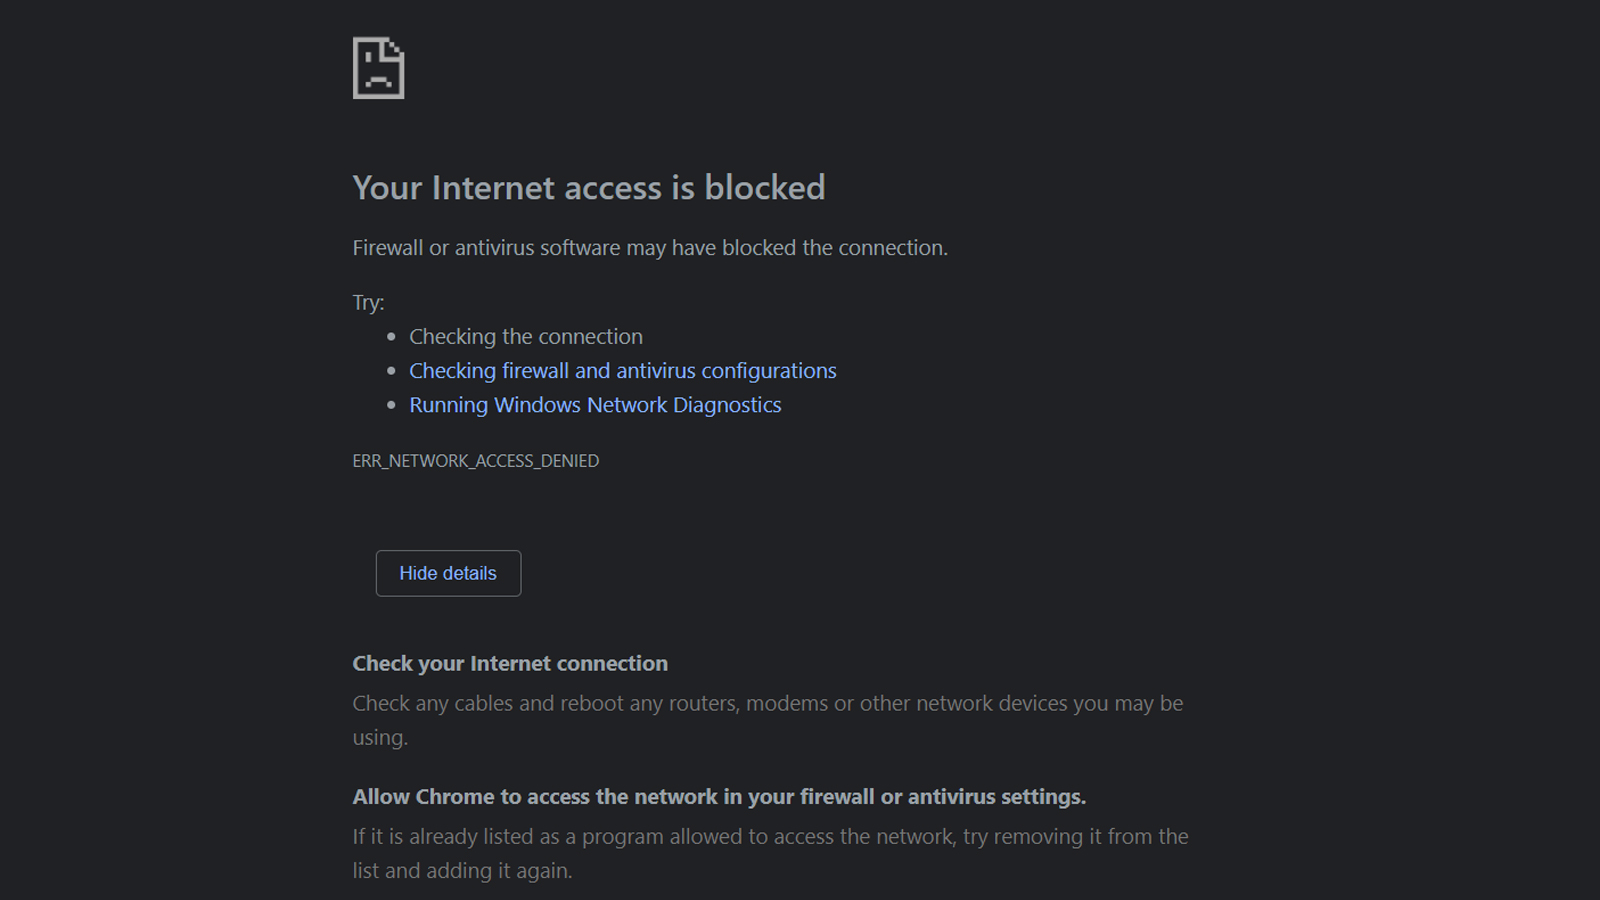
Check Firewall and Antivirus Settings:
- Open the Windows Security or Firewall settings.
- Ensure that thegeekpage.com is not blocked by the firewall.
- Add an exception or allow the website in the firewall settings.
- Check the antivirus software settings and ensure it does not block the website.
-
Flush DNS Cache:
- Open the Command Prompt as an administrator.
- Type the command “ipconfig /flushdns” and press Enter.
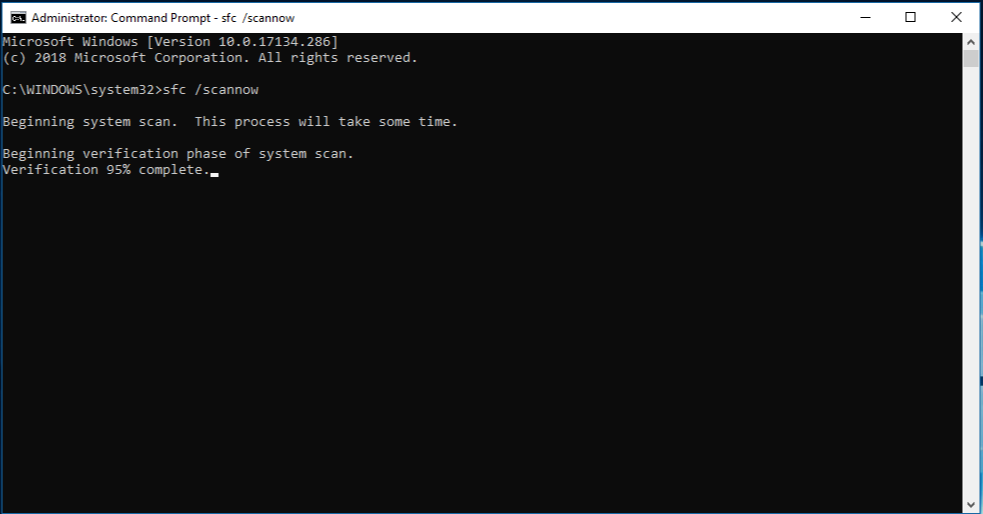
- Wait for the process to complete and close the Command Prompt.
-
Reset TCP/IP:
- Open the Command Prompt as an administrator.
- Type the command “netsh int ip reset” and press Enter.
- Restart your computer to apply the changes.
-
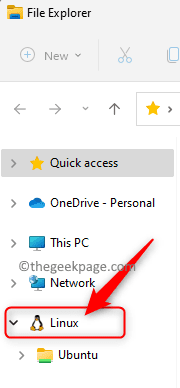
Modify Hosts File:
- Open File Explorer and navigate to the following location: C:\Windows\System32\drivers\etc.
- Find the file named “hosts” and open it with a text editor (e.g., Notepad).
- If there is an entry related to thegeekpage.com, delete or comment it out by adding “#” at the beginning of the line.
- Save the changes and close the text editor.
-
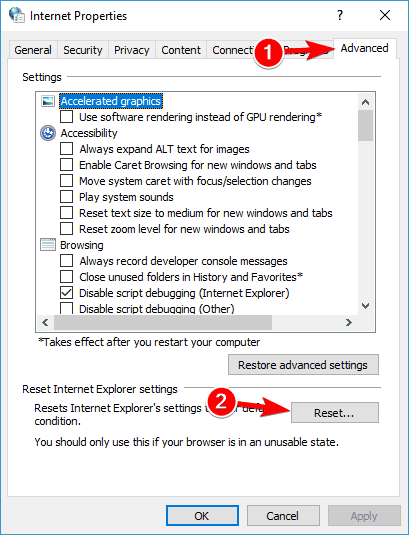
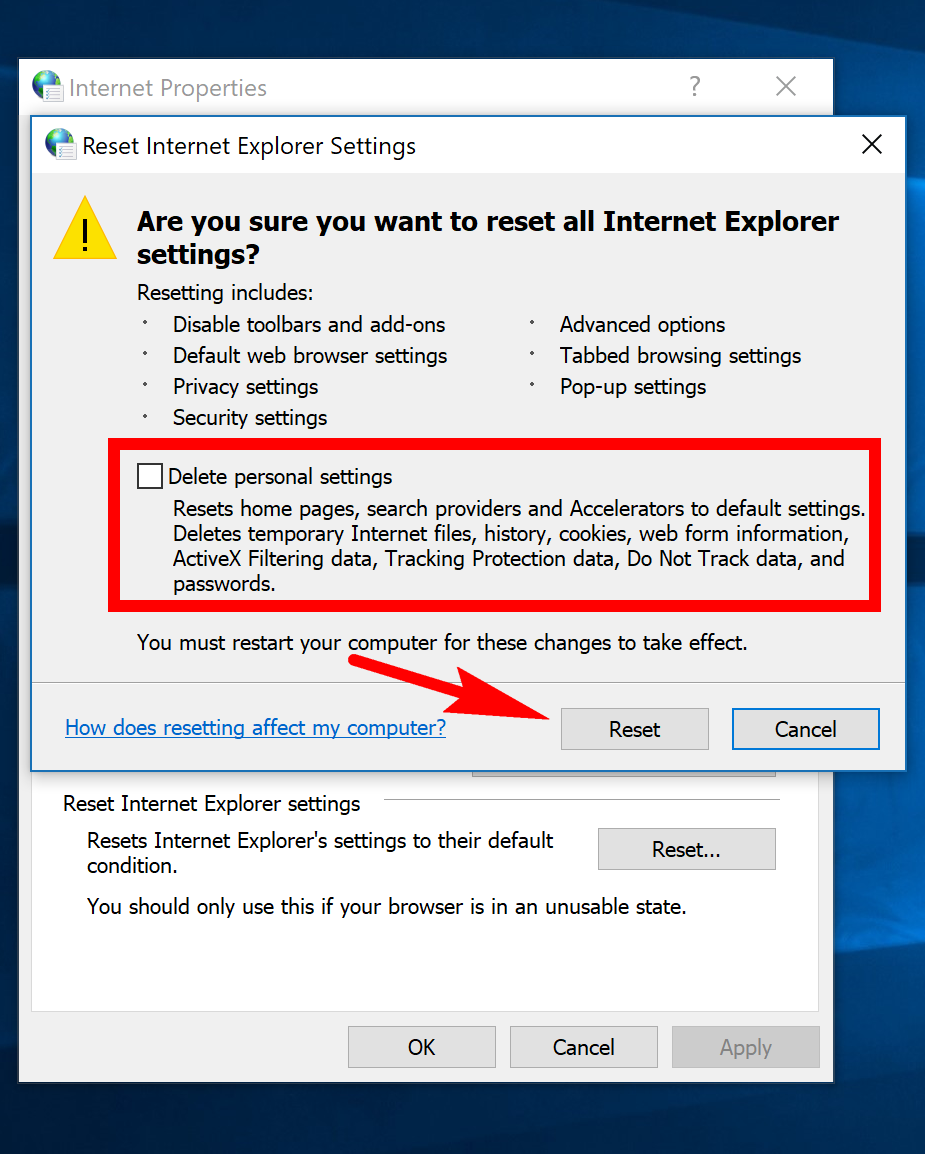
Reset Internet Options:
- Open the Control Panel.
- Click on “Internet Options”.

- Navigate to the “Advanced” tab.
- Click on the “Reset” button.
- Check the option to delete personal settings.
- Click on “Reset” to confirm.
-
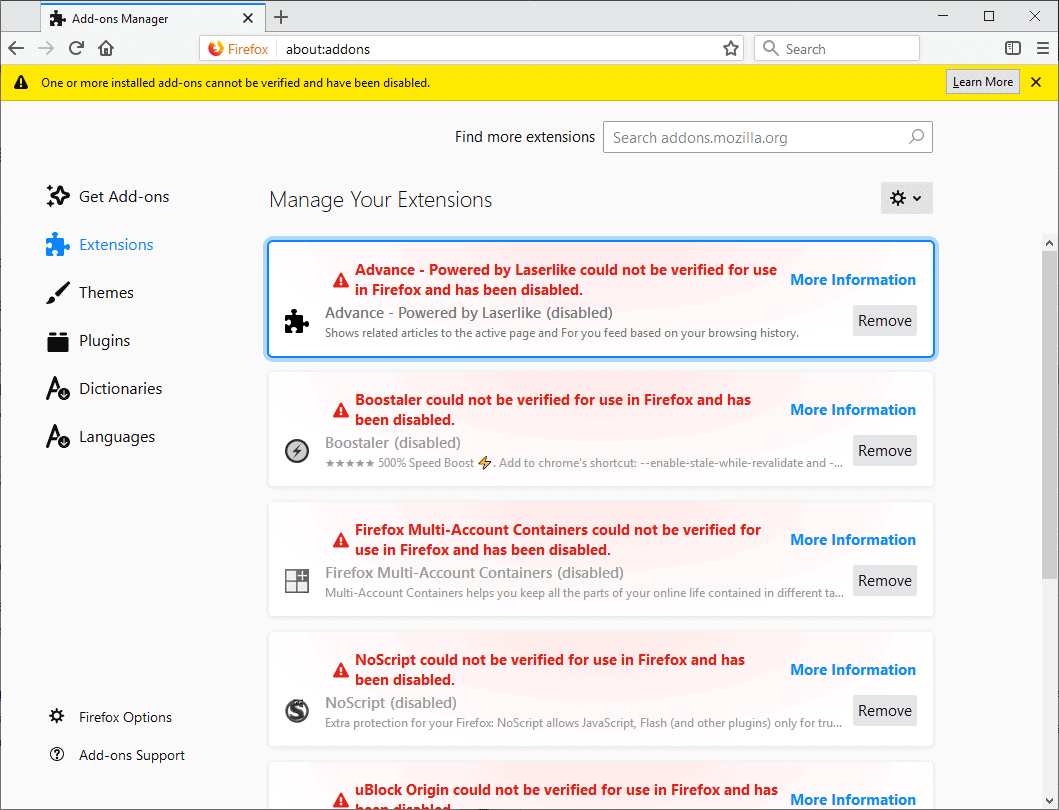
Disable Browser Extensions:
- Open the browser settings.
- Access the “Extensions” or “Add-ons” section.
- Disable any extensions or add-ons that may be causing conflicts.
- Restart the browser to apply the changes.
-
Restart the Router or Modem:
- Locate the power switch on your router or modem.
- Turn off the device.
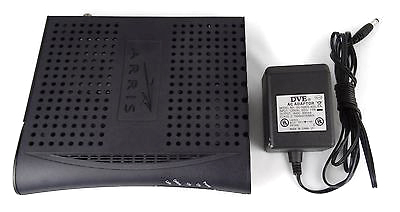
- Wait for a few seconds and turn it back on.
- Wait for the device to establish a connection.
-
Try a Different Browser:
- If you have another browser installed, open it.
- Visit thegeekpage.com in the alternative browser.
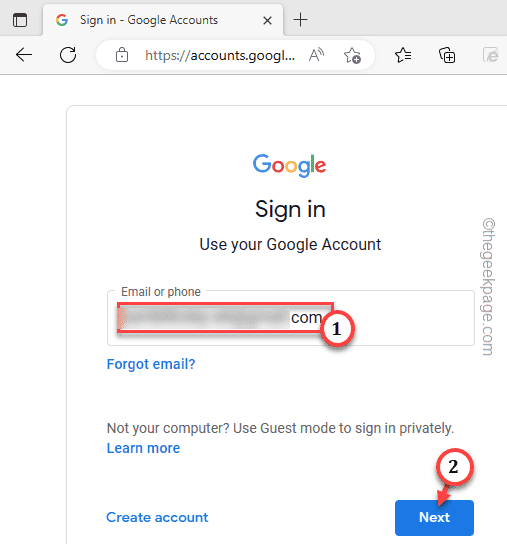
- If the website loads correctly, the issue may be specific to the previous browser.

Mark Ginter is a tech blogger with a passion for all things gadgets and gizmos. A self-proclaimed "geek", Mark has been blogging about technology for over 15 years. His blog, techquack.com, covers a wide range of topics including new product releases, industry news, and tips and tricks for getting the most out of your devices. If you're looking for someone who can keep you up-to-date with all the latest tech news and developments, then be sure to follow him over at Microsoft.