- If your Windows 10 computer isn’t starting properly, you can use Startup Repair to diagnose and fix problems.
- This tool will automatically scan your system for common problems and attempt to fix them.
- If Startup Repair is successful, you’ll see a message telling you so.
- You can then restart your computer and try booting normally.
- Make sure that your PC is up to date with the latest security updates and patches.
Introducing a Solution for Device Connectivity Woes
Troubleshooting Methods for “A Required Device Isn’t Connected or Can’t Be Accessed” Error
If you encounter the “A Required Device Isn’t Connected or Can’t Be Accessed” error on your Windows 10 PC, here are some troubleshooting methods to fix the issue:
1. Check the connections: Ensure that the device, such as a USB or DVD drive, is properly connected to your computer. Disconnect and reconnect the device to make sure it is securely plugged in.
2. Restart your PC: Sometimes a simple restart can resolve the problem. Turn off your PC and then press the power button to turn it back on.
3. Use Startup Repair: If the error persists, try using the Startup Repair feature. Boot your PC using the installation media (DVD or USB) and select “Repair your computer” > “Troubleshoot” > “Advanced options” > “Startup Repair”.
4. Rebuild BCD: In some cases, the error may be caused by corrupted bootloader files. Open the command prompt in the Startup Repair menu and run the following commands: “bootrec /fixmbr”, “bootrec /fixboot”, “bootrec /rebuildbcd”.
5. Update drivers: Outdated or incompatible hardware drivers can also trigger this error. Visit your device manufacturer’s website and download the latest drivers for your hardware.
Remember to try these methods one by one, and if none of them solves the issue, it may be necessary to seek further assistance or consult a professional.
Performing Startup Repair and System Recovery
To perform a startup repair and system recovery for the “Fix Required Device Not Connected” issue, follow these steps:
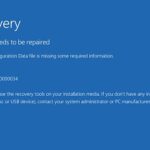
1. Start by inserting your Windows 10 installation media or recovery USB drive into your computer’s USB port. Ensure it’s from the same manufacturer as your system (e.g., Toshiba Satellite C850).
2. Power on your computer and press the necessary key (usually F12 or ESC) to access the boot menu. Select the USB drive or installation media to boot from it.
3. When prompted with the “Press any key to boot from CD or DVD” message, press any key to continue.
4. In the next screen, select your language preferences and click “Next.”
5. On the next screen, click “Repair your computer.”
6. In the next window, select “Troubleshoot” > “Advanced options” > “Command Prompt.”
7. In the Command Prompt, type “bootrec /fixboot” and press Enter. Then, type “bootrec /scanos” and press Enter. Lastly, type “bootrec /rebuildbcd” and press Enter.
8. Restart your computer and check if the issue is resolved.
If the problem persists, consider using third-party software like EaseUS Todo Backup to clone your system to a new SSD and try the above steps again. If none of these solutions work, it may be a hardware-related issue, and you should seek professional assistance.
Removing and Checking External Devices to Fix Connectivity Issues
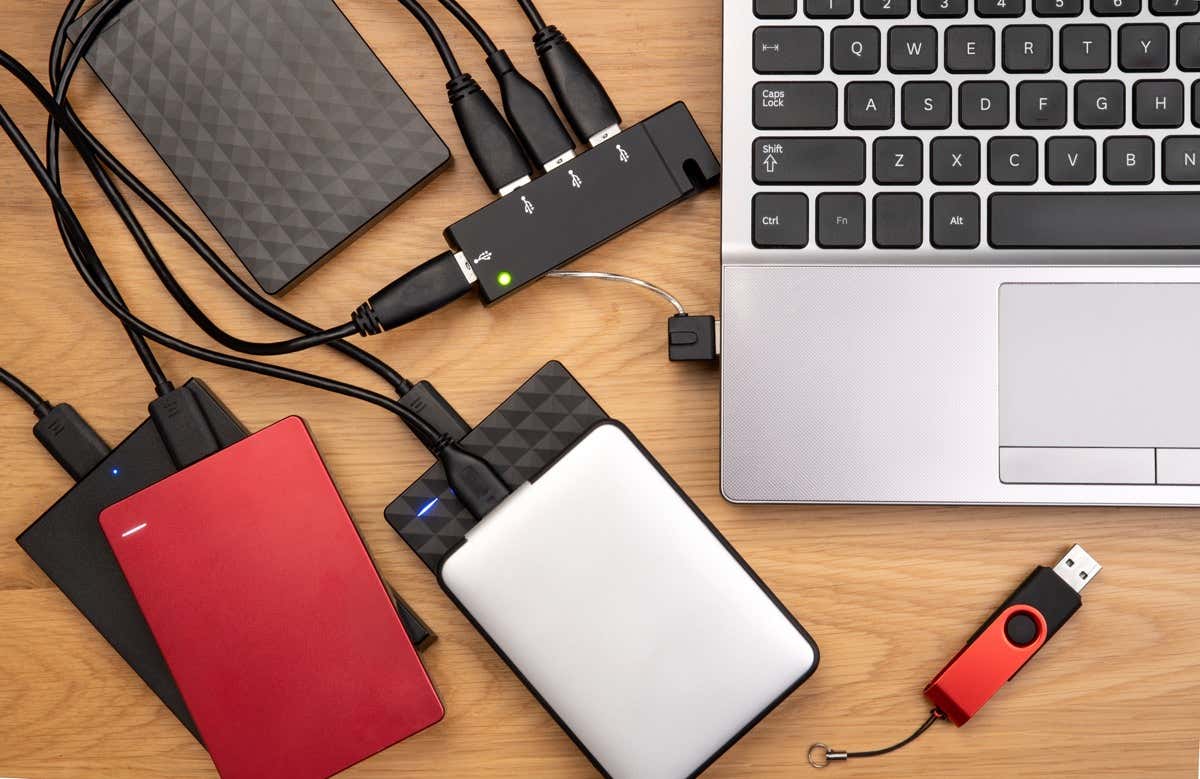
- Step 1: Disconnect all external devices
- Unplug any USB devices, such as external hard drives, flash drives, or printers, from your computer.
- Disconnect any HDMI or VGA cables connected to your computer and monitor.
- Remove any memory cards, such as SD cards or CompactFlash cards, from card readers or slots on your computer.
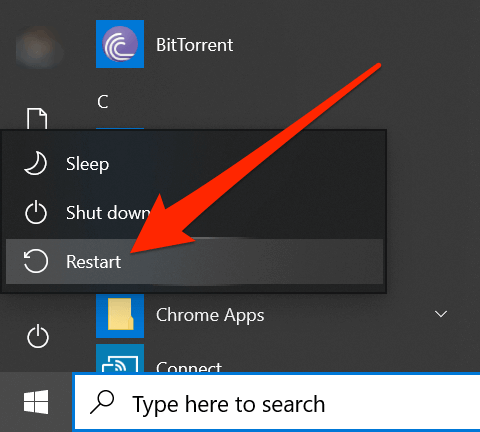
- Step 2: Restart your computer
- Click on the “Start” menu and select “Restart” from the power options.
- Wait for your computer to completely shut down and then turn it back on.
- Step 3: Check for connectivity issues
- Once your computer has restarted, check if the connectivity issue is resolved.
- Test your internet connection by opening a web browser and navigating to a website.
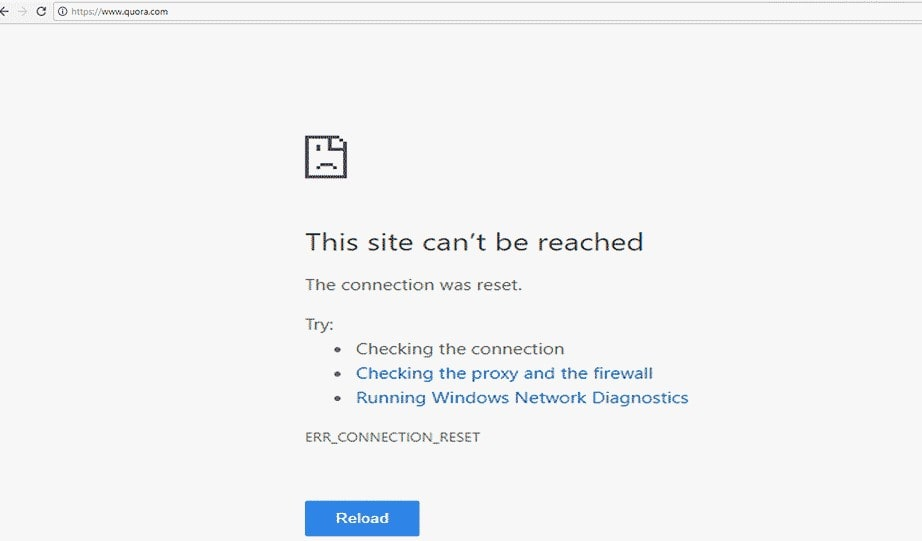
- If the issue persists, proceed to the next step.
- Step 4: Reconnect external devices one by one
- Start by connecting one external device, such as a USB device, to your computer.
- Check if the connectivity issue reoccurs after connecting each device.
- If the issue occurs after connecting a particular device, it may be causing the problem.
- Try connecting the device to a different USB port or using a different cable to eliminate potential issues with the device itself.
- Repeat this process for each external device until you identify the one causing the connectivity issue.
- Step 5: Update drivers and software
- Once you have identified the problematic external device, visit the manufacturer’s website to check for any available driver updates.
- Download and install the latest drivers for the device.
- Additionally, ensure that your computer’s operating system and all relevant software are up to date.
- Step 6: Test connectivity again
- After updating drivers and software, reconnect the problematic external device to your computer.
- Check if the connectivity issue is resolved.
- If the issue persists, consider seeking further assistance from technical support or a professional technician.
python

import sys
def check_device_connection():
# This function checks the connection status of the required device
# Replace this with your own logic to check the device connection
device_connected = False # Assume device is not connected
# Add your code here to check the device connection status
# ...
return device_connected
def main():
device_connected = check_device_connection()
if not device_connected:
print("Required device not connected.")
sys.exit(1) # Exit the program with a non-zero status code
# Proceed with the rest of your application logic
# ...
if __name__ == "__main__":
main()
In this example, the `check_device_connection()` function represents the logic to check the connection status of the required device. You would need to implement the actual code to check the device connection based on your specific requirements.
The `main()` function serves as the entry point of your application. It calls the `check_device_connection()` function and if the device is not connected, it prints a message and exits the program with a non-zero status code (indicating an error).
Remember to replace the placeholder logic in `check_device_connection()` with your own code to check the device connection based on the specific device or interface you are working with.
Rebuilding BCD and Checking BIOS Settings
To fix the “Required Device Not Connected” error, you may need to rebuild the BCD and check your BIOS settings. Here’s how:
1. Rebuild BCD:
– Start by booting your computer using a Windows installation media.
– On the first screen, press Shift + F10 to open the Command Prompt.
– Type “bootrec /fixmbr” and press Enter.
– Then, type “bootrec /fixboot” and press Enter.
– Finally, type “bootrec /rebuildbcd” and press Enter.
– Restart your computer and check if the issue is resolved.
2. Check BIOS Settings:
– Restart your computer and enter the BIOS by pressing the appropriate key (usually F2 or Del) during the boot process.
– Look for the “Boot” or “Boot Order” section and ensure that the correct hard drive or SSD is selected as the primary boot device.
– Save the changes and exit the BIOS.
Running Disk and System File Checks for Error Resolution
Fix Required Device Not Connected
In this article, we will discuss how to run disk and system file checks to resolve the “Required Device Not Connected” error.
Running Disk Check
Disk check helps identify and fix issues with the hard drive that may be causing the error. Follow the steps below to run a disk check:
| Step | Description |
|---|---|
| 1 | Open Command Prompt as an administrator. |
| 2 | Type chkdsk /f /r and press Enter. |
| 3 | Wait for the disk check to complete. It may take some time depending on the size of your hard drive. |
| 4 | Restart your computer once the disk check is finished. |
Running System File Check
System File Check scans and repairs corrupted system files that might be causing the error. Here are the steps to run a system file check:
| Step | Description |
|---|---|
| 1 | Open Command Prompt as an administrator. |
| 2 | Type sfc /scannow and press Enter. |
| 3 | Wait for the system file check to complete. It will scan all protected system files and replace any corrupted files. |
| 4 | Restart your computer once the system file check is finished. |
Performing System Restore and Setting Correct Partition as Active
Performing a system restore and setting the correct partition as active can help resolve the “Required Device Not Connected” issue.
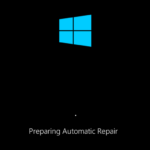
To start, you’ll need to access the Advanced Startup Options. Press the power button on your Toshiba Satellite C850, then immediately press and hold the power button again to force a shutdown. Repeat this process two more times until the Automatic Repair screen appears.
From the Automatic Repair screen, select “Advanced options” and then “Troubleshoot.” Next, choose “Advanced options” again and click on “System Restore.” Follow the on-screen instructions to restore your system to a previous point in time.
After the system restore is complete, return to the Advanced options menu and select “Command Prompt.” In the command prompt, type diskpart to open the DiskPart utility. Use the list disk command to identify the correct disk, and then select it using the select disk [number] command.
Once the correct disk is selected, use the list partition command to view the partitions on the disk. Identify the partition that needs to be set as active, and then use the select partition [number] command to select it. Finally, type active to set the partition as active.
Restart your computer and check if the “Required Device Not Connected” issue is resolved. If not, you may need to consider other solutions or seek further assistance.

Mark Ginter is a tech blogger with a passion for all things gadgets and gizmos. A self-proclaimed "geek", Mark has been blogging about technology for over 15 years. His blog, techquack.com, covers a wide range of topics including new product releases, industry news, and tips and tricks for getting the most out of your devices. If you're looking for someone who can keep you up-to-date with all the latest tech news and developments, then be sure to follow him over at Microsoft.