- If you encounter the same problem on your computer, don’t worry.
- Follow these tips to find simple solutions for your computer.
- Sometimes the error can be simply related to account permissions.
- Sometimes this problem can be caused by a recent Windows 10 update.
Are you tired of constantly battling with a folder that keeps switching back to read-only mode on your Windows 10 system? Discover the ultimate solution to this frustrating issue and regain control over your folders with ease.
Access Folders as Administrator
To access folders as an administrator in Windows 10 and fix the issue of folders reverting to read-only, follow these steps:
1. Open File Explorer by pressing the Windows key + E.
2. Navigate to the folder you want to modify.
3. Right-click on the folder and select “Properties”.
4. In the Properties window, go to the “Security” tab.
5. Click on the “Advanced” button.
6. In the Advanced Security Settings window, click on the “Change” link next to the owner’s name.
7. Type your username in the “Enter the object name to select” field and click “Check Names”.
8. Click “OK” to apply the changes.
9. Back in the Properties window, click on the “Edit” button.
10. Select your username from the list of group or user names.
11. Check the box next to “Full Control” under the “Allow” column.
12. Click “OK” to save the changes.
By following these steps, you can gain the necessary administrator permissions to fix the folder read-only problem in Windows 10.
Modify User Permissions
- Open File Explorer: Launch the File Explorer application in Windows 10.
- Locate the Folder: Navigate to the folder that keeps reverting to read-only.
- Access Folder Properties: Right-click on the folder and select “Properties” from the context menu.
- Switch to Security Tab: In the properties window, switch to the “Security” tab.
- Click on Edit: Click on the “Edit” button to modify the user permissions.
- Select User or Group: In the “Permissions for [Folder Name]” window, click on the “Add” button to select a user or group.
![Click on Edit: Click on the "Edit" button to modify the user permissions.
Select User or Group: In the "Permissions for [Folder Name]" window, click on the "Add" button to select a user or group.](/posts/click-on-edit-click-on-the-edit.jpg)
- Enter User or Group Name: Type the name of the user or group you want to modify permissions for in the provided field.
- Click on Check Names: Click on the “Check Names” button to validate the entered user or group name.
- Choose Permissions: Select the desired permissions for the user or group from the permission list.
- Apply Changes: Click on “Apply” to save the changes made to the user permissions.
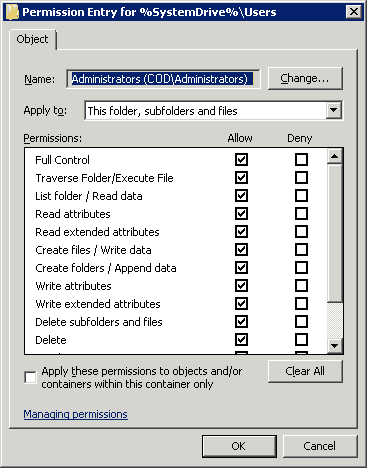
- Close Properties Window: Close the properties window and verify if the folder still reverts to read-only.
Change Folder Attributes
If you’re experiencing a problem with your folder reverting to read-only in Windows 10, there are a few simple steps you can take to fix it.
First, make sure you have the necessary permissions to make changes to the folder. To do this, right-click on the folder and select “Properties.” In the Properties window, go to the “Security” tab and click on “Advanced.” Make sure your user account has full control over the folder.
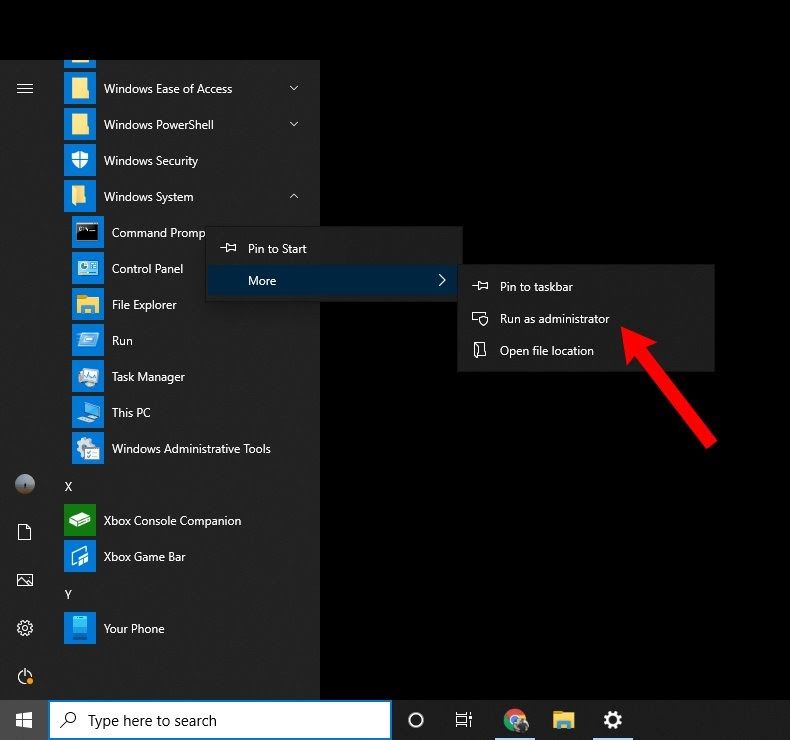
If that doesn’t work, you can try using the command prompt. Open the command prompt as an administrator by pressing the Windows key + X and selecting “Command Prompt (Admin).” In the command prompt, navigate to the folder you want to change attributes for by using the “cd” command. Once you’re in the right folder, use the following command to remove the read-only attribute: attrib -r /s /d.
These methods should help you fix the issue and regain control over your folders. For more troubleshooting tips and solutions, check out our other articles on Windows 10.
Disable Controlled Folder Access
To fix the folder reverting to read-only problem in Windows 10, you may need to disable Controlled Folder Access. Here’s how:
1. Open the Start menu and search for “Windows Security.”
2. Open Windows Security and click on “Virus & threat protection.”
3. Scroll down and click on “Manage ransomware protection.”
4. Under “Controlled folder access,” click on “Manage Controlled folder access.”
5. Toggle the switch to “Off” to disable Controlled Folder Access.
If the issue persists, you can also try the following methods:
1. Check folder permissions: Right-click on the folder, select “Properties,” go to the “Security” tab, and make sure your user account has the necessary permissions.
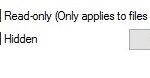
2. Remove read-only attribute: Right-click on the folder, select “Properties,” uncheck the “Read-only” box, and click “Apply.”
Remember, these troubleshooting tips can be helpful in fixing the folder reverting to read-only problem in Windows 10.
Repair Corrupted Files
- Open the Command Prompt as an administrator.
- Press the Windows key.
- Type “Command Prompt” in the search bar.
- Right-click on “Command Prompt” and select “Run as administrator”.
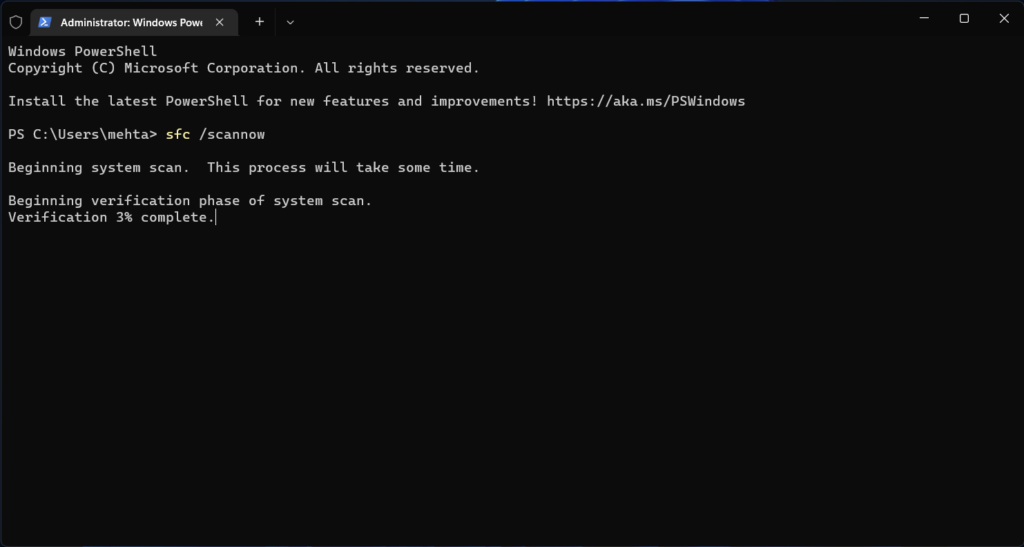
- Run the System File Checker (SFC) scan.
- In the Command Prompt window, type “sfc /scannow” and press Enter.
- Wait for the scan to complete. It may take some time.
- Run the Deployment Image Servicing and Management (DISM) tool.
- In the Command Prompt window, type “dism /online /cleanup-image /restorehealth” and press Enter.
- Wait for the tool to finish repairing the corrupted files.

- Restart your computer.
- Press the Windows key.
- Click on the Power icon.
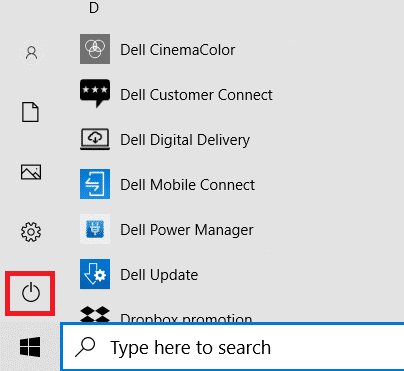
- Select “Restart” from the options.

Mark Ginter is a tech blogger with a passion for all things gadgets and gizmos. A self-proclaimed "geek", Mark has been blogging about technology for over 15 years. His blog, techquack.com, covers a wide range of topics including new product releases, industry news, and tips and tricks for getting the most out of your devices. If you're looking for someone who can keep you up-to-date with all the latest tech news and developments, then be sure to follow him over at Microsoft.