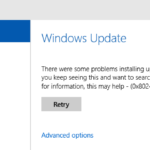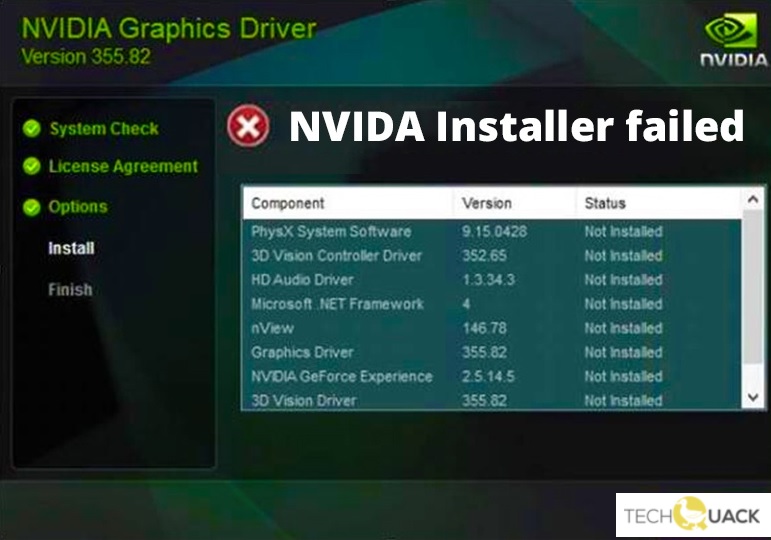
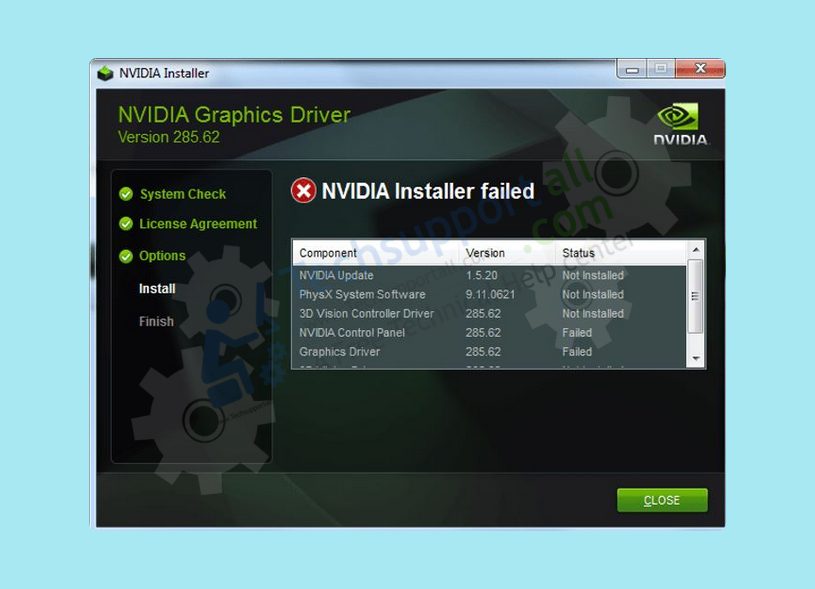
- Some NVIDIA users are reporting a problem when they try to update the NVIDIA driver on their computer.
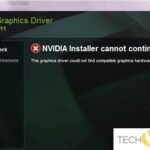
- The update process doesn’t complete and you get an “Nvidia Installer Failed” error message.
- In the Task Manager, delete all NVIDIA processes and delete any associated files.
- Reboot your system, then reinstall the driver.
Introducing the Ultimate Solution to NVIDIA Installer Failed Error
Causes of the NVIDIA installer failed issue
To fix this error, try the following steps:
1. Uninstall the current NVIDIA graphics driver: Go to the Windows Control Panel, select “Uninstall a program,” find the NVIDIA graphics driver, and uninstall it.
2. Download and install the latest NVIDIA drivers: Visit the NVIDIA website or use NVIDIA GeForce Experience or Driver Easy to download and install the latest drivers for your graphics card.
3. Disable antivirus software and firewall: Temporarily disable any antivirus software or firewall that may be interfering with the installation process.
4. Clean install the drivers: During the installation process, choose the “Custom” or “Clean installation” option to remove any existing driver files and settings.
5. Restart your PC: After the installation is complete, restart your computer to ensure the changes take effect.
If the issue persists, contact NVIDIA support for further assistance.
Solutions to fix the NVIDIA installer failed error
- Open Device Manager by right-clicking on the Start button and selecting Device Manager.
- Expand the Display adapters category.
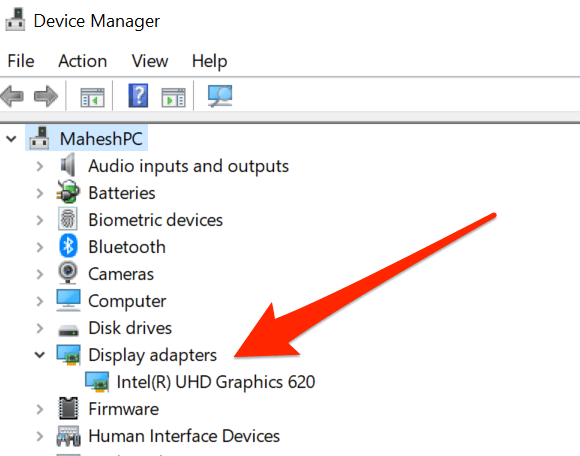
- Right-click on your NVIDIA graphics card and select Update driver.
- Choose the Search automatically for updated driver software option.
- Follow the on-screen instructions to complete the driver update process.
Solution 2: Perform Clean Installation of Graphics Driver
- Download the latest version of the NVIDIA graphics driver from the official website.
- Press Windows key + R to open the Run dialog box.
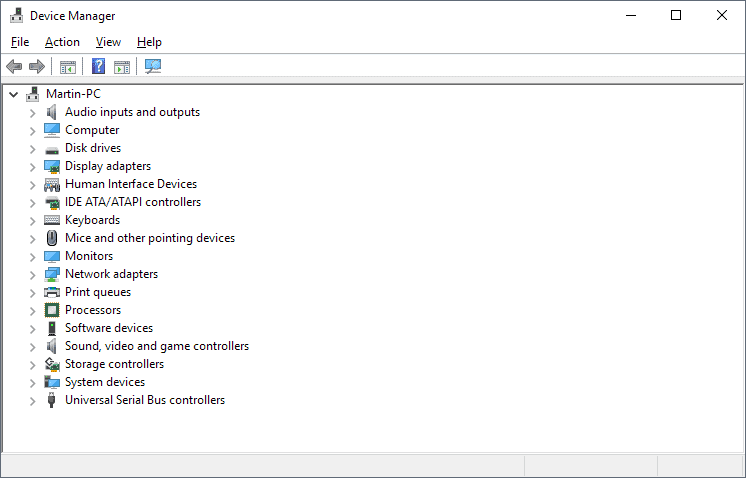
- Type “devmgmt.msc” and press Enter to open Device Manager.
- Expand the Display adapters category.
- Right-click on your NVIDIA graphics card and select Uninstall device.
- Check the box that says “Delete the driver software for this device” and click Uninstall.
- Restart your computer.
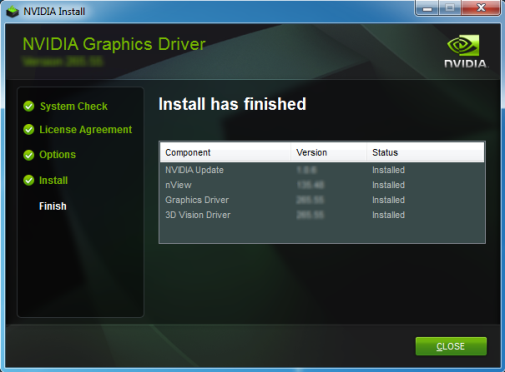
- Run the downloaded NVIDIA graphics driver installer and follow the on-screen instructions to complete the installation.
Solution 3: Disable Antivirus/Firewall Temporarily
- Open your antivirus or firewall software.
- Locate the settings or preferences related to real-time protection or firewall.
- Temporarily disable the antivirus or firewall.
- Attempt to install the NVIDIA driver again.
- After the installation is complete, re-enable the antivirus or firewall.
Solution 4: Perform a Clean Boot
- Press Windows key + R to open the Run dialog box.
- Type “msconfig” and press Enter to open the System Configuration window.
- In the General tab, select the Selective startup option.
- Uncheck the box that says “Load startup items.”
- Go to the Services tab and check the box that says “Hide all Microsoft services.”
- Click on Disable all to disable all the remaining services.
- Click Apply and then OK.
- Restart your computer.
- Attempt to install the NVIDIA driver again.
Update the Nvidia driver using Driver Easy
To update your Nvidia driver and fix the NVIDIA Installer Failed Error, you can use Driver Easy. Follow these steps:
1. Download and install Driver Easy from their official website.
2. Launch the application and click on “Scan Now” to detect any driver issues on your PC.
3. Once the scan is complete, click on “Update All” to automatically download and install the latest drivers for your system.
4. If you encounter any failures or errors during the process, click on “Support” within the application for further assistance.
5. Driver Easy will ensure that your system and graphics drivers are up to date, resolving any error conditions related to the NVIDIA installer.
6. After the installation is complete, restart your computer to apply the changes.
By using Driver Easy, you can easily update your NVIDIA drivers and resolve the NVIDIA Installer Failed Error.
Temporarily turn off antivirus software or firewall
To fix the NVIDIA Installer Failed Error, you may need to temporarily turn off your antivirus software or firewall. These security measures can sometimes interfere with the installation process.
1. Press the Windows key + R to open the Run dialog box.
2. Type “services.msc” and hit Enter. This will open the Services window.
3. Scroll down and locate the antivirus software or firewall service that you want to disable.
4. Right-click on the service and select “Properties.”
5. In the Properties window, go to the “General” tab.
6. Set the Startup type to “Disabled” and click “Apply” and “OK.”
7. Restart your computer to apply the changes.
Remember to turn your antivirus software and firewall back on after the installation is complete. If you continue to experience errors, you may need to try other solutions or contact NVIDIA support for further assistance.
Perform a clean installation of the graphics driver
To fix the NVIDIA Installer Failed Error and perform a clean installation of the graphics driver, follow these steps:
1. Uninstall the current graphics driver. Open the Windows Control Panel, go to “Programs” or “Apps”, and uninstall any NVIDIA-related software.
2. Download the latest graphics driver. Go to the NVIDIA website and search for your GPU model. Download the latest driver version compatible with your system.
3. Disable antivirus and firewall temporarily. This will prevent any conflicts during the installation process.
4. Restart your computer in Safe Mode. Press the Windows key + R, type “msconfig”, and hit Enter. In the System Configuration window, go to the “Boot” tab and check the “Safe boot” option. Apply the changes and restart your computer.
5. Install the graphics driver in Safe Mode. Locate the downloaded driver file and double-click it. Follow the on-screen instructions, and make sure to select the “Custom Install” option. Check the box to perform a clean installation.
6. Restart your computer normally. After the installation is complete, restart your computer in normal mode.
By following these steps, you can fix the NVIDIA Installer Failed Error and perform a clean installation of the graphics driver, ensuring your system is up to date and optimized for better performance.

Mark Ginter is a tech blogger with a passion for all things gadgets and gizmos. A self-proclaimed "geek", Mark has been blogging about technology for over 15 years. His blog, techquack.com, covers a wide range of topics including new product releases, industry news, and tips and tricks for getting the most out of your devices. If you're looking for someone who can keep you up-to-date with all the latest tech news and developments, then be sure to follow him over at Microsoft.