- The error message “Please insert the last disk in the multi-volume set” may appear if your PC has problems with the USB controller.
- If your USB flash drive or external device has been previously inserted into your Mac system, this error is likely to occur.
- When used on a Mac, OSX creates certain hidden files on disks formatted in FAT32.
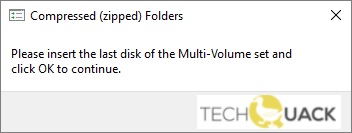
In the world of digital storage, encountering errors can be frustrating. One such error, the “Please Insert the Last Disk of the Multi-Volume Set” error, often leaves users puzzled and seeking a solution. In this article, we will explore eight effective ways to fix this vexing error and restore peace to your data storage journey.
Resolving the “Please insert the last disk of the multi-volume set” error message
To resolve the “Please insert the last disk of the multi-volume set” error message, follow these simple steps:
1. Check the file format: Ensure that the file you’re trying to access is in the correct format, such as a zip file or a compressed zipped folder.
2. Locate the missing disk: If the error message specifically mentions a missing disk, make sure you have all the necessary disks or files in the set. Check the root folder or any hidden files that may be required.
3. Use the correct tool: If you’re using Windows Explorer or File Explorer to access the files, try using a different tool like 7-Zip or WinRAR to extract the contents.
4. Format the USB drive: If the error is occurring on a USB flash drive, consider formatting it before attempting to access the files again. This can help resolve any underlying USB format issues.
5. Update USB drivers: Ensure that your USB drivers are up to date. Outdated drivers can sometimes cause compatibility issues and result in error messages.
6. Try a different USB port: If the error occurs when using a USB drive, try connecting it to a different USB port on your computer. This can help rule out any issues with the specific port you were using.
7. Restart your computer: In some cases, a simple restart can fix various PC system issues, including errors like this one. Give it a try before attempting any other fixes.
8. Seek professional help: If none of the above methods work, it’s advisable to consult a professional or reach out to Microsoft support for more advanced troubleshooting options.
Formatting the USB drive
To format your USB drive and fix the “Please Insert the Last Disk of the Multi-Volume Set” error, follow these steps:
1. Plug your USB drive into your PC.
2. Open Windows Explorer or File Explorer.
3. Locate the USB drive in the list of drives.
4. Right-click on the USB drive and select “Format” from the context menu.
5. In the Format window, choose the file system you want for the USB drive (e.g., FAT32 or NTFS).
6. Check the “Quick Format” option to speed up the formatting process.
7. Click “Start” to begin formatting the USB drive.
8. Once the formatting process is complete, you can safely remove the USB drive.
Removing hidden files from the drive
- Open the Command Prompt by pressing Windows key + R, typing cmd and hitting Enter.
- Type attrib -h -r -s /s /d * and press Enter.
- Wait for the process to complete.
Method 2: Show Hidden Files and Folders
- Open File Explorer by pressing Windows key + E.
- Click on the View tab.
- Check the Hidden items box in the Show/hide section.
Method 3: Use Disk Cleanup
- Open File Explorer by pressing Windows key + E.
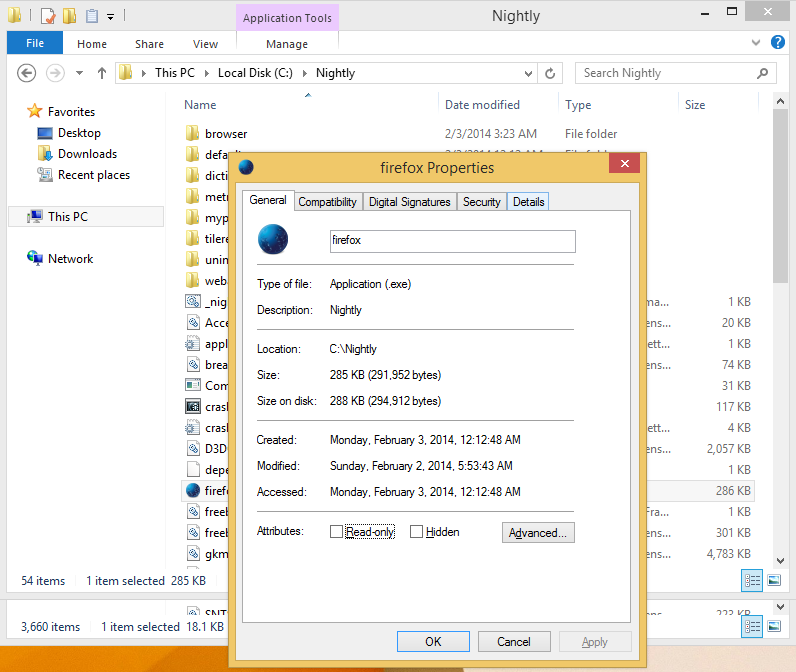
- Right-click on the drive where the error occurs and choose Properties.
- In the General tab, click on Disk Cleanup.
- Select the files you want to delete and click OK.
- Confirm the deletion by clicking Delete Files.
Method 4: Run Antivirus Scan
- Open your antivirus software.
- Start a full system scan.
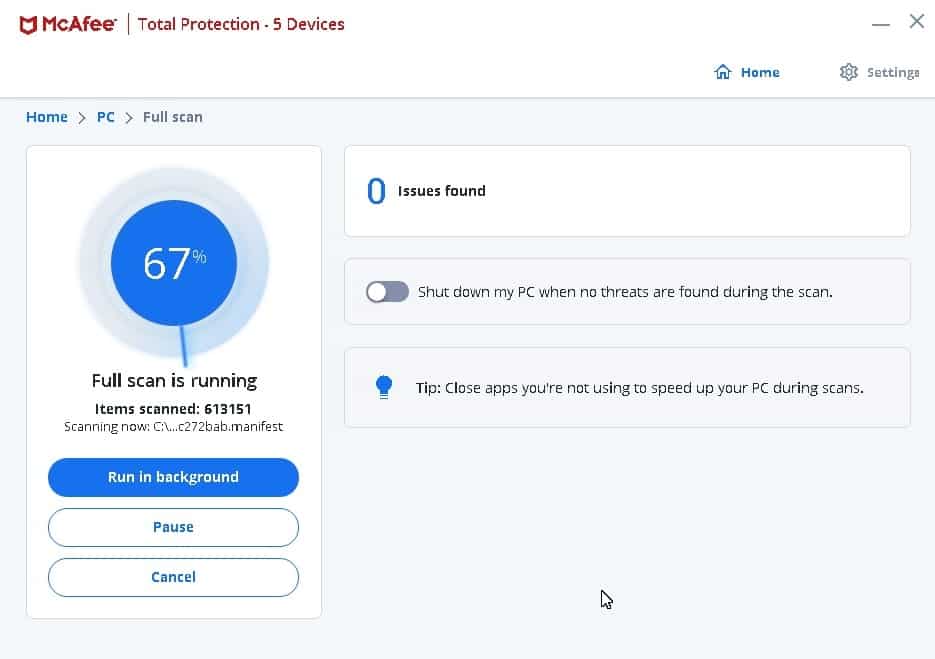
- Wait for the scan to complete.
- If any infected files are found, follow the prompts to remove or quarantine them.
Method 5: Use Disk Cleanup Utility
- Press Windows key + R to open the Run dialog box.
- Type cleanmgr and press Enter.
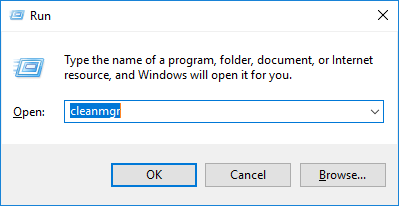
- Select the drive where the error occurs and click OK.
- Check the boxes next to the files you want to delete and click OK.
- Confirm the deletion by clicking Delete Files.
Method 6: Uninstall Suspicious Programs
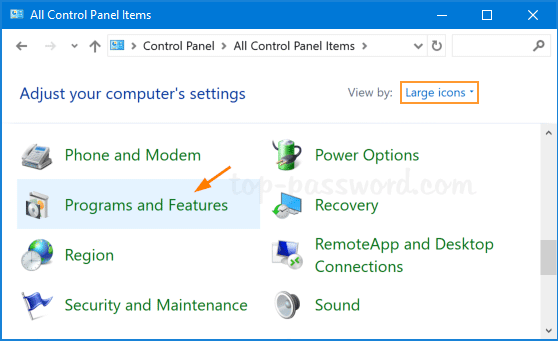
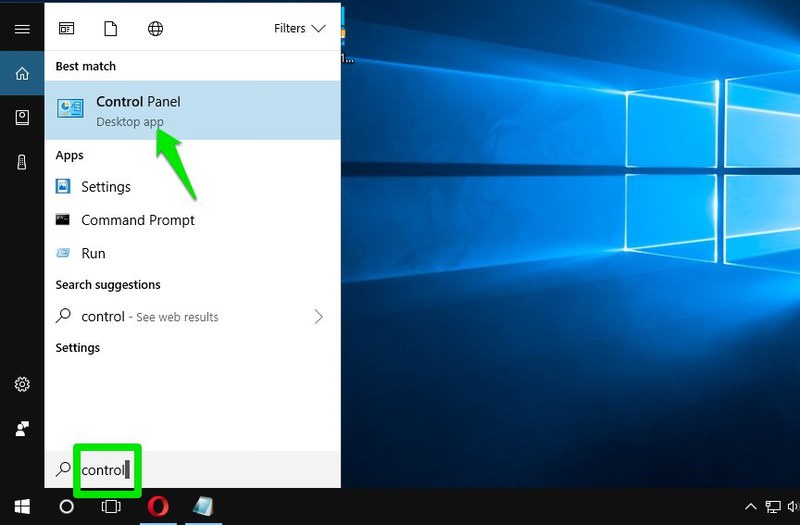
- Open Control Panel by pressing Windows key + X and selecting Control Panel.
- Click on Uninstall a program under the Programs section.
- Look for any programs that seem suspicious or unfamiliar.
- Select the program and click Uninstall.
- Follow the prompts to complete the uninstallation process.
Method 7: Check and Repair Disk Errors
- Open File Explorer by pressing Windows key + E.
- Right-click on the drive where the error occurs and choose Properties.
- In the Tools tab, click on Check under the Error checking section.
- Click on Scan drive or Repair drive if errors are found.
- Wait for the process to complete.
Method 8: Perform System Restore
- Open Control Panel by pressing Windows key + X and selecting Control Panel.
- Click on System and Security.
- Click on System and then choose System Protection from the left menu.
- Click on System Restore.
- Follow the prompts to choose a restore point and start the restoration process.
Updating or reinstalling USB controllers
1. Open the Device Manager by pressing the Windows key + X and selecting “Device Manager.”
2. Expand the “Universal Serial Bus controllers” category.
3. Right-click on each USB controller and select “Update driver.”
4. Choose the option to automatically search for updated drivers.
5. If that doesn’t work, right-click on each USB controller again and select “Uninstall device.”
6. Restart your computer to reinstall the USB controllers automatically.
7. If the error persists, try using a different USB port or a different USB flash drive.
8. You can also try disabling and re-enabling the USB controllers.
These steps should help resolve the issue with ease.

Mark Ginter is a tech blogger with a passion for all things gadgets and gizmos. A self-proclaimed "geek", Mark has been blogging about technology for over 15 years. His blog, techquack.com, covers a wide range of topics including new product releases, industry news, and tips and tricks for getting the most out of your devices. If you're looking for someone who can keep you up-to-date with all the latest tech news and developments, then be sure to follow him over at Microsoft.