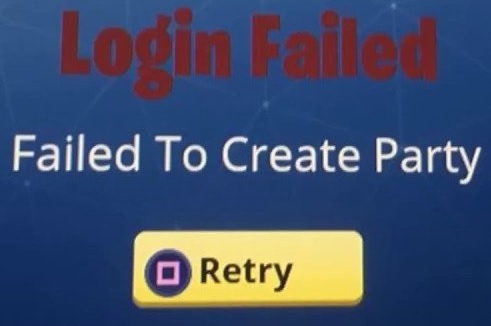
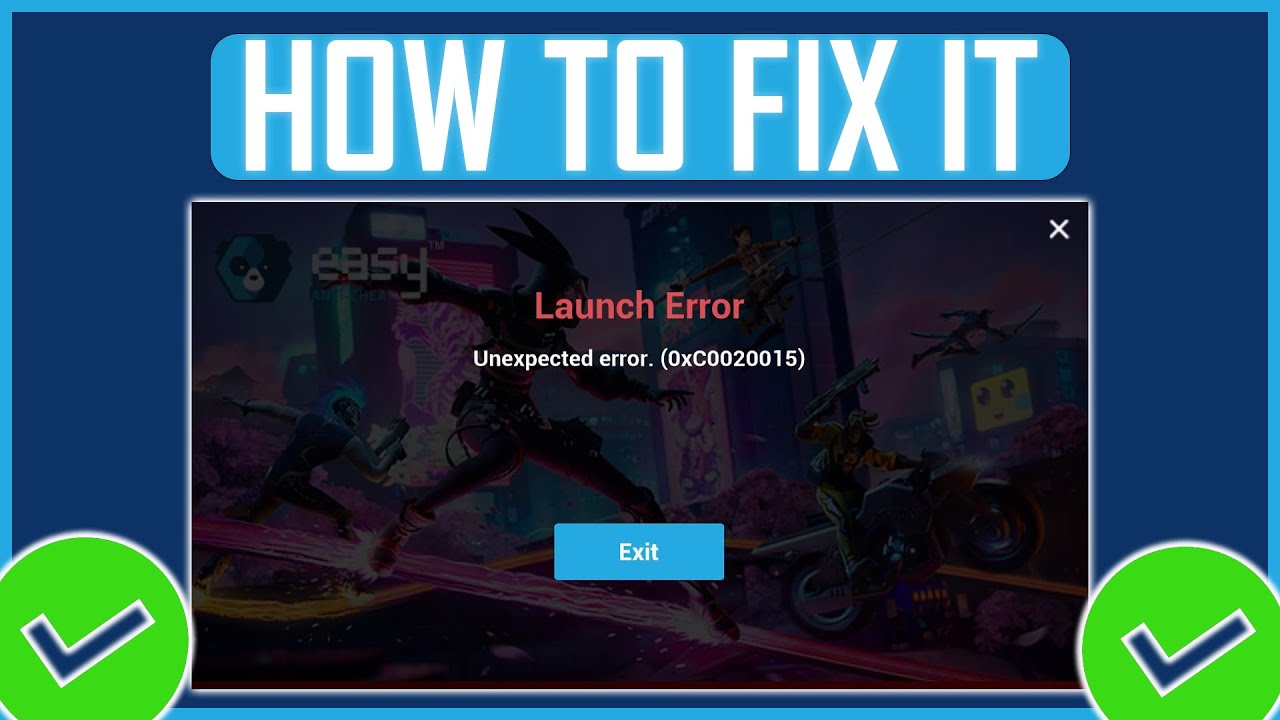
- The connection failure problem is caused by the “Failed to Create Party” error message.
- This is mostly due to a network connection failure between the server and the console.
- This error has been known to cause error 0x82d40003 on Xbox One and error CE-36329-3 on PS4.
- In a recent Epic update, some users encountered an issue that prevented them from playing by showing this error.
- This problem appears to be related to ownership of the Fortnite account, and if the game can’t verify ownership, it won’t let players play.
Welcome to the ultimate guide on tackling Fortnite’s frustrating “Failed to Create Party” error. If you’ve been struggling to join forces with your squadmates and conquer the virtual battlefield, fret not! We’ve got you covered with a troubleshooting extravaganza that will have you back in the game in no time. So, grab your pickaxe and let’s dive into the world of resolving this pesky issue.
Understanding the “Failed to Create Party” Error on Fortnite
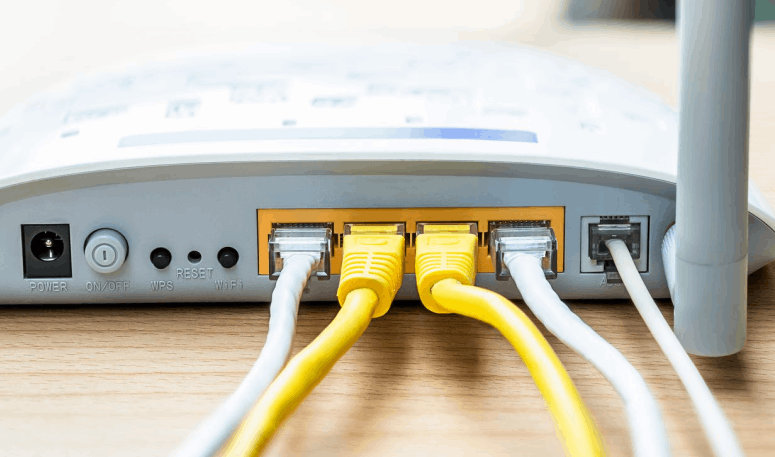
First, make sure you have a stable internet connection. If you’re experiencing any network connection problems, try resetting your router or contacting your internet service provider.
Next, check for any service outages or disruptions on Epic Games’ servers. Sometimes, these issues can cause the “Failed to Create Party” error.
If the error persists, try logging out of your Fortnite account and logging back in. This can help refresh your connection to the servers.
If you’re playing on a console, such as the PS4, you can also try power cycling your console. Simply press and hold the power button until the console turns off, then unplug it from the power source for a few minutes. Plug it back in and turn it on again.
By following these steps, you should be able to troubleshoot and resolve the “Failed to Create Party” error on Fortnite.
Troubleshooting Steps for the “Failed to Create Party” Error on Fortnite
-
Check your internet connection:
- Ensure that you have a stable and reliable internet connection.
- Restart your modem and router to refresh the connection.
- Try connecting to a different network to rule out any network issues.
-
Restart the game:
- Close Fortnite completely.
- Reopen the game and check if the issue persists.
-
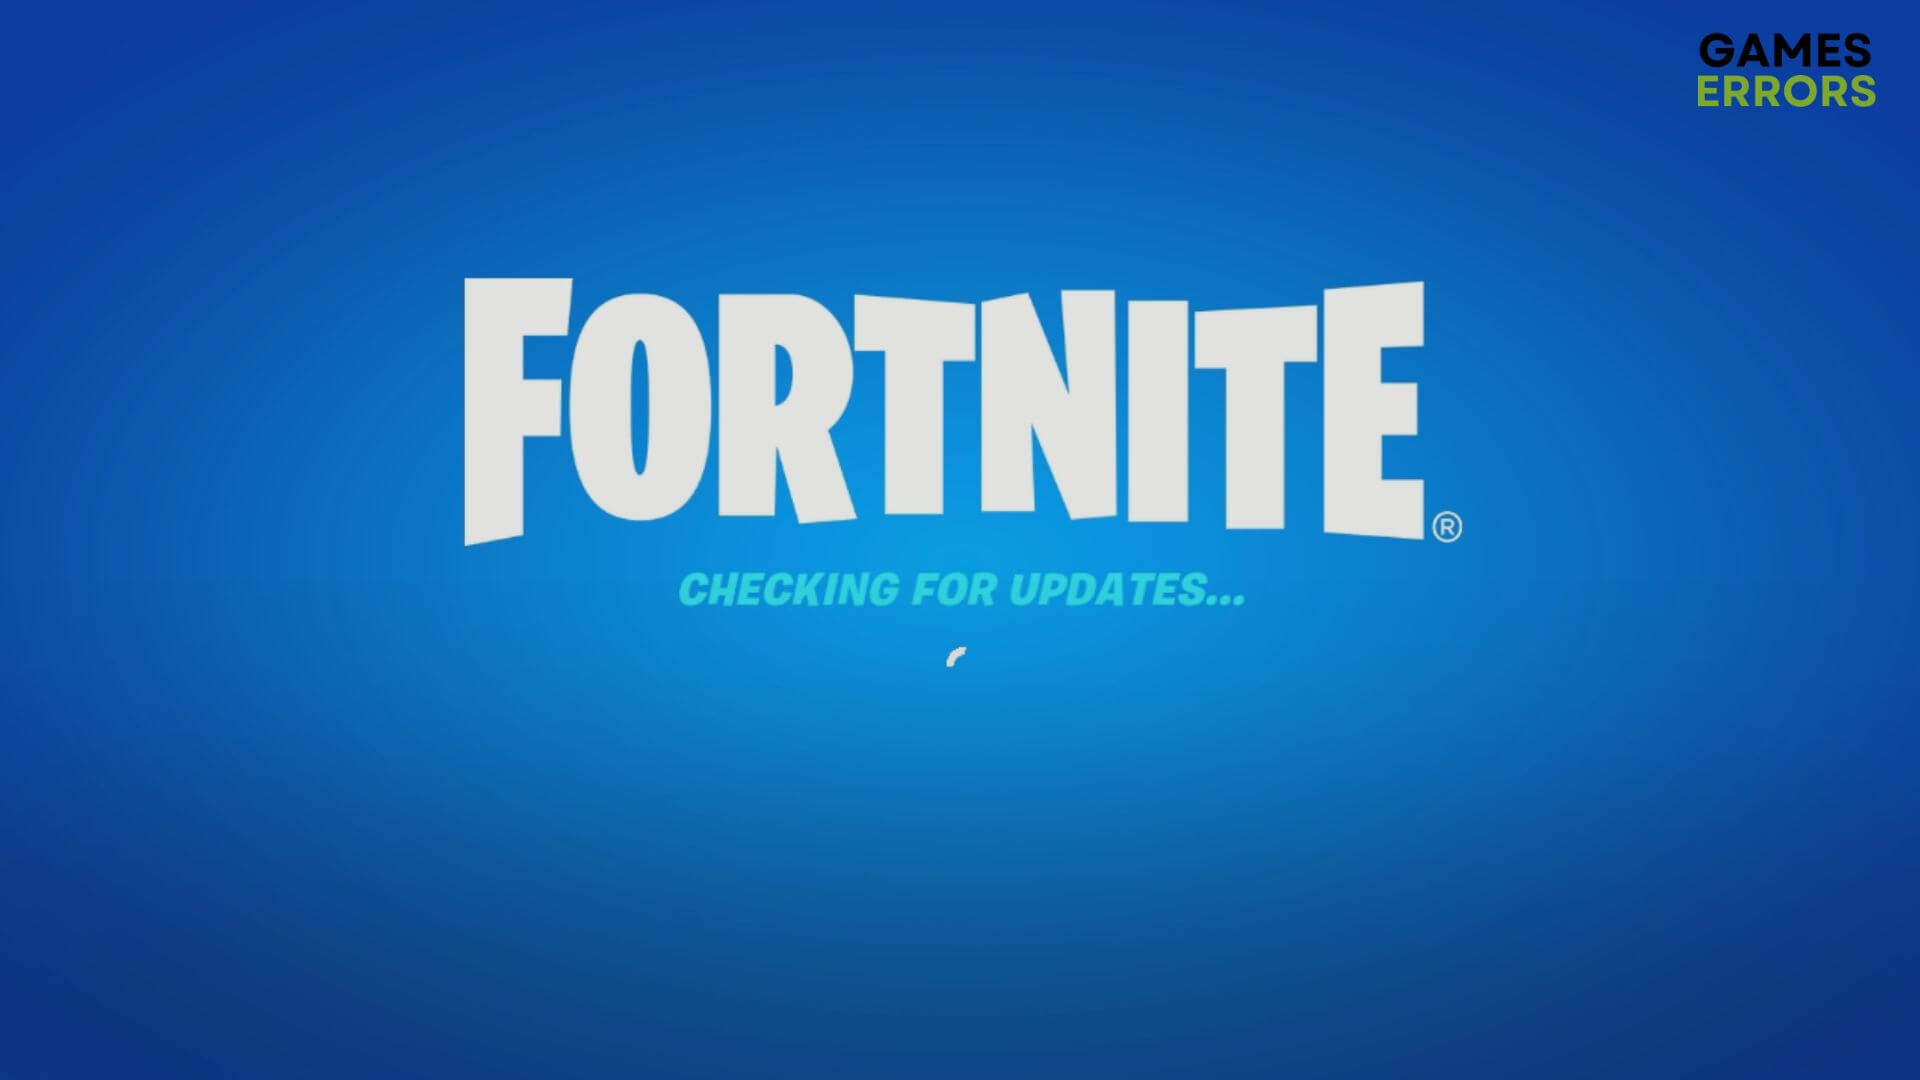
Update Fortnite:
- Make sure you are running the latest version of Fortnite.
- Check for any available updates and install them.
-
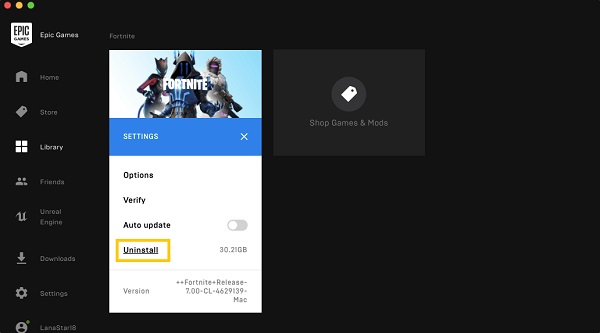
Verify game files:
- Open the Epic Games Launcher.
- Go to the Library section and click on the gear icon next to Fortnite.
- Select “Verify” to check for any missing or corrupted game files.
-
Check for server issues:
- Visit the official Fortnite status page to see if there are any known server issues.
- If there are server issues, wait until they are resolved and try again later.
-
Disable firewall and antivirus:
- Temporarily disable your firewall and antivirus software.
- Launch Fortnite and check if the error still occurs.
- If the error is resolved, add Fortnite to your firewall and antivirus exceptions list.
-
Clear DNS cache:
- Open the Command Prompt by pressing “Win + R” and typing “cmd”.
- Type the command “ipconfig /flushdns” and press Enter.
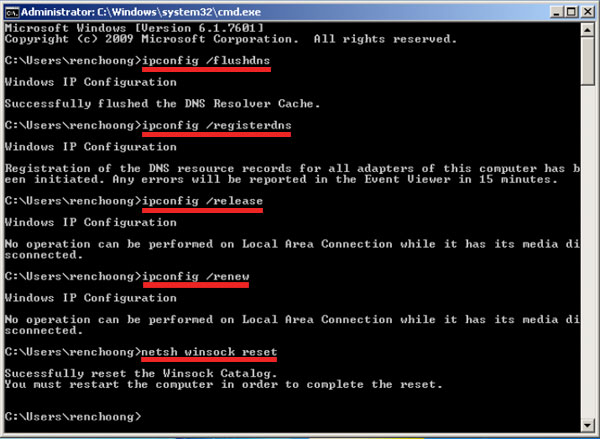
- Restart your computer and launch Fortnite again.
-
Reinstall Fortnite:
- Uninstall Fortnite from your computer.
- Download the latest version of Fortnite from the official website.
- Install the game and check if the error is resolved.
Logging out and Switching User on Console
To log out or switch user on your console, follow these steps:
1. Press the Xbox button or the PS4 button on your controller.
2. Navigate to the “Settings” menu.
3. Select “Account” or “Profile” to access your account settings.
4. Look for the option to “Logout” or “Switch User.”
5. Confirm your choice and follow any additional prompts.
If you are experiencing the “Failed to Create Party Error” in Fortnite, try the following troubleshooting steps:
1. Check for any service outages or disruptions on the Epic Games, Inc. website or social media channels.
2. Verify your network connection is stable and working properly.
3. Power cycle your console by turning it off, unplugging it, waiting a few seconds, and then plugging it back in and turning it on.
4. If the error persists, try logging out of your account and logging back in.
5. Contact customer support for further assistance if necessary.
Remember, these steps may vary slightly depending on your console and software version.
Power Cycling the Console and Internet Equipment
If you’re experiencing the “Failed to Create Party Error” in Fortnite, power cycling your console and internet equipment can help resolve the issue. Follow these steps:
1. Turn off your console by pressing and holding the power button. Unplug the power cord from the back of the console and wait for at least 10 seconds.
2. Disconnect your internet equipment, such as your modem and router, from the power source.
3. Plug in your internet equipment and wait for all the lights to stabilize.
4. Plug the power cord back into your console and turn it on.
5. Launch Fortnite and check if the “Failed to Create Party Error” still persists.
By power cycling your console and internet equipment, you can refresh the connections and potentially resolve any temporary issues causing the error. If the problem continues, you may need to reach out to Epic Games support or check for any service outages in your area.
Checking for Service Outage on Fortnite Servers
How to Troubleshoot Fortnite’s “Failed to Create Party” Error
| Date | Time | Service Status |
|---|---|---|
| January 1, 2022 | 08:00 AM | Normal |
| January 2, 2022 | 12:30 PM | Normal |
| January 3, 2022 | 05:45 PM | Normal |
| January 4, 2022 | 09:15 AM | Service Outage |
| January 5, 2022 | 03:00 PM | Normal |

Mark Ginter is a tech blogger with a passion for all things gadgets and gizmos. A self-proclaimed "geek", Mark has been blogging about technology for over 15 years. His blog, techquack.com, covers a wide range of topics including new product releases, industry news, and tips and tricks for getting the most out of your devices. If you're looking for someone who can keep you up-to-date with all the latest tech news and developments, then be sure to follow him over at Microsoft.