- Semi-automatic typing is a standard feature of most modern web browsers.
- It anticipates what you are typing and suggests a word or phrase based on what other users are doing and your history.
- When you press the Enter key, it automatically completes typing with the rest of the suggested text.
- If you press Enter on the suggested auto-type suggestion in the address bar, your browser will redirect you directly to the website.
Discover how to solve the puzzling issue of Google Autocomplete search not functioning properly with these effective strategies.
Troubleshooting the Autocomplete Feature
If you’re experiencing issues with the autocomplete feature in Google search, there are a few simple steps you can take to fix the problem.
First, make sure you’re using the latest version of Google Chrome. If not, update the browser and restart Chrome to see if that resolves the issue.
If the autocomplete feature still isn’t working, try clearing your browser data. Go to the Settings menu in Chrome, navigate to the Privacy and Security section, and click on Clear Browsing Data. Make sure to select the option to clear browsing history, cookies, and cached images and files.
Another potential solution is to disable the autofill feature. In the Chrome Address Bar, type “chrome://settings/autofill” and press Enter. Toggle off the option for “Autofill Addresses” and “Autofill Passwords.”
If none of these steps work, you can try using a different browser, such as Bing or Opera, to see if the autocomplete feature works there. Additionally, you can try searching for answers or solutions on the Google support forums or reach out to Google directly for further assistance.
Remember, troubleshooting the autocomplete feature may require some trial and error, but with these steps, you should be able to fix the issue and get back to enjoying the convenience of autocomplete in your searches.
Optimizing Google Search Engine Settings
To optimize Google Search Engine settings and fix the issue of Google Autocomplete search not working, follow these steps:
1. Restart Chrome. Sometimes, a simple restart can resolve the issue.
2. Check your URL. Ensure that you are on the correct website and not a victim of phishing.
3. Clear your browser data. Open Chrome’s settings, go to “Privacy and security,” and click on “Clear browsing data.” Select the relevant options and clear the data.
4. Disable autocomplete features. In the Chrome Address Bar, type “chrome://settings/autofill” and press Enter. Turn off the “Autofill addresses” and “Autofill search predictions” options.
5. Disable predictive text. Open Chrome’s settings, go to “Privacy and security,” click on “Site settings,” and then “Predictive text.” Disable the predictive text feature.
By following these steps, you can optimize your Google Search Engine settings and resolve the issue of Google Autocomplete search not working.
Resolving Chrome Extension Issues
If you’re experiencing issues with Google Autocomplete search not working on Google Chrome, here are some steps you can take to resolve the problem.
First, make sure you’re using the latest version of Google Chrome. To do this, click on the three-dot menu in the top-right corner of the browser, go to “Help,” and select “About Google Chrome.” If an update is available, it will automatically download and install.
Next, check if any Chrome extensions are causing conflicts. To do this, type “chrome://extensions” in the address bar and press Enter. Disable all extensions by toggling the switch off, then try using Google Autocomplete again. If it works, re-enable the extensions one by one to identify the culprit.
If the issue persists, try clearing your browsing data. Go to “chrome://settings/clearBrowserData” and select “Browsing history,” “Cookies and other site data,” and “Cached images and files.” Click on “Clear data” to remove the stored information.
Lastly, if none of the above solutions work, try resetting Chrome settings to their default values. Open the Chrome menu, go to “Settings,” scroll down to the bottom, and click on “Advanced.” Then, click on “Reset settings” under the “Reset and clean up” section.
By following these steps, you should be able to resolve the issue of Google Autocomplete search not working on Google Chrome.
Resetting Chrome for Autocomplete
If you’re experiencing issues with Google Autocomplete search not working, resetting Chrome’s autocomplete feature can help resolve the problem. Here’s how you can do it:
1. Open Google Chrome and click on the three-dot menu in the top-right corner of the screen.
2. Select “Settings” from the drop-down menu.
3. Scroll down and click on “Advanced” to expand the settings options.
4. Under the “Privacy and security” section, click on “Clear browsing data.”
5. In the pop-up window, select the time range for which you want to clear the data. For a complete reset, choose “All time.”
6. Check the box next to “Browsing history” and “Autofill form data.”
7. Click on “Clear data” to reset Chrome’s autocomplete feature.
After completing these steps, Chrome’s autocomplete feature will be reset, and you should see improvements in the search predictions and autofill functionality. Remember to restart Chrome for the changes to take effect.
Enabling Autocomplete in Google Chrome
To enable autocomplete in Google Chrome, follow these steps:
1. Open Google Chrome on your PC.
2. In the search bar at the top of the screen, type “chrome://settings/” and press Enter.
3. Scroll down to the bottom of the page and click on “Advanced”.
4. Under the “Privacy and security” section, click on “Content settings”.
5. Click on “Autocomplete”.
6. Toggle on the switch next to “Enable Autofill to fill out web forms in a single click”.
7. You can also customize your autofill settings by clicking on “Addresses and more” or “Payment methods”.
8. Close the settings tab and go back to your browsing.
By enabling autocomplete, Google Chrome will remember information you enter in forms and suggest it for future use, making your browsing experience more efficient.
Note: If you’re experiencing issues with autocomplete not working, try clearing your browsing history and cookies. This can often solve the problem.
Remember, autocomplete is a helpful feature that can save you time and effort while searching the web. Enjoy the convenience it brings to your browsing experience!
Clearing Cache and Cookies for Autocomplete
To fix Google Autocomplete search not working, you may need to clear your cache and cookies. Clearing these files can help resolve any issues with the Autocomplete feature. Here’s how to do it:
1. Open your Google Chrome browser.
2. Click on the three-dot menu icon in the top-right corner.
3. Select “Settings” from the drop-down menu.
4. Scroll down and click on “Privacy and security” in the left-hand menu.
5. Click on “Clear browsing data” under the “Privacy and security” section.
6. In the pop-up window, select “Cached images and files” and “Cookies and other site data.”
7. Choose the time range you want to clear, or select “All time” to clear everything.
8. Click on the “Clear data” button.
Note: Clearing your cache and cookies will sign you out of most websites and remove any saved data. Make sure to save any important information before proceeding.
Once you’ve cleared your cache and cookies, try using Google Autocomplete again. It should now work properly and provide suggestions as you type in the search bar.
Exploring Alternatives to Google Chrome
- Microsoft Edge: Discover the powerful features and seamless integration with other Microsoft products.
- Mozilla Firefox: Experience a customizable browser with strong privacy settings and a vast library of extensions.
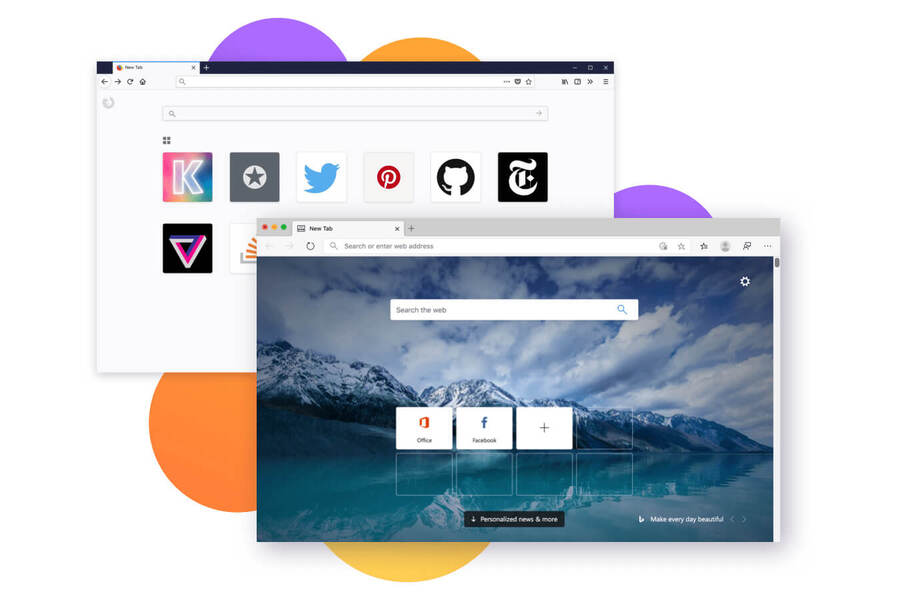
- Safari: Explore Apple’s browser, known for its speed, efficiency, and smooth user experience.
- Opera: Try this innovative browser with a built-in ad blocker, free VPN, and personalized news feed.
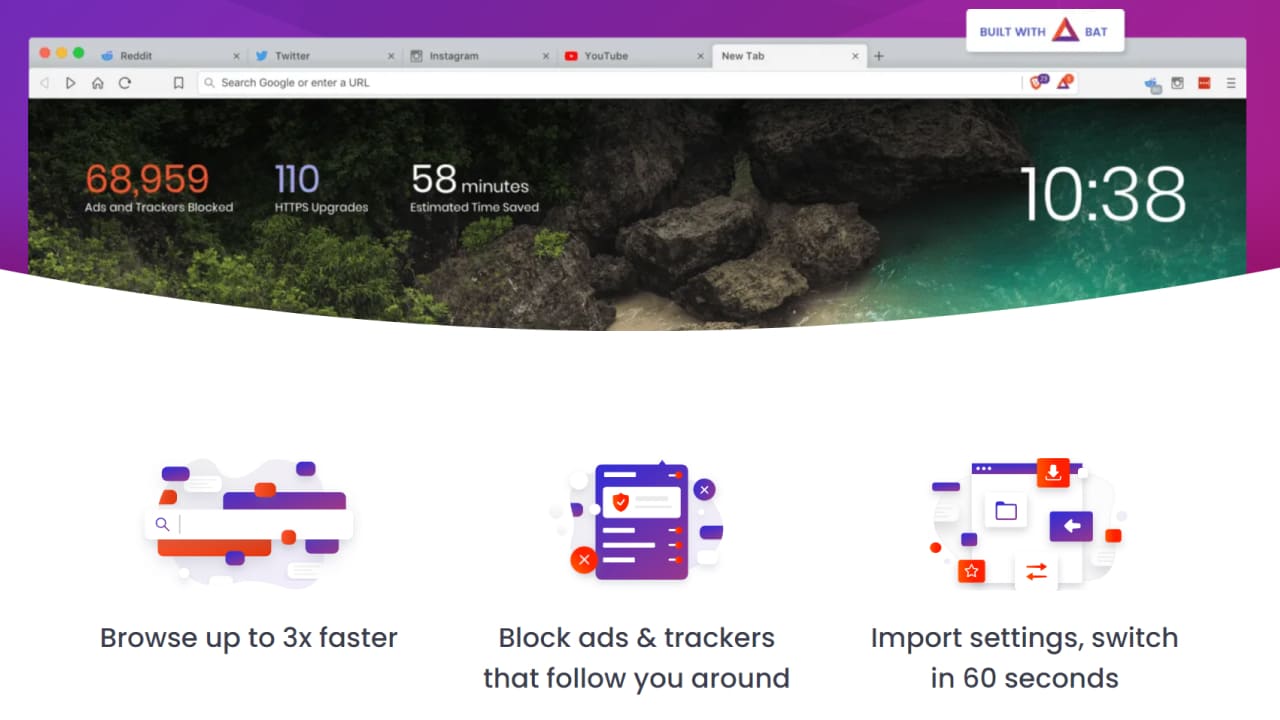
- Brave: Discover a privacy-focused browser that blocks ads and trackers, ensuring a faster and safer browsing experience.
- Vivaldi: Customize your browsing experience with this highly flexible browser, packed with advanced features.

Mark Ginter is a tech blogger with a passion for all things gadgets and gizmos. A self-proclaimed "geek", Mark has been blogging about technology for over 15 years. His blog, techquack.com, covers a wide range of topics including new product releases, industry news, and tips and tricks for getting the most out of your devices. If you're looking for someone who can keep you up-to-date with all the latest tech news and developments, then be sure to follow him over at Microsoft.