- Full HD 1080p video is up to six times larger in size than standard-definition video used on DVDs.
- This means that your CPU, the “CPU is the brain of your computer,” has to do six times as much work to playback video when editing with Vegas.
- The most important thing you can do to improve your Vegas playback is to make sure your computer has a modern 4-core processor with a decent GHz transfer rate.
Unlock the seamless editing experience you deserve with Sony Vegas by bidding farewell to the frustrating preview lag in Windows 10. In this article, we delve into the art of resolving this issue, allowing you to unleash your creativity without any hindrance.
Understanding Sony Vegas Preview Lag
If you’re experiencing lag or choppiness in the preview of Sony Vegas while using Windows 10, there are a few things you can try to fix the issue. First, make sure you have the latest version of Sony Vegas installed, as newer versions often include performance improvements.
Next, check your computer’s hardware specifications. Having a fast CPU, sufficient RAM, and a dedicated GPU can greatly improve preview playback. Consider upgrading these components if necessary.
Another potential cause of lag is the settings in Sony Vegas itself. Go to the “Options” menu, then select “Preferences.” Under the “Video” tab, adjust the preview setting to a lower resolution or frame rate. This can help improve playback performance.
Additionally, make sure your hard disk drive has enough free space and a high transfer rate, as this can affect preview playback.
By following these steps, you should be able to fix the preview lag in Sony Vegas on Windows 10 and enjoy smooth video editing.
Adjusting Preview Settings for Lag Correction
- Open Sony Vegas Pro.
- Click on the “Options” menu at the top of the program window.
- Select “Preferences” from the dropdown menu.
- In the Preferences window, expand the “Video” tab on the left sidebar.
- Click on “GPU acceleration of video processing” to enable it if it is not already selected.
- Under the “GPU acceleration of video processing” option, adjust the “Dynamic RAM preview” setting.
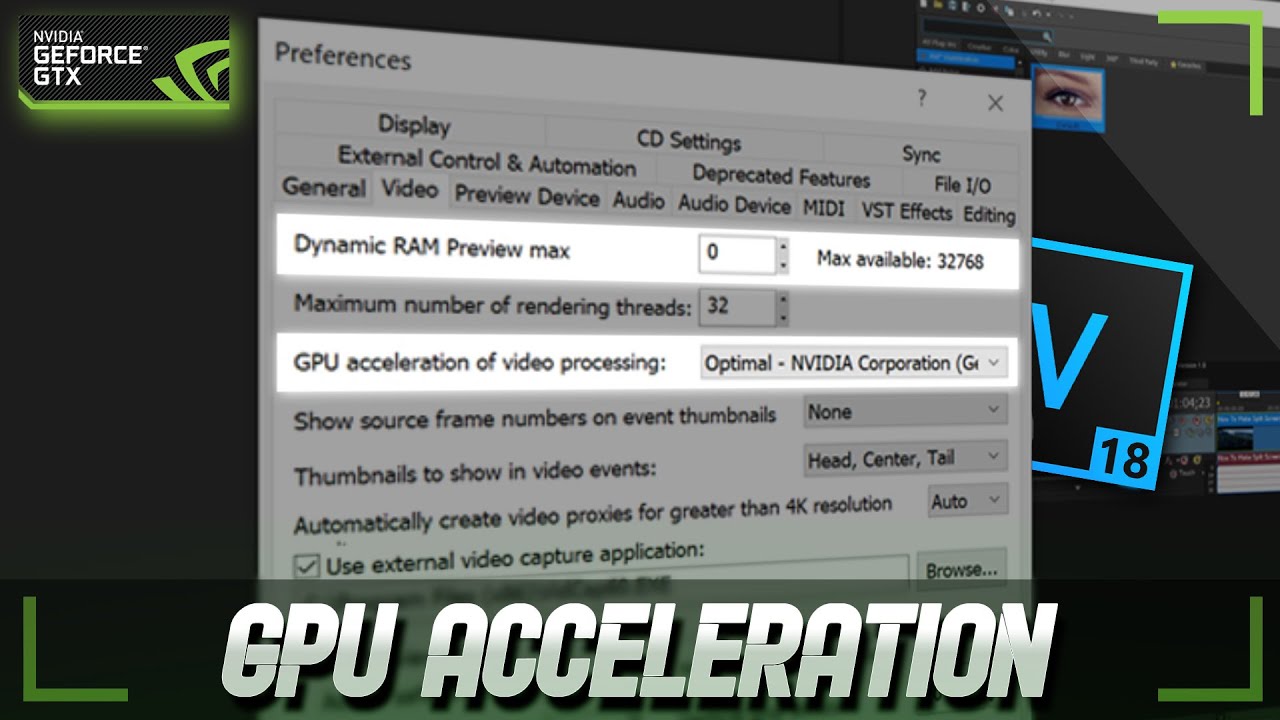
- Click on the dropdown menu next to “Dynamic RAM preview” to expand it.
- Select a lower value, such as “128 MB” or “256 MB”, to reduce preview lag.
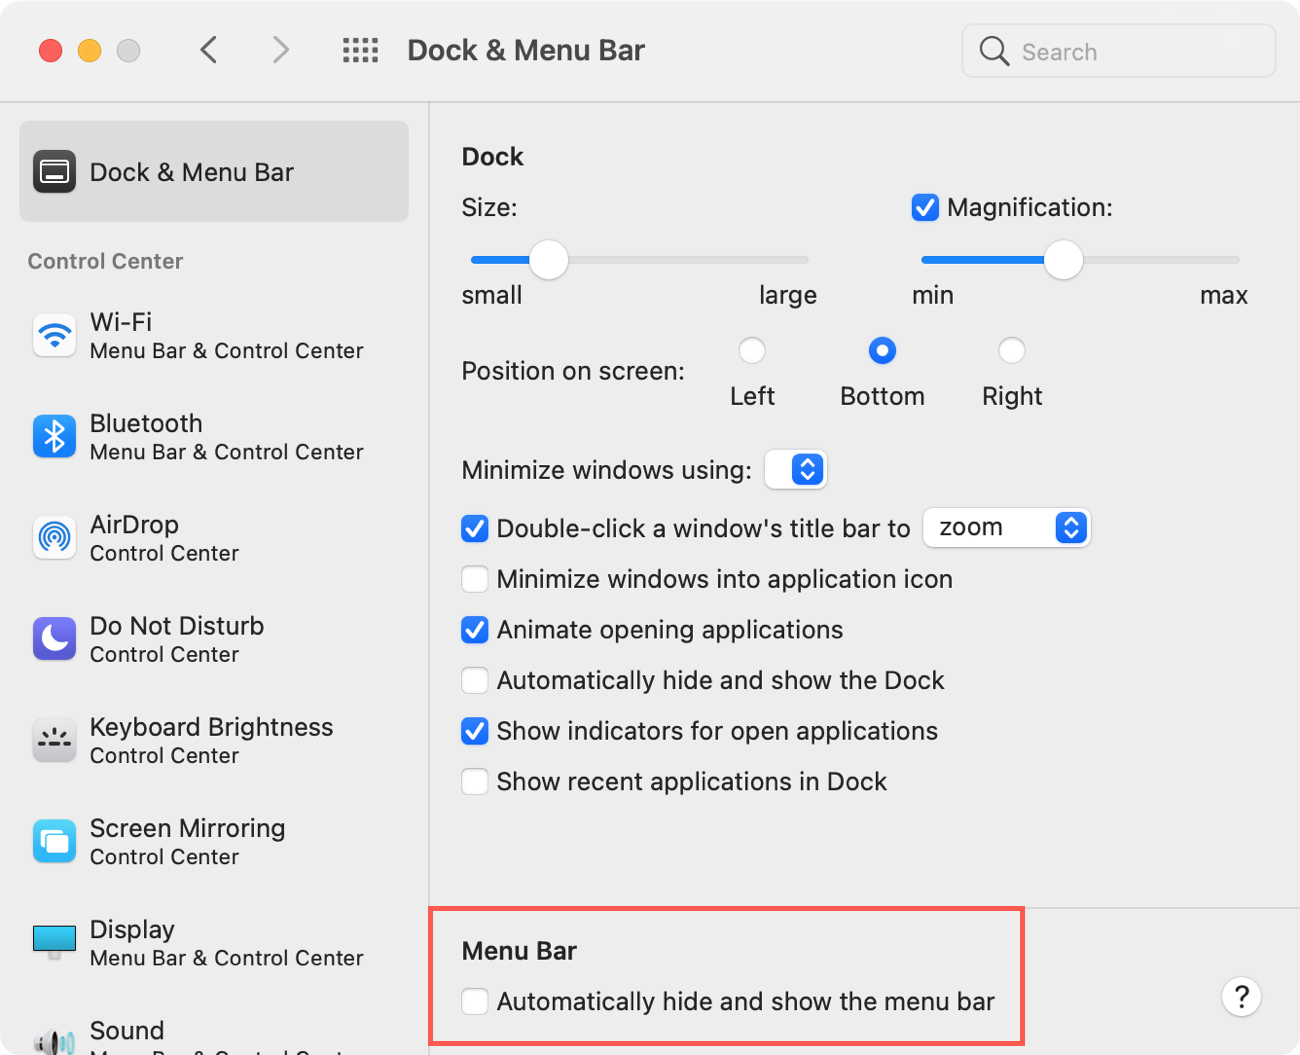
- Scroll down in the Preferences window and locate the “Preview Device” section.
- Click on the dropdown menu next to “Preview Device” to expand it.
- Select the appropriate preview device based on your system setup and hardware capabilities.
- If you have a powerful graphics card, select “NVIDIA GeForce” or “AMD Radeon” for better performance.
- If you have an integrated graphics card, choose “Intel HD Graphics” or “Intel(R) Quick Sync Video”.
- Close the Preferences window to apply the changes.
- Restart Sony Vegas Pro for the changes to take effect.
Utilizing Alternative Techniques for Lag Correction
If you’re experiencing lag while previewing videos in Sony Vegas on Windows 10, there are a few alternative techniques you can try to fix the issue.
First, make sure your computer meets the minimum system requirements for smooth video playback. Check the Random Access Memory (RAM) and hard disk drive transfer rate. Upgrading these components can significantly improve performance.
Next, adjust the preview settings in Sony Vegas. Go to the “Options” menu and select “Preferences.” Under the “Video” tab, try lowering the preview quality or changing the preview frame rate to match your project settings.
You can also try disabling any color grading tools or effects that may be causing the lag.
If the issue persists, consider rendering the video for smoother playback. Use the “Render As” option in Sony Vegas to create an output video file that can be played without lag.
By following these alternative techniques, you should be able to fix the Sony Vegas preview lag and enjoy smooth video playback in Windows 10.
Enhancing Compatibility and Performance for Lag Correction
Fix Sony Vegas Preview Lag in Windows 10
| Issue | Solution |
|---|---|
| Compatibility issues with Windows 10 | 1. Update Sony Vegas to the latest version. 2. Update Windows 10 to the latest version. 3. Install the latest graphics card drivers. 4. Run Sony Vegas in compatibility mode. 5. Disable any conflicting software or plugins. 6. Reset Sony Vegas settings to default. |
| Insufficient system resources | 1. Close unnecessary background applications. 2. Increase the available RAM for Sony Vegas. 3. Move project files to a faster drive. 4. Optimize project settings and reduce effects. 5. Render and preview at a lower resolution. |
| Hardware acceleration issues | 1. Disable GPU acceleration in Sony Vegas settings. 2. Update graphics card drivers. 3. Adjust GPU settings in the control panel. 4. Use a different graphics card if possible. |
| Corrupted media files | 1. Check and repair any corrupted media files. 2. Convert problematic files to a different format. 3. Use optimized media for smoother playback. |
| Software conflicts | 1. Disable or remove conflicting plugins. 2. Update or reinstall conflicting software. 3. Disable unnecessary background processes. |

Mark Ginter is a tech blogger with a passion for all things gadgets and gizmos. A self-proclaimed "geek", Mark has been blogging about technology for over 15 years. His blog, techquack.com, covers a wide range of topics including new product releases, industry news, and tips and tricks for getting the most out of your devices. If you're looking for someone who can keep you up-to-date with all the latest tech news and developments, then be sure to follow him over at Microsoft.