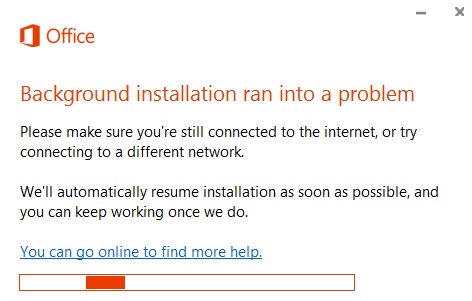
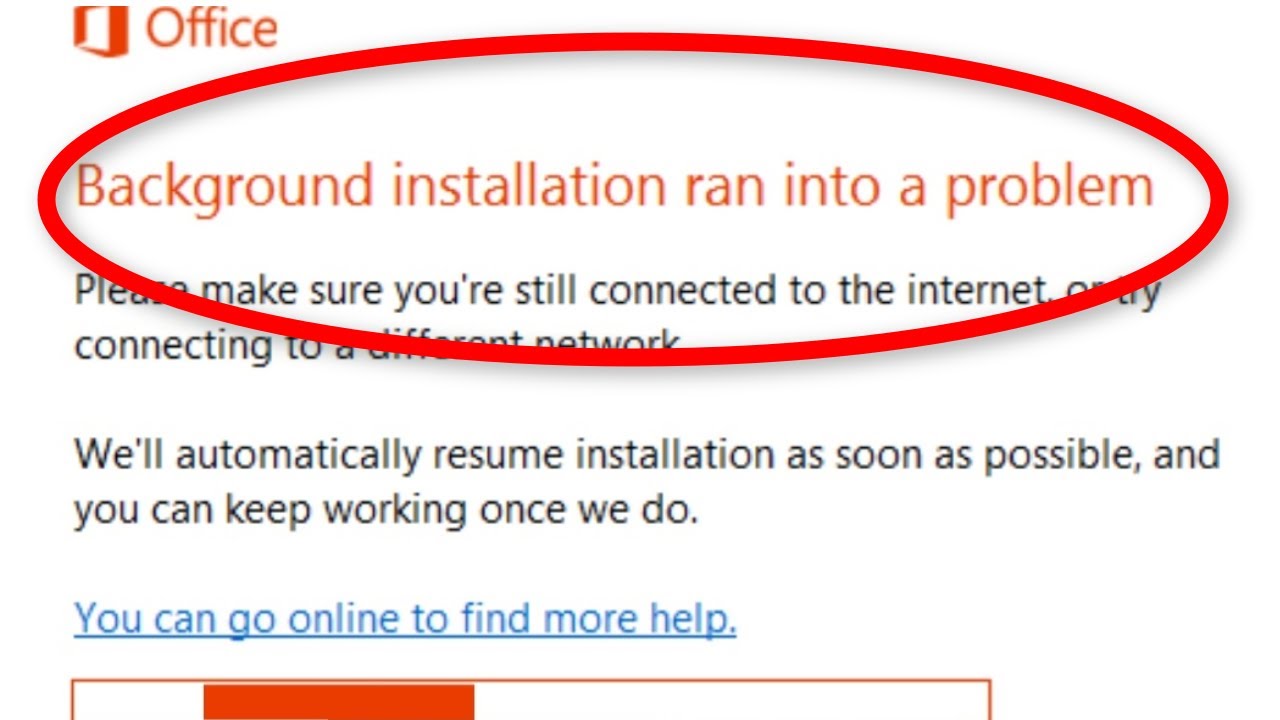
- This error code “Background installation encountered a problem” may occur due to insufficient updates on your computer.
- If you believe that all updates are up to date, follow the steps below to resolve the issue.
- This method involves using Microsoft Office’s built-in troubleshooting feature.
- It repairs any corrupted files found in the Microsoft Office installation.
- If the problem persists, proceed to the next solution.
Welcome to our troubleshooting guide for resolving background installation problems in Windows 10. In this article, we will delve into various effective methods to help you overcome any installation issues you may encounter, ensuring a smooth and hassle-free experience with your operating system. Let’s dive right in!
Causes of Background Installation Error in Windows 10
There are several reasons why you might encounter a background installation error while using Windows 10. One common cause is an issue with the installation process itself. This could be due to a problem with your device or with the program you are trying to install.
Another possible cause is an error in the Microsoft Office background installation process. This can happen when there are conflicts or compatibility issues with other programs or add-ins.
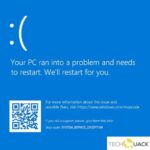
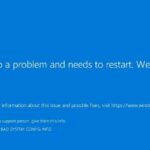
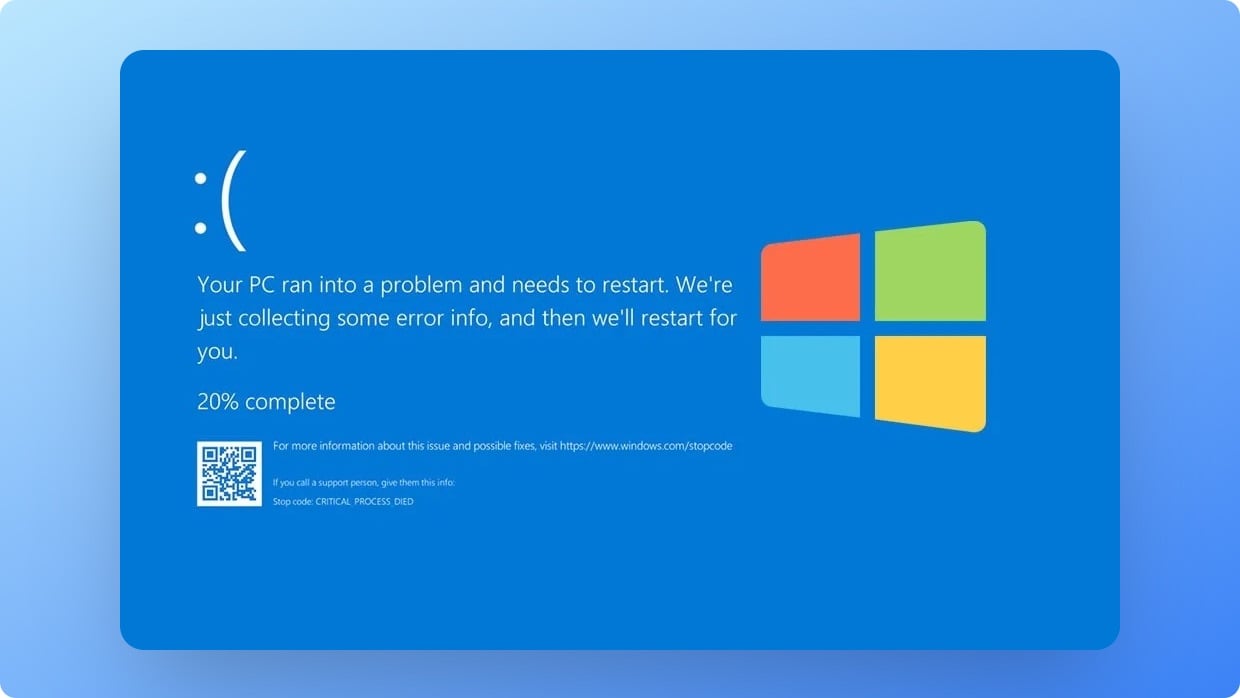
Additionally, outdated or incompatible drivers can also lead to background installation errors. This can result in error messages, such as the blue screen of death (BSOD) with stop codes like “IRQL_NOT_LESS_OR_EQUAL” or “DRIVER_IRQL_NOT_LESS_OR_EQUAL.”
To troubleshoot this problem, follow these steps:
1. Update Windows and all installed programs to the latest version.
2. Check for any available driver updates for your hardware devices.
3. Disable any conflicting programs or add-ins.
4. Restart your computer and try the installation again.
If the problem persists, it is recommended to seek further assistance from Microsoft support or consult relevant articles for specific error codes or notifications.
Using Event Viewer to Review Microsoft Office Alerts
Event Viewer is a powerful tool that can help troubleshoot background installation problems in Windows 10. By reviewing Microsoft Office alerts in Event Viewer, you can identify the cause of installation errors and find a solution.
To begin, open Event Viewer by pressing the Windows key and typing “Event Viewer.” Click on the application to launch it.
In Event Viewer, navigate to “Windows Logs” in the left-hand pane and click on “Application.” This will display a table of program executions and error notifications.
Look for any events related to Microsoft Office, such as Office Activation Services or Office Add-ins. Double-click on an event to view more details, including error codes and error messages.
Based on the information provided, you can search online for specific fixes or consult Microsoft support for further assistance. Note that some errors may require an upgrade to a newer version of Microsoft Office or Windows.
Remember to restart your computer after implementing any fixes or updates.
By utilizing Event Viewer, you can quickly identify and resolve background installation problems with Microsoft Office in Windows 10.
Repairing and Updating Microsoft Office
If you are experiencing a background installation problem with Microsoft Office on Windows 10, follow these steps to troubleshoot and resolve the issue.
1. Verify your Office product license: Make sure your Office product is correctly licensed and activated.
2. Check for Office updates: Open any Office application, go to File > Account, and click on ‘Update Options’ to check for and install any available updates.
3. Disable Office Add-ins: Sometimes, conflicting add-ins can cause installation issues. Open any Office application, go to File > Options > Add-ins, and disable any add-ins that are not necessary for your work.
4. Repair Office installation: Go to Control Panel > Programs and Features, select Microsoft Office, and click on ‘Change’. Choose the ‘Repair’ option and follow the on-screen instructions.
5. Uninstall and reinstall Office: If the repair option doesn’t work, you may need to uninstall and reinstall Office. Use the Office Uninstall Support Tool to completely remove Office from your device, and then reinstall it.
Note: Before you uninstall Office, make sure to back up any important files or documents.
By following these steps, you should be able to resolve the background installation problem with Microsoft Office on Windows 10.
python

import ctypes
def display_error_message():
error_message = "Troubleshoot background installation encountered a problem."
title = "Installation Error"
icon = ctypes.c_int(0x30) # Error icon
# Display a message box with the error message
ctypes.windll.user32.MessageBoxW(0, error_message, title, icon)
# Call the function to display the error message
display_error_message()
Please note that this code only displays a custom error message using the Windows API function `MessageBoxW`. It does not actually troubleshoot or fix any installation issues.
Reinstalling Microsoft Office
If you’re experiencing a background installation problem while reinstalling Microsoft Office on Windows 10, there are a few ways to troubleshoot the issue.
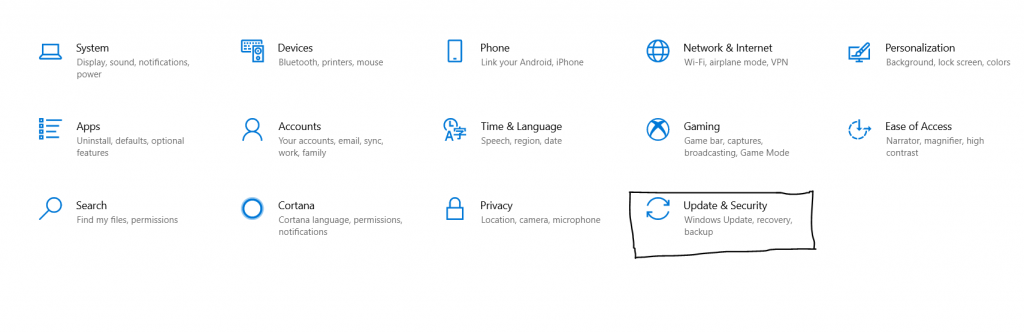
First, make sure your Windows 10 is up to date by going to Settings > Update & Security and checking for updates.
Next, try restarting your computer and then reinstalling Microsoft Office. If the problem persists, you can try running the Microsoft Office Installation and Troubleshooting Tool. To do this, follow these steps:
1. Press the Windows key + R to open the Run dialog box.
2. Type “control panel” and press Enter.
3. In Control Panel, click on “Programs” and then “Programs and Features.”
4. Find Microsoft Office in the list of installed programs, right-click on it, and select “Change.”
5. In the Office Installation window, select “Repair” and then follow the on-screen instructions.
If none of these steps resolve the issue, you may need to contact Microsoft Support for further assistance. Remember to have your product license verification and hardware devices information ready when reaching out for support.
General Fixes for Installation Errors
-
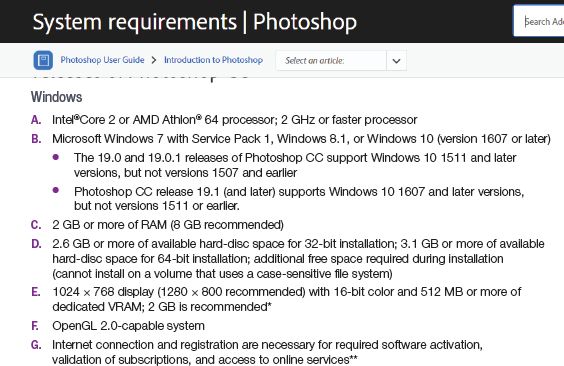
Check system requirements:
- Ensure that your computer meets the minimum system requirements for the software installation.
- Refer to the software’s official documentation or website for specific requirements.
-
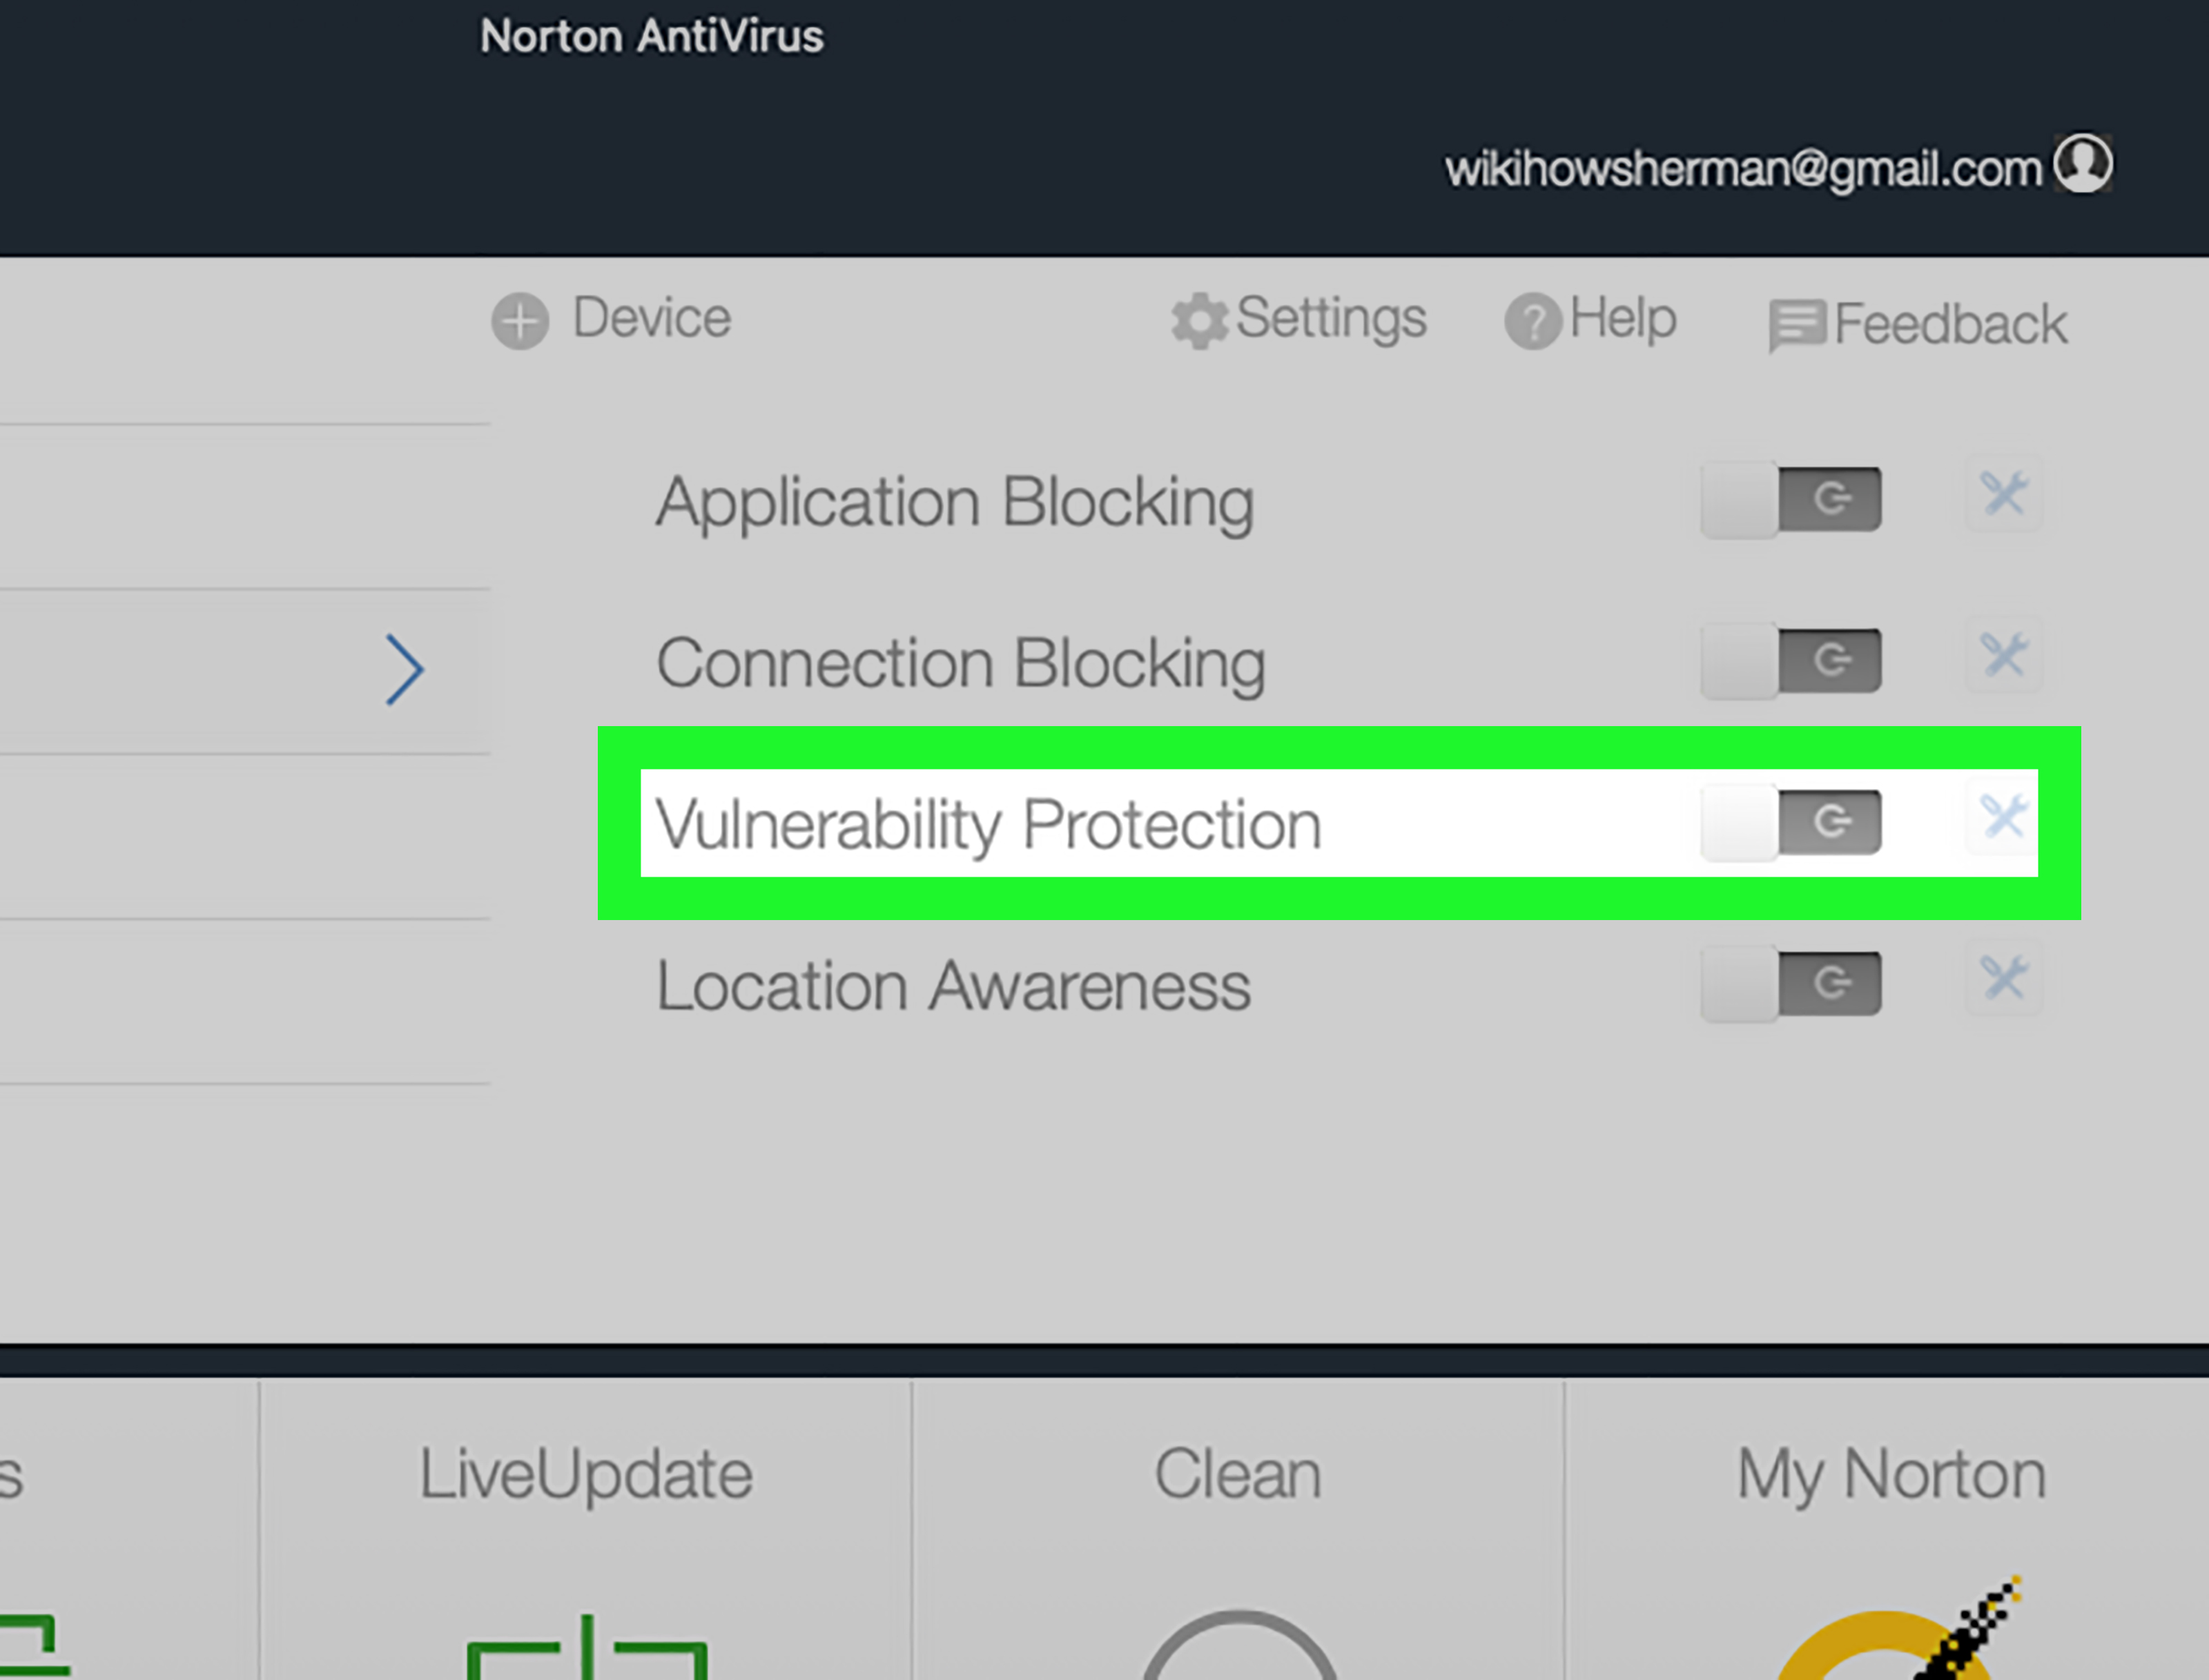
Disable antivirus/firewall:
- Temporarily disable your antivirus software or firewall as they may be blocking the installation process.
- Refer to the antivirus/firewall documentation for instructions on how to disable them.
-
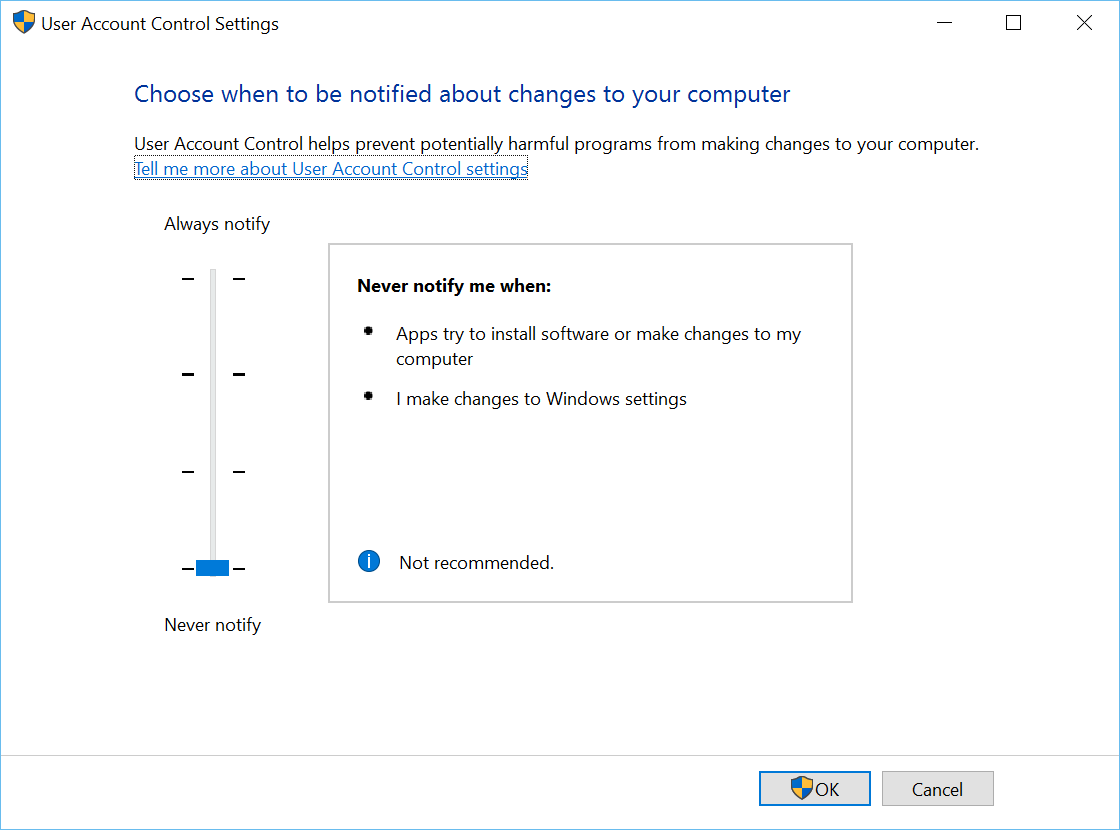
Run installation as administrator:
- Right-click on the installer file and select “Run as administrator” to grant the installation process necessary permissions.
- If prompted, enter the administrator password or provide confirmation.
-
Clean boot your system:
- Perform a clean boot to start Windows with a minimal set of drivers and startup programs.
- Press Windows Key + R to open the Run dialog box, type msconfig, and press Enter.
- In the System Configuration window, navigate to the “Services” tab and check the “Hide all Microsoft services” box.
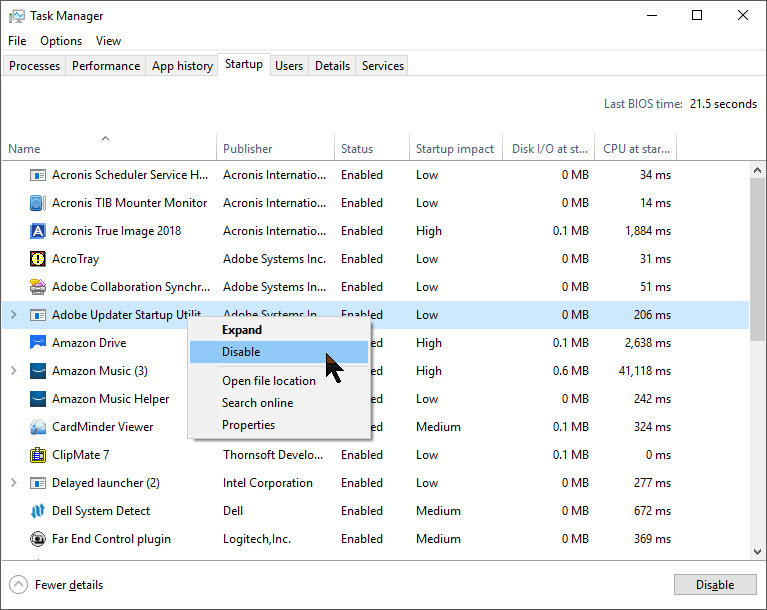
- Click “Disable all” and then go to the “Startup” tab and click “Open Task Manager”.
- In the Task Manager, disable all startup items one by one by right-clicking on them and selecting “Disable”.
- Close the Task Manager and click “OK” in the System Configuration window.
- Restart your computer and try installing the software again.
-
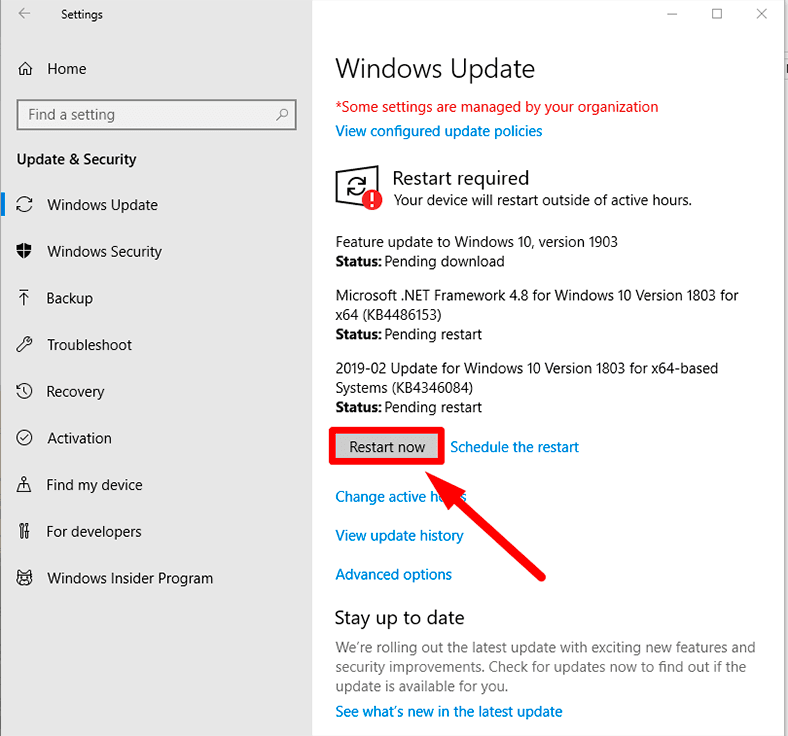
Update Windows:
- Make sure your Windows operating system is up to date with the latest patches and updates.
- Go to Settings > Update & Security > Windows Update.
- Click on “Check for updates” and install any available updates.
- Restart your computer and attempt the installation once again.
-
Use Windows Troubleshooter:
- Open Settings and go to Update & Security > Troubleshoot.
- Select Windows Update and click on “Run the troubleshooter”.
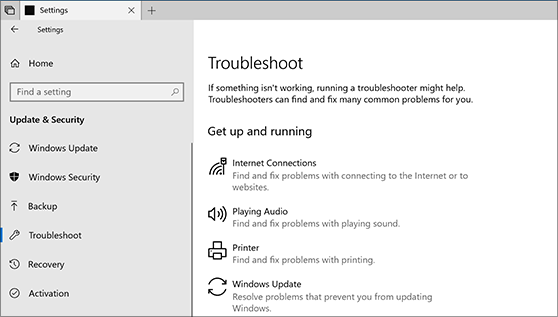
- Follow the on-screen instructions to diagnose and fix any issues related to Windows Update.
- Restart your computer and check if the installation problem is resolved.
-
Clean temporary files:
- Remove temporary files that may be interfering with the installation process.
- Press Windows Key + R to open the Run dialog box, type %temp%, and press Enter.
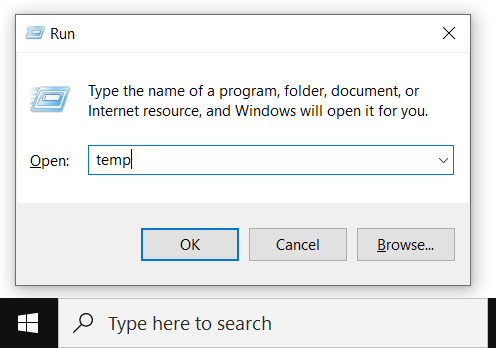
- Select all files and folders in the temporary folder and delete them.
- Restart your computer and try reinstalling the software.
-
Re-download the installer:
- If the installer file is corrupted or incomplete, try downloading it again from the official source.
- Delete the existing installer file and download a fresh copy.
- Ensure that the new file is fully downloaded before attempting the installation.
-
Seek professional help:
- If all else fails, consider contacting the software manufacturer’s support team or a computer technician for further assistance.
- Provide them with detailed information about the installation error and steps you have already taken.
Troubleshooting 0xC1900101 Errors
If you encounter a 0xC1900101 error during the background installation process in Windows 10, there are a few steps you can take to resolve the issue.
First, ensure that your Windows 10 operating system is up to date. Go to Settings > Update & Security > Windows Update and click on “Check for updates.” Install any available updates and then try the installation again.
If the error persists, you can try the following troubleshooting steps:
1. Disconnect any external devices, such as USB drives or printers, and restart your computer. Sometimes, these devices can interfere with the installation process.
2. Update your device drivers. Go to the manufacturer’s website and download the latest drivers for your hardware. Install them and then attempt the installation again.
3. Disable any third-party antivirus or firewall software temporarily. These programs can sometimes conflict with the installation process. After disabling them, try the installation again.
4. If you are trying to upgrade from Windows 7 or Windows 8.1, make sure that all your applications, including Microsoft Office products, are compatible with Windows 10. Visit the software manufacturer’s website for compatibility information and updates.
If none of these steps resolve the issue, please refer to the Microsoft support website for further assistance.
Additional Solutions and Help Options
- Perform a clean boot
- Run Windows Update Troubleshooter
- Use the System File Checker tool
- Check for faulty hardware
- Seek assistance from Microsoft Support
Perform a clean boot:
- Press Win + R to open the Run dialog box.
- Type msconfig and press Enter.
- In the System Configuration window, go to the Services tab.
- Check the box that says “Hide all Microsoft services.”
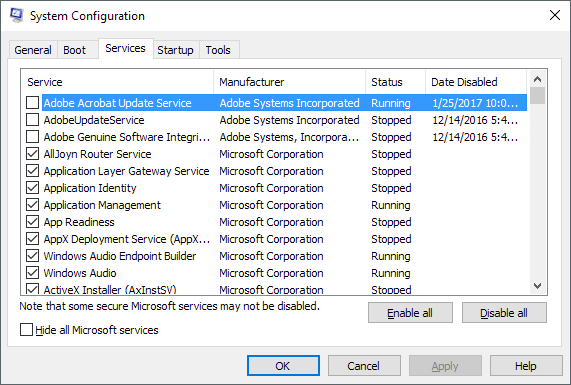
- Click on Disable all to disable all the remaining services.
- Go to the Startup tab and click on Open Task Manager.
- In the Task Manager window, disable all the startup items by right-clicking on each item and selecting Disable.
- Close the Task Manager and go back to the System Configuration window.

- Click on Apply and then OK.
- Restart your computer and check if the background installation problem is resolved.
Run Windows Update Troubleshooter:
- Press Win + I to open the Settings menu.
- Click on Update & Security.
- In the left menu, select Troubleshoot.
- Scroll down and click on Windows Update.
- Click on Run the troubleshooter and follow the on-screen instructions.
- Restart your computer and check if the background installation problem is resolved.
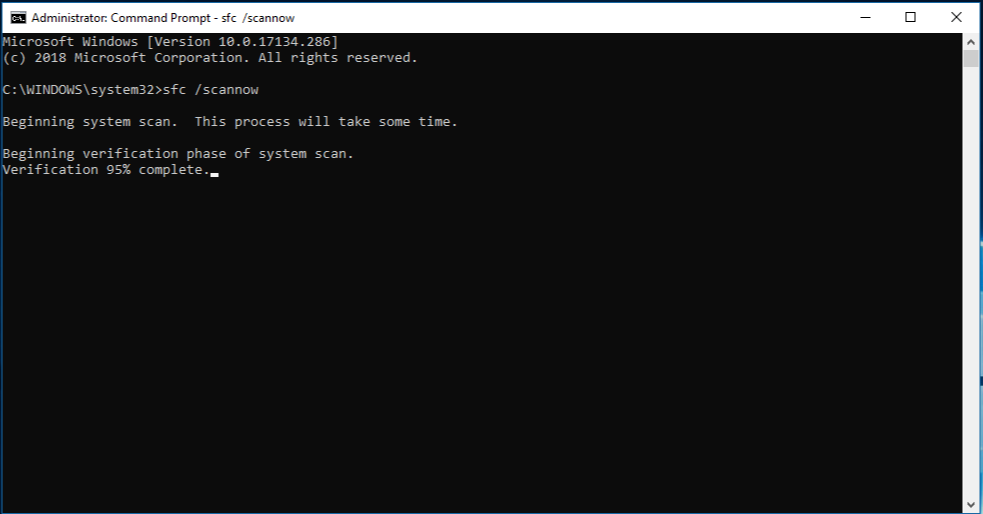
Use the System File Checker tool:
- Press the Win + X keys and select Command Prompt (Admin).
- In the Command Prompt, type sfc /scannow and press Enter.
- Wait for the scanning process to complete.
- If any corrupted files are found, the System File Checker tool will attempt to repair them automatically.
- Restart your computer and check if the background installation problem is resolved.
Check for faulty hardware:
- Ensure that all hardware components are properly connected to your computer.
- Disconnect any external devices and peripherals.
- If the problem persists, try replacing any recently added hardware components.
- Consult the manufacturer’s support or seek assistance from a professional technician if necessary.
Seek assistance from Microsoft Support:
- Visit the official Microsoft Support website.
- Search for the specific background installation problem you are experiencing.
- Follow the provided troubleshooting steps or contact Microsoft Support for further assistance.
FAQs and Conclusion
FAQs:
1. Why am I experiencing a background installation problem in Windows 10?
There could be various reasons for this issue, such as conflicting applications, incomplete program executions, or a problem with Office Activation Services.
2. How can I troubleshoot this problem?
Here are a few tips to resolve background installation issues:
– Restart your computer and try installing again.
– Check if your product license is valid and verify it if necessary.
– Disable any conflicting applications or antivirus software temporarily.
– Make sure you have a stable internet connection.
– Update your Windows operating system to the latest version.
– Try reinstalling Microsoft Office or repairing the installation.
3. What should I do if I receive an error notification during installation?
If you encounter an error code or error notification, search for the specific error message on the Microsoft support website. You can find troubleshooting steps and solutions tailored to your situation.
Conclusion:
In conclusion, troubleshooting background installation problems in Windows 10 can be resolved by following the tips mentioned above. If you continue to experience issues, it may be helpful to contact Microsoft support for further assistance. Remember to keep your Windows operating system and applications up to date to avoid potential conflicts in the future.

Mark Ginter is a tech blogger with a passion for all things gadgets and gizmos. A self-proclaimed "geek", Mark has been blogging about technology for over 15 years. His blog, techquack.com, covers a wide range of topics including new product releases, industry news, and tips and tricks for getting the most out of your devices. If you're looking for someone who can keep you up-to-date with all the latest tech news and developments, then be sure to follow him over at Microsoft.