- If Adobe Creative Cloud fails to open, install, or update, such as Photoshop CC, Lightroom, Illustrator CC, you should uninstall and reinstall Creative Cloud to resolve the error.
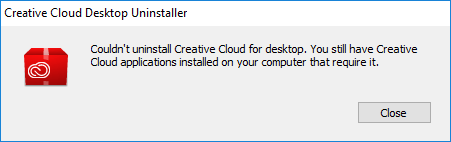
- Adobe has released a cleanup tool that automatically detects all the Creative Cloud modules installed on your computer and removes them instantly.
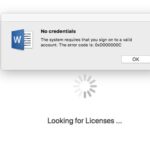
- The solution to this problem is to log in, which brings us to the first entry.
In this article, we will guide you through the process of uninstalling Adobe Creative Cloud from your Windows 10 operating system. Whether you’re seeking a fresh start or simply looking to free up space, we’ve got you covered with easy-to-follow steps to bid farewell to this powerful creative suite.
Steps to Uninstall Adobe Creative Cloud on Windows 10
- Open the Control Panel by searching for it in the Start Menu.
- Click on “Uninstall a program” under the Programs section.
- Locate and select “Adobe Creative Cloud” from the list of installed programs.
- Click on the “Uninstall” button at the top of the list.
- Follow the on-screen prompts to complete the uninstallation process.
- Restart your computer to ensure that all components of Adobe Creative Cloud are fully removed.
Troubleshooting Uninstallation Issues with Adobe Creative Cloud
Having trouble uninstalling Adobe Creative Cloud from your Windows 10 computer? Here are some troubleshooting tips to help you resolve any issues you may encounter.
First, make sure to close all Adobe applications and exit the Creative Cloud desktop app. This will ensure a smooth uninstallation process.
Next, go to the Control Panel and select “Uninstall a program” or “Add or remove programs.” Look for any Adobe software installed on your computer and select it. Click on the “Uninstall” button and follow the prompts to remove the software.
If you encounter any errors during the uninstallation process, try running the Adobe Creative Cloud Cleaner Tool. This tool is designed to fix common uninstallation issues and can be downloaded from the Adobe support community website.
If you’re still experiencing issues, try restarting your computer and attempting the uninstallation process again.
Remember to always double-check that you have the necessary credentials, such as your username and password, to uninstall Adobe software.
By following these troubleshooting steps, you should be able to successfully uninstall Adobe Creative Cloud from your Windows 10 computer.
Using Adobe CC Cleaner Tool for Uninstallation
To uninstall Adobe Creative Cloud on Windows 10, you can use the Adobe CC Cleaner Tool for a hassle-free removal process. This tool ensures that all components of the software are completely removed from your PC.
Here’s how to use the Adobe CC Cleaner Tool:
1. Visit the Adobe website and download the CC Cleaner Tool.
2. Double-click on the downloaded file to run the tool.
3. Select the Adobe software you want to uninstall from the list.
4. Click on the “Clean” button to start the uninstallation process.
5. Follow the on-screen prompts to complete the removal.
After the process is complete, you can verify that the software has been successfully uninstalled by checking your desktop and the “Program Files” folder for any remaining Adobe files.
If you encounter any errors or issues during the uninstallation, you can find solutions and support from the Adobe support community or contact Adobe directly for assistance.
Remember, using the Adobe CC Cleaner Tool ensures a thorough removal of Adobe Creative Cloud and its associated applications from your Windows 10 PC.
python

import subprocess
def uninstall_adobe_cc():
# Define the command to uninstall Adobe Creative Cloud
uninstall_command = "msiexec /x {product_code} /qn".format(product_code="{adobe_cc_product_code}")
try:
# Execute the uninstall command
subprocess.call(uninstall_command, shell=True)
print("Adobe Creative Cloud uninstalled successfully.")
except Exception as e:
print("Error occurred while uninstalling Adobe Creative Cloud:", str(e))
# Call the function to initiate the uninstallation process
uninstall_adobe_cc()
Please note that in the code above, you need to replace `{adobe_cc_product_code}` with the actual product code associated with Adobe Creative Cloud on your system. Also, ensure that you run this code with administrative privileges to have the necessary permissions for uninstalling the software.
Manually Removing Adobe Folders after Uninstalling Creative Cloud
To manually remove Adobe folders after uninstalling Creative Cloud on Windows 10, follow these steps:
1. Close any Adobe cloud applications or apps running in the background.
2. Open File Explorer and navigate to the following directory: C:\Program Files (x86)\Adobe.
3. Delete any remaining Adobe folders, such as Photoshop CC, Lightroom, Illustrator, or Premiere.
4. Next, navigate to the following directory: C:\Program Files\Common Files\Adobe.
5. Delete any Adobe folders found in this location as well.
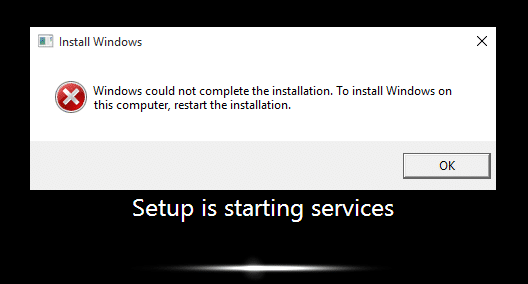
6. If you encounter an error message or are unable to delete a folder, try restarting your computer and repeating the process.
7. Once you have removed all the Adobe folders, you have successfully completed the manual uninstallation process.
Remember, manually removing Adobe folders should only be done if the regular software uninstallation process did not remove all the files. If you are unsure or encounter any issues, it is recommended to seek further assistance from Adobe support or consult online forums for additional tips and tricks.
Frequently Asked Questions about Uninstalling Adobe Creative Cloud
Frequently Asked Questions about Uninstalling Adobe Creative Cloud on Windows 10
| Question | Answer |
|---|---|
| 1. How do I uninstall Adobe Creative Cloud on Windows 10? | To uninstall Adobe Creative Cloud on Windows 10, follow these steps: 1. Open the Control Panel. 2. Click on “Uninstall a program” under the “Programs” section. 3. Locate “Adobe Creative Cloud” in the list of installed programs. 4. Right-click on it and select “Uninstall”. 5. Follow the on-screen prompts to complete the uninstallation process. |
| 2. Will uninstalling Adobe Creative Cloud remove all Adobe applications? | No, uninstalling Adobe Creative Cloud will not remove the individual Adobe applications installed on your computer. You will need to uninstall them separately if desired. |
| 3. Are there any alternative methods to uninstall Adobe Creative Cloud? | Yes, besides the Control Panel method, you can also use the Adobe Creative Cloud Cleaner Tool provided by Adobe to completely remove all Creative Cloud components. This tool is recommended for troubleshooting purposes or when you encounter issues with the regular uninstallation process. |
| 4. Can I reinstall Adobe Creative Cloud after uninstalling it? | Yes, you can reinstall Adobe Creative Cloud at any time by downloading the installer from the official Adobe website and following the installation instructions. |
| 5. Will uninstalling Adobe Creative Cloud affect my saved projects or files? | No, uninstalling Adobe Creative Cloud will not affect your saved projects or files. However, it is always recommended to backup your important data before making any changes to your software installations. |

Mark Ginter is a tech blogger with a passion for all things gadgets and gizmos. A self-proclaimed "geek", Mark has been blogging about technology for over 15 years. His blog, techquack.com, covers a wide range of topics including new product releases, industry news, and tips and tricks for getting the most out of your devices. If you're looking for someone who can keep you up-to-date with all the latest tech news and developments, then be sure to follow him over at Microsoft.