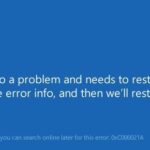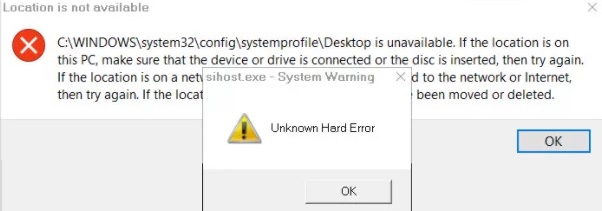
- Many Windows 10 users have encountered the “sihost.exe unknown hard error” error when using Cortana or after installing Windows updates.
- The error may be caused by recent software changes, corrupted system files and hard drive errors can cause the error.
- Some system files on your computer may be corrupted after a memory failure or storage error.
In the realm of Windows 10 PC troubleshooting, the enigmatic sihost.exe hard drive error has emerged as a challenging hurdle for many users. This article delves into the depths of this perplexing issue, offering insights and effective solutions to restore harmony in your computer system.
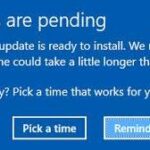
Install Pending Updates
To install pending updates on your Windows 10 PC and troubleshoot the Sihost.exe hard drive error, follow these steps:
1. Press the Windows + X keys on your keyboard to open the Power User menu.
2. Select “Programs and Features” from the menu.
3. Look for any recently installed programs that may be causing the issue.
4. If you find any, uninstall them and restart your computer.
5. If the issue persists, go to the Windows Update settings.
6. Check for any pending updates and install them.
7. Restart your computer again to apply the updates.
8. If the error still occurs, try running the System File Checker tool.
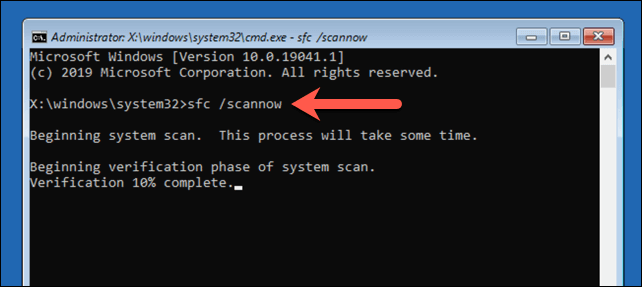
9. Open the Command Prompt as an administrator and type “sfc /scannow“.
10. Let the tool scan and repair any corrupted system files.
11. Restart your computer once more to see if the issue is resolved.
By following these steps, you can fix the Sihost.exe hard drive error and resolve any related PC errors.
Perform SFC and DISM Scans
Performing SFC (System File Checker) and DISM (Deployment Image Servicing and Management) scans can help troubleshoot the Sihost.exe hard drive error in Windows 10. To begin, open the Command Prompt as an administrator by pressing Windows + X and selecting “Command Prompt (Admin)” from the menu.
For SFC scan, type “sfc /scannow” and press Enter. This will scan and repair any corrupted system files.
For DISM scan, type “dism /online /cleanup-image /restorehealth” and press Enter. This will repair any issues with the Windows image.
After the scans are complete, restart your PC and check if the Sihost.exe hard drive error persists. If it does, consider other troubleshooting methods or seek further assistance from Microsoft support or other reliable sources.
Remember to always back up your files before making any changes to your system.
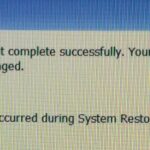
Use System Restore
If you’re experiencing the Sihost.exe Hard Drive Error on your Windows 10 PC, you can use System Restore to resolve the issue. System Restore allows you to revert your computer’s settings back to a previous working state.
To use System Restore, follow these steps:
1. Press the Windows key + R to open the Run dialog box.
2. Type rstrui and press Enter to open the System Restore wizard.
3. Click “Next” and select a restore point that predates the Sihost.exe error.
4. Follow the on-screen instructions to complete the restoration process.
5. Once the restoration is complete, restart your computer.
System Restore can help you fix various issues, including Sihost.exe errors caused by software conflicts or corrupted system files. It’s a powerful tool that can save you time and effort in troubleshooting PC errors.
Remember to regularly create restore points to easily revert your system in case of future errors or issues.
Reset Windows Components
- Overview: Resetting Windows components can help resolve sihost.exe hard drive errors on your Windows 10 PC.
- Step 1: Open Command Prompt as an administrator.
- Step 2: Run the following commands one by one, pressing Enter after each command:
–sfc /scannow
–dism /online /cleanup-image /restorehealth
–dism /online /cleanup-image /startcomponentcleanup
–dism /online /cleanup-image /scanhealth - Step 3: Restart your PC to apply the changes.
- Step 4: Check if the sihost.exe hard drive error is resolved.

- Step 5: If the issue persists, consider performing a system restore to a previous working state.
- Step 6: If all else fails, try reinstalling Windows 10 to fix the sihost.exe hard drive error.
Revert Software Changes
To revert software changes and troubleshoot the Sihost.exe hard drive error in Windows 10 PC, follow these steps:
1. Restart your computer and press F8 repeatedly during system startup to access the Advanced Boot Options menu.
2. Select “Safe Mode” from the menu and press Enter.
3. Once in Safe Mode, open File Explorer and navigate to the “C:\Windows\System32” directory.
4. Locate the Sihost.exe file and right-click on it.
5. Select “Properties” from the context menu and go to the “Previous Versions” tab.
6. Choose a previous version of the Sihost.exe file and click “Restore” to revert the changes.
7. Restart your computer and check if the error is resolved.
If the above steps don’t fix the issue, you can try running a system file checker scan using the Command Prompt:
1. Press the Windows key + X and select “Command Prompt (Admin)”.
2. In the Command Prompt window, type “sfc /scannow” and press Enter.
3. Wait for the scan to complete and follow any on-screen instructions.
If the error persists, you may need to consider reinstalling the operating system or seeking further assistance from Microsoft support.
Clean Boot and Check Disk Error
- Press Windows Key + R to open the Run dialog box.
- Type msconfig and press Enter to open the System Configuration window.
- In the General tab, select the option Selective startup.
- Uncheck the box next to Load startup items.
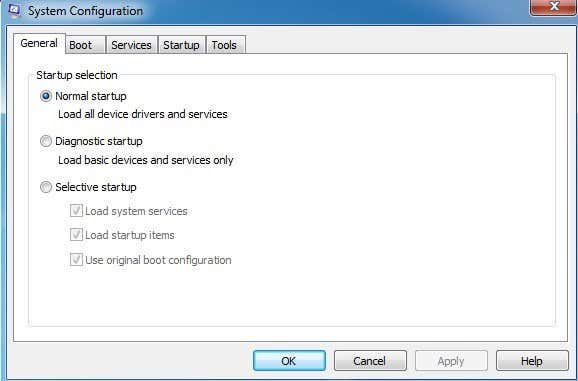
- Go to the Services tab and check the box next to Hide all Microsoft services.
- Click on Disable all to disable all the remaining services.

- Click on Apply and then OK.
- Restart your computer.
Check Disk Error
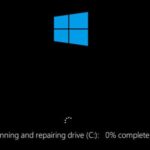
- Press Windows Key + X and select Command Prompt (Admin) to open an elevated Command Prompt.
- Type chkdsk /f /r and press Enter.
- If prompted to schedule a check disk scan on the next restart, type Y and press Enter.
- Restart your computer to initiate the check disk scan.
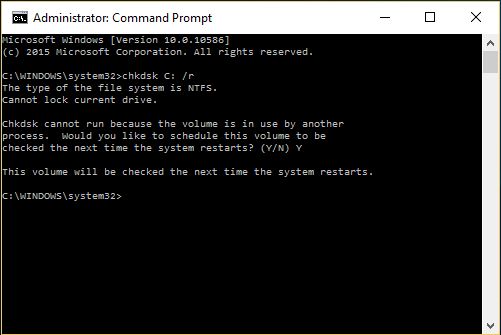
- The scan will start and may take some time to complete.
- Once the scan finishes, your computer will automatically restart.

Mark Ginter is a tech blogger with a passion for all things gadgets and gizmos. A self-proclaimed "geek", Mark has been blogging about technology for over 15 years. His blog, techquack.com, covers a wide range of topics including new product releases, industry news, and tips and tricks for getting the most out of your devices. If you're looking for someone who can keep you up-to-date with all the latest tech news and developments, then be sure to follow him over at Microsoft.