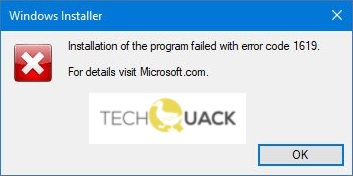
- Error 1619 is mostly related to NTFS file errors, a problem loading additional installation components, or a problem with the current version of Windows Installer.
- Manually installing the.NET Framework 4.8 can fix the error.
- If you encounter this problem when trying to install Rhino3D or a. similar program that relies heavily on the.NET 4.0 Framework, the installer may refuse to proceed because not all requirements have been met.
Welcome to an informative article dedicated to resolving the Windows Installer Error 1619, specifically tailored for Windows 10 users. If you have encountered this frustrating error while installing or updating software, fear not! We are here to guide you through the troubleshooting process, providing simple and effective solutions to get your Windows 10 system back on track. So, let’s dive in and bid farewell to Error 1619 once and for all!
Troubleshooting Windows Installer Error 1619 in Windows 10
If you’re encountering Error 1619 while trying to install a program using Windows Installer in Windows 10, here are some steps to help you resolve the issue.
1. Verify the installation package is not corrupt or incomplete. Make sure you have a reliable copy of the package.
2. Check if the installer error is caused by an issue with the msi file itself. Try installing a different program to see if the error persists.
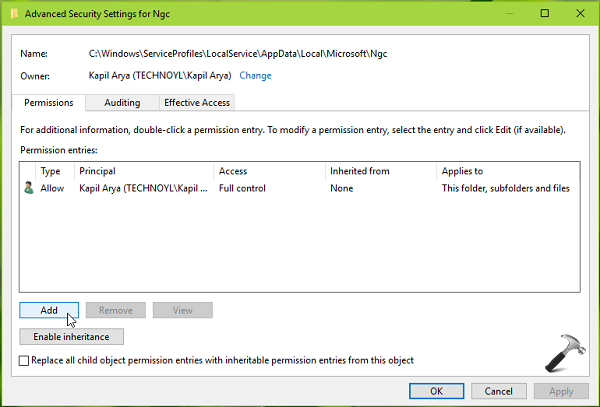
3. Ensure that you have the necessary permissions to install software on your computer. If you’re using a business device, check if any Software Management policies are in place that could be blocking the installation.
4. Temporarily disable any antivirus or security software that may be interfering with the installation process.
5. Run the installation package with administrative privileges. Right-click on the package and select “Run as administrator.”
6. If the error still occurs, try using the Windows Installer 4.5 Redist to update your Windows Installer infrastructure.
Remember to always back up your data before making any changes to your system. If the issue persists, it may be best to seek assistance from Microsoft or the developer of the program you’re trying to install.
By following these steps, you should be able to troubleshoot and fix Windows Installer Error 1619 in Windows 10.
Potential Causes and Solutions for Windows Installer Error 1619
-
Check for sufficient disk space:
- Open File Explorer by pressing Win + E.
- Right-click on the drive where you are trying to install the program.
- Select Properties.
- Check the Available Space to ensure it is sufficient for the installation.
- If the disk space is low, free up some space by deleting unnecessary files or programs.
-
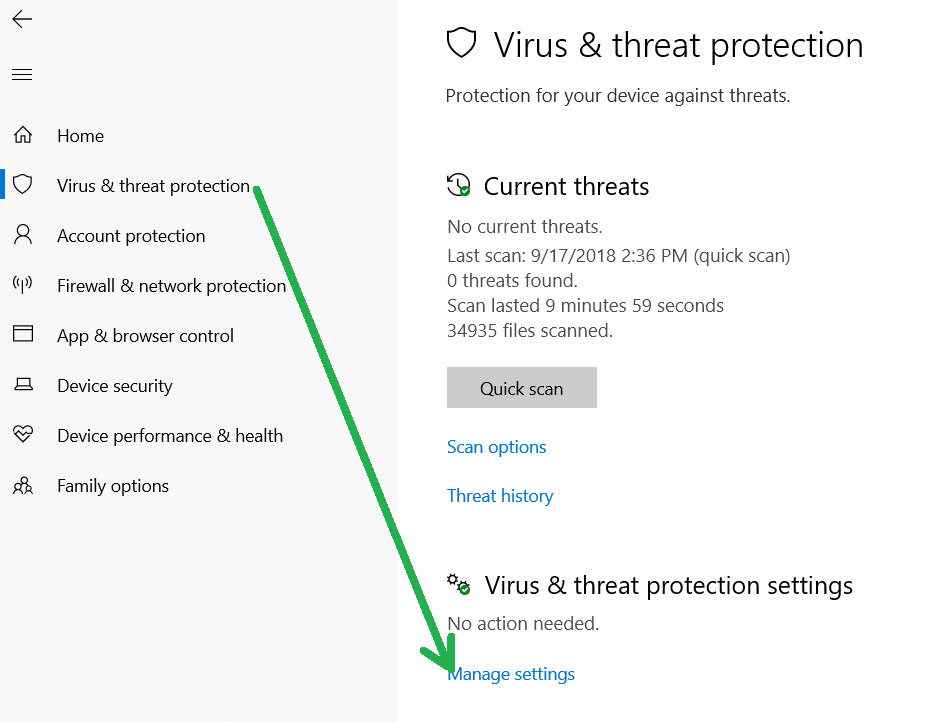
Disable third-party security software:
- Open the Start Menu by clicking on the Windows icon.
- Type Security and select Windows Security.
- Click on Manage Settings under Virus & Threat Protection Settings.
- Turn off any third-party antivirus or firewall software that might be interfering with the installation process.
-
Run the installer as an administrator:
- Locate the installer file (usually ending with .msi or .exe).
- Right-click on the installer file.
- Select Run as administrator from the context menu.
- Follow the on-screen instructions to complete the installation.
-
Temporarily disable User Account Control (UAC):
- Open the Control Panel by searching for it in the Start Menu.
- Click on User Accounts.
- Select User Accounts again.
- Click on Change User Account Control settings.
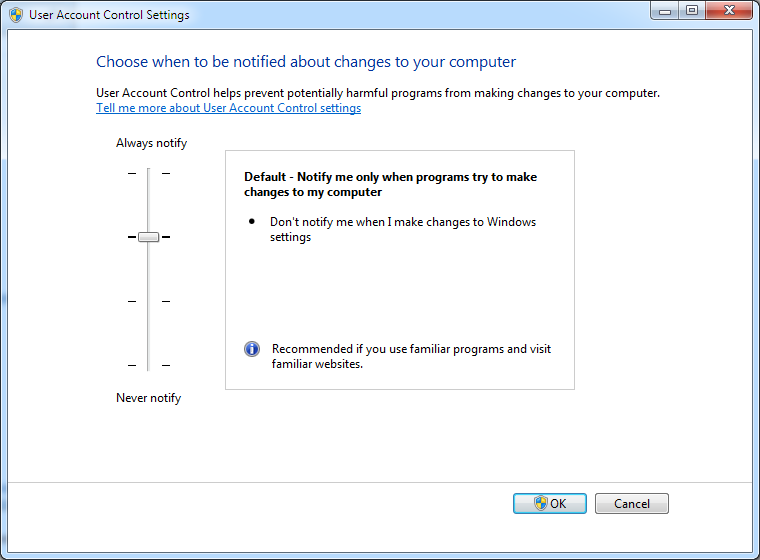
- Move the slider to the Never notify position.
- Click OK to save the changes.
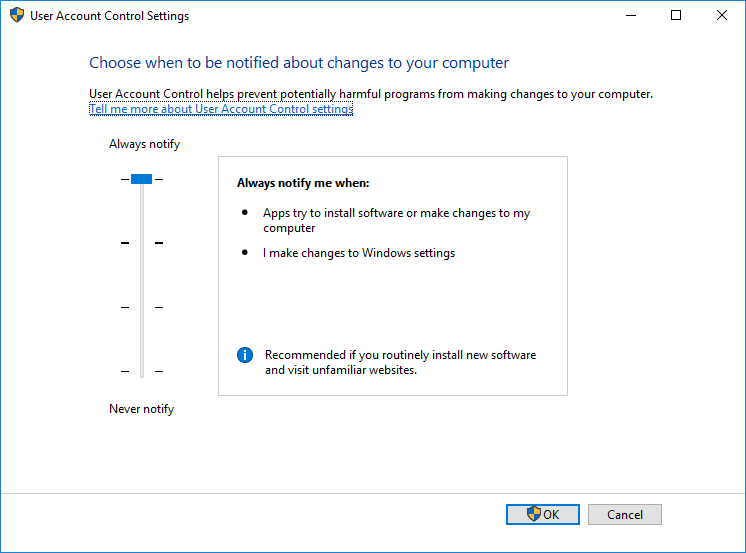
- Restart your computer for the changes to take effect.
-
Check for Windows updates:
- Open the Start Menu by clicking on the Windows icon.
- Type Windows Update and select Windows Update settings.
- Click on Check for updates.
- If any updates are available, click on Install updates and wait for the process to complete.
- Restart your computer if prompted to do so.
Methods to Resolve Windows Installer Error 1619 in Windows 10
1. Verify the compatibility of the software: Ensure that the software you are trying to install is compatible with Windows 10.
2. Check the file path and permissions: Confirm that the file path and sub-folders have the necessary read and write permissions.
3. Run the installer with elevated privileges: Right-click on the installer file and select “Run as administrator” to ensure sufficient permissions.
4. Use the Windows Installer Repair Tool: Download and run the Windows Installer Repair Tool from the Microsoft website to fix any issues with the Windows Installer infrastructure.
5. Update Windows Installer: Install the latest version of Windows Installer (such as Windows Installer 4.5 Redist) to ensure compatibility and resolve any known issues.
6. Disable antivirus or firewall temporarily: Temporarily disable any antivirus or firewall software that may be interfering with the installation process.
7. Use a software management solution: Consider using a software management solution like SCCM (System Center Configuration Manager) to streamline the installation process and troubleshoot any errors.
Remember, if the error persists, consult the software developer or Microsoft support for further assistance.
powershell

$packageName = "YourPackageName"

$installerPath = "C:\Path\To\Installer.msi"
# Check if the installer file exists
if (Test-Path $installerPath) {
# Execute the installation command
Start-Process -FilePath "msiexec.exe" -ArgumentList "/i `"$installerPath`"" -Wait
$exitCode = $LASTEXITCODE
# Check the exit code to determine if the installation was successful
if ($exitCode -eq 0) {
Write-Host "Installation completed successfully."
} else {
Write-Host "Installation failed with exit code: $exitCode"
}
} else {
Write-Host "Installer file not found at the specified path: $installerPath"
}
Please note that you should replace `”YourPackageName”` with the name of the package you are trying to install and `”C:\Path\To\Installer.msi”` with the actual path to your installer file.
Important Steps to Fix Windows Installer Error 1619
If you’re encountering Windows Installer Error 1619 during installation attempts, follow these steps to resolve the issue:
1. Verify the installer file: Ensure that the .msi file you’re using for installation is valid and not corrupted.
2. Check file location: Make sure the installer file is stored in a location accessible by the Windows Installer service. Avoid sub-folders or restricted areas.
3. Run as administrator: Right-click the installer file and select “Run as administrator” to ensure proper permissions.
4. Temporarily disable antivirus: Disable any antivirus software temporarily, as it might interfere with the installation process.
5. Use the correct command: Open Command Prompt as administrator and enter the following command: msiexec /i “path_to_installer.msi” /qb
6. Clean up previous installations: Remove any existing versions of the software using the “Programs and Features” section in the Control Panel.
7. Seek professional support: If the issue persists, consult Microsoft support or the software vendor for further assistance.
Remember to always exercise caution when making changes to your system and ensure you have a backup of important data.

Mark Ginter is a tech blogger with a passion for all things gadgets and gizmos. A self-proclaimed "geek", Mark has been blogging about technology for over 15 years. His blog, techquack.com, covers a wide range of topics including new product releases, industry news, and tips and tricks for getting the most out of your devices. If you're looking for someone who can keep you up-to-date with all the latest tech news and developments, then be sure to follow him over at Microsoft.