- The Modern Installation Host process is responsible for updating Windows.
- It is usually located in the $Windows.BT folder.
- The Modern Setup Host process can consume CPU and hard drive resources.
- It is likely that you are having problems with the modern installer node due to a Windows Update error.
- The solutions below try to fix the Windows Update errors.
- Each one applies to one of the two problems you are trying to solve.
- Scroll through the list until you find a method that works for you.
Unleashing the Power: Taming Modern Setup Host’s CPU Usage
Understanding Modern Setup Host and High Processor Consumption
If you’re experiencing high CPU usage due to Modern Setup Host, there are a few steps you can take to resolve the issue.
First, open the Services menu by typing “services” into the Windows search bar and selecting the “Services” app.
Scroll down and locate “Modern Setup Host” in the list of services. Right-click on it and select “Properties” from the context menu.
In the Properties menu, navigate to the “General” tab and click on the “Startup Type” dropdown menu. Select “Disabled” and click “Apply” to save the changes.
Next, open the Task Manager by right-clicking on the taskbar and selecting “Task Manager” from the menu.
In the Task Manager, go to the “Processes” tab and look for “Modern Setup Host” or “SetupHost.exe.” If you find it, right-click on it and select “End Task” to stop the process.
Finally, restart your computer to ensure that the changes take effect.
By following these steps, you should be able to address the high CPU usage caused by Modern Setup Host and improve your system’s performance.
Troubleshooting Modern Setup Host: High CPU and Disk Usage
- Open Task Manager by pressing Ctrl+Shift+Esc.
- Locate the Modern Setup Host process in the list of running processes.

- Right-click on the Modern Setup Host process and select End Task.
Method 2: Disable Windows Update temporarily
- Open the Settings app by pressing Windows key + I.
- Click on Update & Security.
- In the left pane, select Windows Update.
- Click on Advanced options.
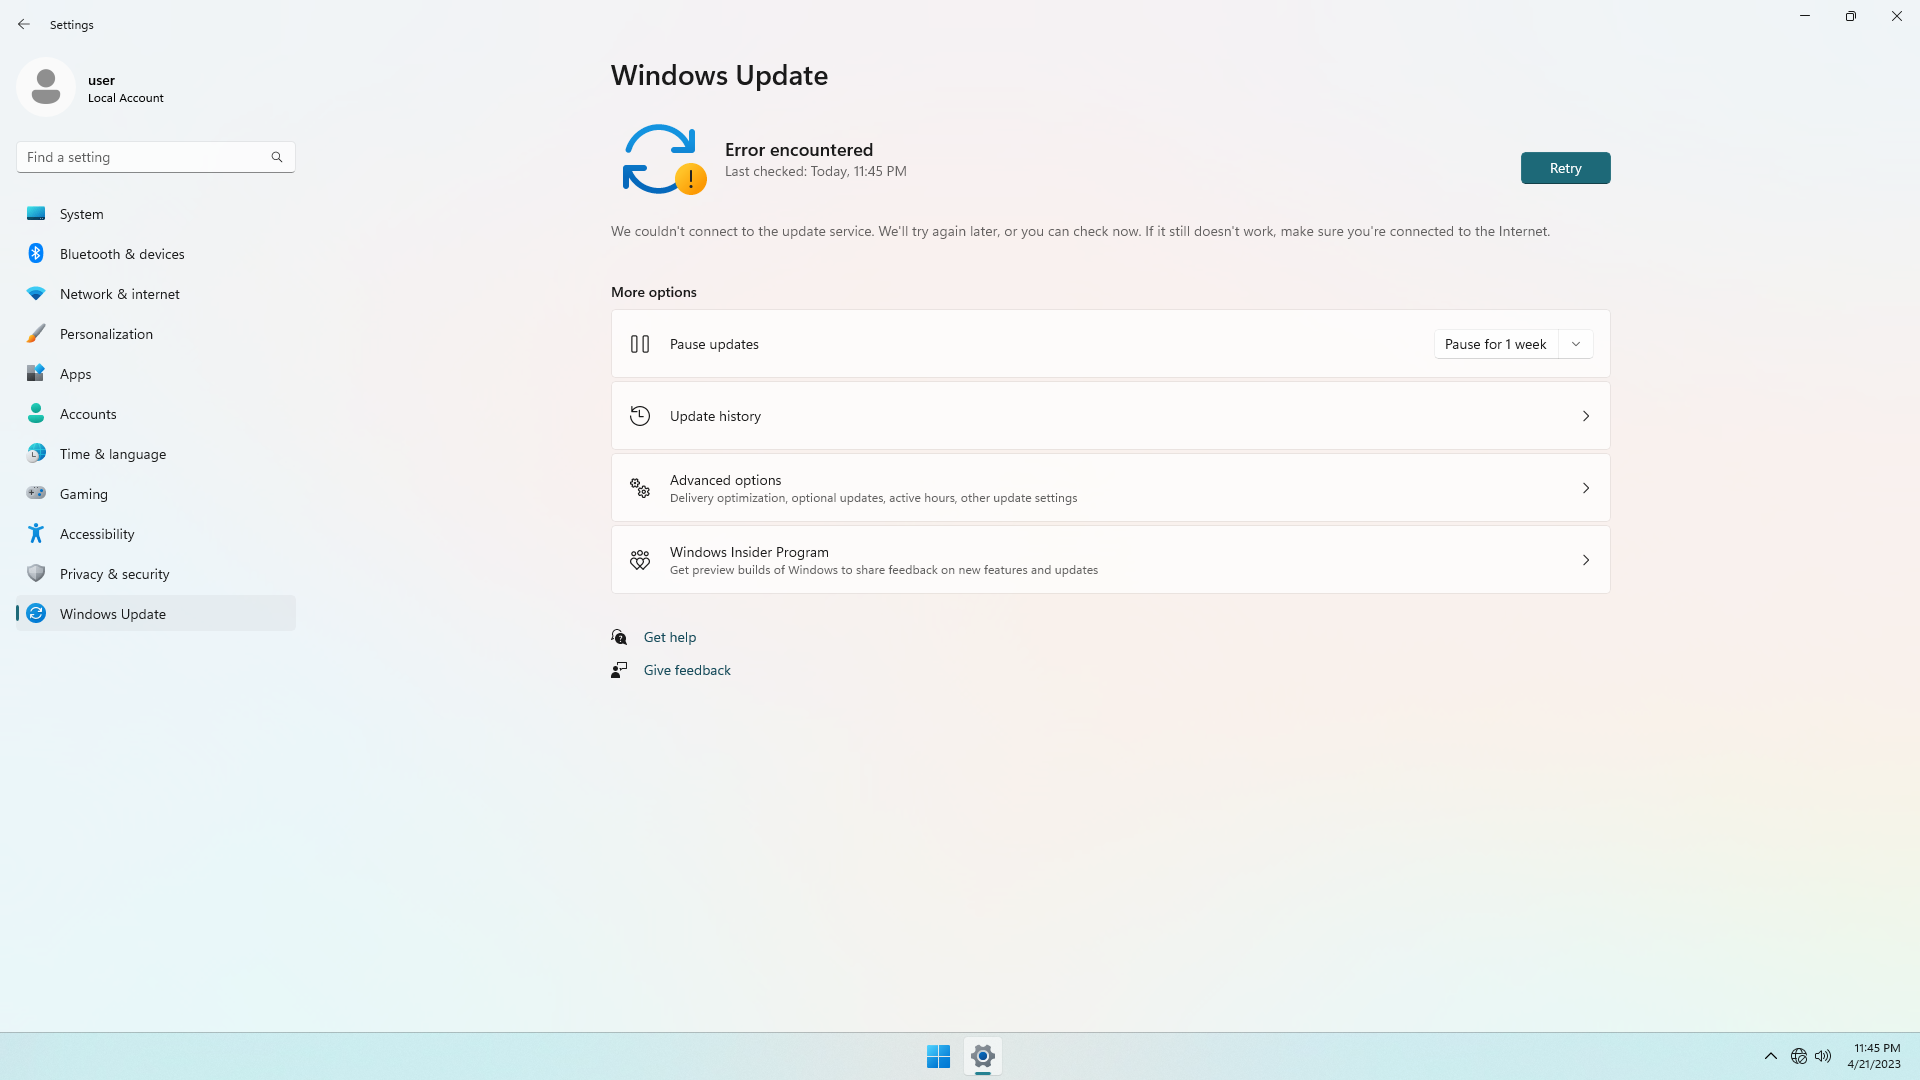
- Under the Choose how updates are installed section, click on Pause updates for 7 days.
Method 3: Run Windows Update Troubleshooter
- Open the Settings app by pressing Windows key + I.
- Click on Update & Security.
- In the left pane, select Troubleshoot.
- Click on Additional troubleshooters.
- Scroll down and click on Windows Update.
- Click on Run the troubleshooter and follow the on-screen instructions.

Method 4: Clean boot your computer
- Press Windows key + R to open the Run dialog box.
- Type msconfig and press Enter.
- In the System Configuration window, go to the Services tab.
- Check the box that says Hide all Microsoft services.
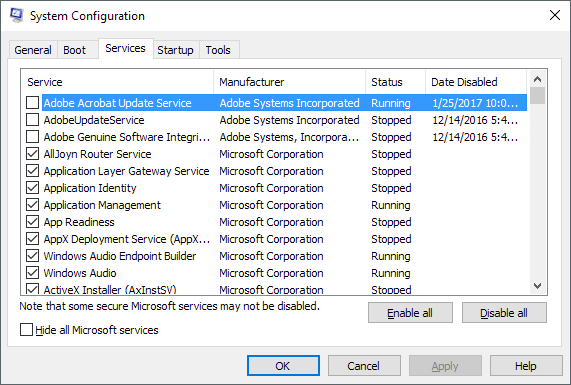
- Click on Disable all.
- Go to the Startup tab and click on Open Task Manager.
- In the Task Manager, disable all the startup items by right-clicking on each one and selecting Disable.
- Close the Task Manager and go back to the System Configuration window.
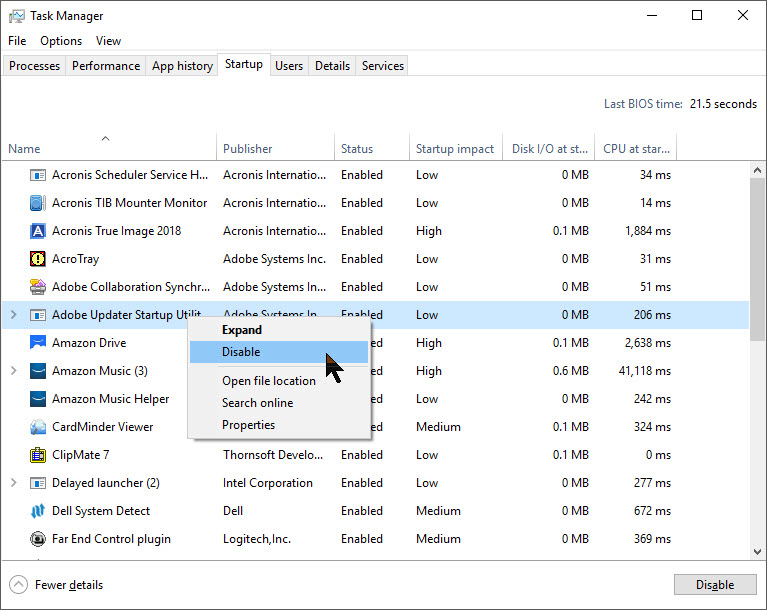
- Click on OK and restart your computer.
Running Windows Update Troubleshooter and System Scans
To fix the issue of Modern Setup Host high CPU usage, you can try running Windows Update Troubleshooter and system scans. These steps can help identify and resolve any underlying problems that may be causing the high CPU usage.
First, open the Services menu on your PC by pressing the Windows key + R, typing “services.msc” (without quotes), and hitting Enter. Look for the Windows Update service, right-click on it, and select Properties. In the Properties menu, make sure the Startup Type is set to Automatic.
Next, open the Task Manager by pressing Ctrl + Shift + Esc. Under the Processes or Details tab, look for any processes related to Modern Setup Host or setuphost.exe. Right-click on them and select End Task.
If the issue persists, you can try running a full system scan using Windows Defender or a third-party antivirus software to check for any malware or viruses that may be causing the high CPU usage.
By following these steps, you can troubleshoot and resolve the high CPU usage issue related to Modern Setup Host on your Windows 10 PC.
powershell

# Check for high processor consumption

$threshold = 80 # Adjust the threshold as per your requirements
$cpuUsage = (Get-Counter '\Processor(_Total)\% Processor Time').CounterSamples.CookedValue
if ($cpuUsage -ge $threshold) {
Write-Host "High processor consumption detected. Taking action..."
# Stop Windows Update services
Stop-Service -Name "wuauserv" -Force
Stop-Service -Name "BITS" -Force
# Clear Windows Update cache
Remove-Item -Path "$env:windir\SoftwareDistribution\*" -Recurse -Force
# Restart Windows Update services
Start-Service -Name "wuauserv"
Start-Service -Name "BITS"
Write-Host "Windows Update services restarted."
}
else {
Write-Host "Processor consumption is within the acceptable range."
}
In this code, we initially define a threshold for high processor consumption (80% in this example). We then retrieve the current processor usage using the `Get-Counter` cmdlet. If the usage exceeds the specified threshold, we take the following actions:
1. Stop the Windows Update services (`wuauserv` and `BITS`) using the `Stop-Service` cmdlet.
2. Clear the Windows Update cache using the `Remove-Item` cmdlet.
3. Restart the Windows Update services using the `Start-Service` cmdlet.
This process aims to resolve high processor consumption caused by the “modern setup host” by temporarily halting Windows Update operations and clearing the update cache.
Terminating Modern Setup Host Task and Performing Clean Boot
To fix high CPU usage caused by Modern Setup Host, you can terminate the task and perform a clean boot. Follow these steps:
1. Press Ctrl + Shift + Esc to open Task Manager.
2. Go to the Details tab and locate Modern Setup Host.
3. Right-click on it and select End Task.
To perform a clean boot:
1. Press Windows + R to open the Run dialog box.
2. Type “msconfig” and press Enter.
3. In the System Configuration window, go to the Services tab.
4. Check the “Hide all Microsoft services” box, then click “Disable all.”
5. Go to the Startup tab and click “Open Task Manager.”
6. Disable all the startup items by right-clicking on each and selecting “Disable.”
7. Close the Task Manager and click “OK” in the System Configuration window.
8. Restart your computer.
Performing a clean boot can help identify if any third-party software is causing the high CPU usage. If the problem persists, you may need to further troubleshoot or seek professional assistance.
Resetting Windows Update Service and Components
Resetting the Windows Update service and components can help resolve issues with high CPU usage caused by Modern Setup Host. To do this:
1. Press the Windows key + R to open the Run dialog box.
2. Type “services.msc” and press Enter to open the Services window.
3. Scroll down and locate the “Windows Update” service.
4. Right-click on it and select “Stop” from the context menu.
5. Open File Explorer and navigate to the following path: “C:\Windows\SoftwareDistribution“.
6. Delete all the files and folders inside the SoftwareDistribution folder.
7. Go back to the Services window, right-click on the “Windows Update” service again, and select “Start” to restart it.
By resetting the Windows Update service and clearing the SoftwareDistribution folder, you can resolve high CPU usage caused by Modern Setup Host. This method can be a helpful troubleshooting option if you’re experiencing performance issues with your Windows 10 system.
Disabling Indexing and Background Applications
If you’re experiencing high CPU usage due to the Modern Setup Host process, you can try disabling indexing and background applications to alleviate the issue.
First, disable indexing to reduce the strain on your CPU. Open the Start menu and type “Indexing Options.” Select the matching result, then click on the “Modify” button. Uncheck all the locations listed and click “OK” to save the changes.
Next, address background applications that may be consuming excessive CPU resources. Press Ctrl + Shift + Esc to open the Task Manager. In the “Processes” tab, identify any unnecessary background processes consuming resources. Right-click on each one and select “End Task” to stop them.
By following these steps, you can potentially resolve the high CPU usage problem caused by the Modern Setup Host process. Keep in mind that these solutions may not work for every user, but they are worth trying as a first resort.

Mark Ginter is a tech blogger with a passion for all things gadgets and gizmos. A self-proclaimed "geek", Mark has been blogging about technology for over 15 years. His blog, techquack.com, covers a wide range of topics including new product releases, industry news, and tips and tricks for getting the most out of your devices. If you're looking for someone who can keep you up-to-date with all the latest tech news and developments, then be sure to follow him over at Microsoft.
Related posts:
 How to Troubleshoot SearchProtocolHost.exe High CPU Usage Issue in Windows Computers
 How to Troubleshoot High CPU Usage by Service Host: Local System – Network Restricted in Windows PC
 How to Repair “Remote Procedure Call” High CPU and Disk Usage in Windows Computers
 How to Repair High Disk and CPU Usage by Softthinks Agent Service in Windows 10