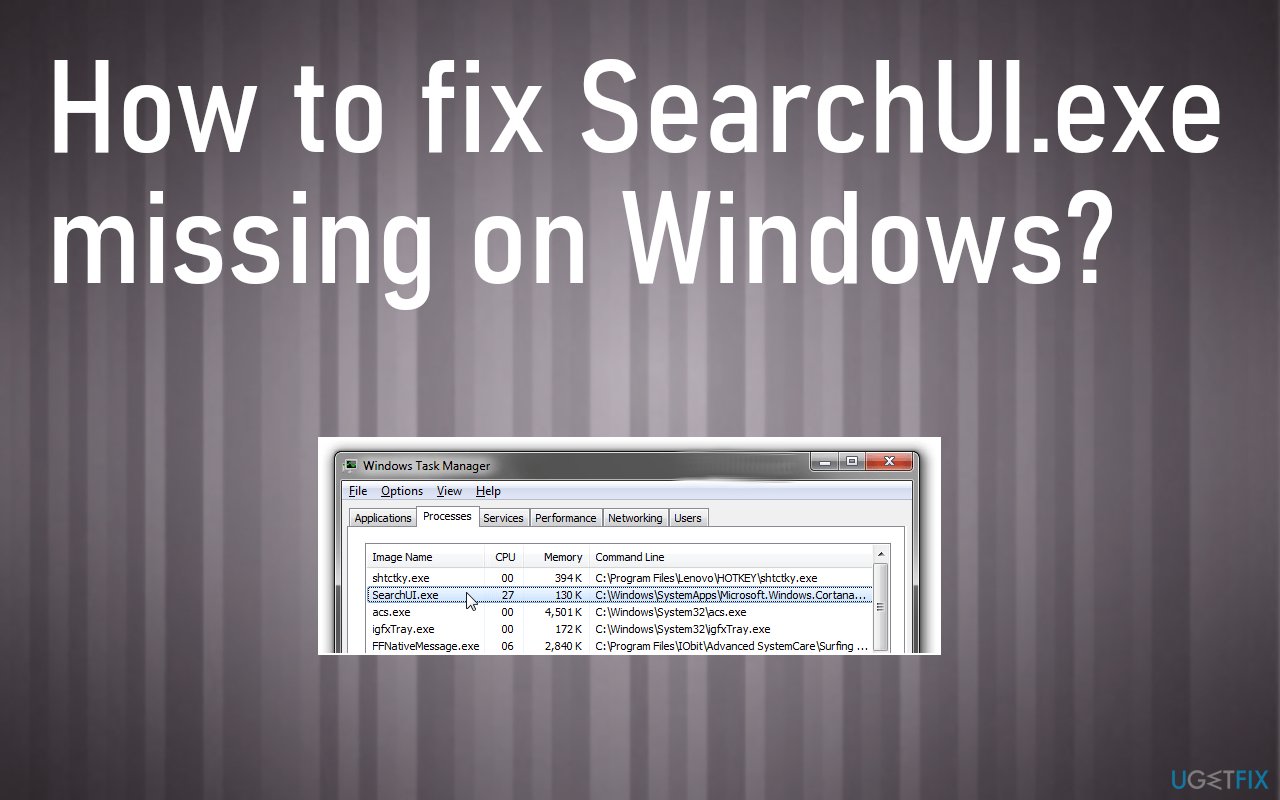
- Search User Interface or SearchUI is a component of the Microsoft search assistant called Cortana.
- If the searchUI.exe process is stopped, it means that you can no longer use Cortana.
- This error usually disrupts the Cortana process.
- There are solutions to this error, and all of them will be described below in simple steps.
- The solution depends on the specific incident reported by the user.
Unveiling the Elusive SearchUI.exe: A Troubleshooting Guide for Frequent Suspensions on Windows PC
Causes of SearchUI.exe Suspension on Windows PC
1. High CPU Usage: SearchUI.exe is responsible for handling the Windows Search feature, and if it encounters a high CPU usage, it may get suspended. This can be caused by multiple background processes or conflicting programs.
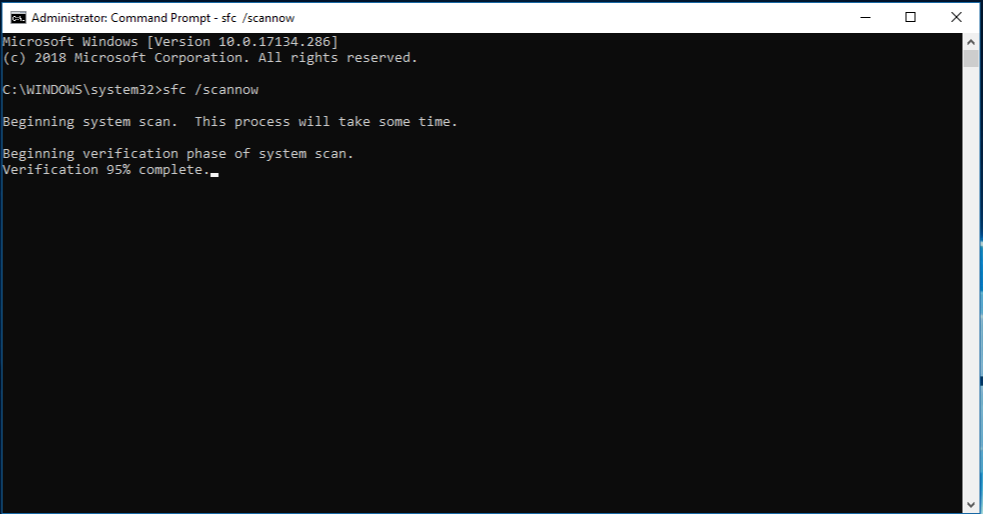
2. Corrupted System Files: If the SearchUI.exe file or related system files are corrupted, it can lead to frequent suspensions. Running a system file check using the Command Prompt can help resolve this issue.
3. Third-Party Software Interference: Certain antivirus software or security solutions may mistakenly identify SearchUI.exe as a potential threat and block its execution. Temporarily disabling or configuring the software can be a solution.
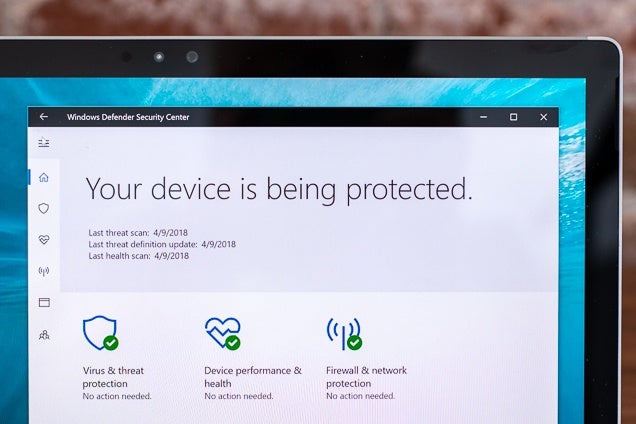
4. Malware Attacks: Malware or viruses can also interfere with the SearchUI.exe process, causing it to get suspended. Running a thorough scan with trusted antivirus software is recommended.
5. Incompatible or Outdated Software: Outdated or incompatible software may conflict with SearchUI.exe, leading to suspensions. Updating or uninstalling incompatible software can resolve the issue.
To resolve SearchUI.exe suspensions on your Windows PC, try these steps:
1. Open the Task Manager by pressing Ctrl + Shift + Esc.
2. Locate the SearchUI.exe process under the Processes tab.
3. Right-click on it and select End Task.
4. Check for any incompatible or outdated software and update or uninstall it.
5. Run a full system scan using reliable antivirus software.
6. If the issue persists, consider seeking further assistance from Microsoft support or a professional technician.
Updating Windows and Fixing Cortana’s Package Folder
To update Windows and fix Cortana’s package folder, follow these steps:
1. Open Task Manager by pressing Ctrl+Shift+Esc.
2. In the Processes tab, locate “SearchUI.exe” and right-click on it.
3. Select “End task” to stop the Search User Interface process.
4. Open File Explorer and navigate to the Cortana’s package folder. It is usually located at: C:\Windows\SystemApps\Microsoft.Windows.Cortana_cw5n1h2txyewy.
5. Delete the folder or rename it to “Microsoft.Windows.Cortana_cw5n1h2txyewy.old”.
6. Now, go to the Microsoft Store and search for “Cortana” in the search bar.
7. Click on “Get” to reinstall Cortana.
8. Restart your computer to apply the changes.
This workaround should resolve the issue of SearchUI.exe getting suspended on your Windows PC. Remember to take caution when making changes to system files and folders.
Disabling Antivirus and Deleting Roaming User Profile
To resolve the issue of SearchUI.exe keeps getting suspended on your Windows PC, you can try disabling your antivirus and deleting your roaming user profile.
Disabling Antivirus: Temporarily disable your antivirus software to check if it is causing any conflicts with the SearchUI.exe process. Most antivirus programs have an option to disable them temporarily.
Deleting Roaming User Profile: Deleting the roaming user profile can help resolve issues related to SearchUI.exe. To do this, follow these steps:
1. Press the Windows key + R to open the Run dialog box.
2. Type “sysdm.cpl” and press Enter to open the System Properties window.
3. In the System Properties window, click on the “Advanced” tab.
4. Under the User Profiles section, click on “Settings”.
5. Select the problematic user profile and click on “Delete”.
6. Confirm the deletion by clicking on “Yes”.
7. Restart your computer for the changes to take effect.
Please note that deleting the roaming user profile will remove all personalized settings and data associated with that profile. Make sure to back up any important files before proceeding.
Reinstalling iCloud and Using Cortana Troubleshooter
To resolve the issue of SearchUI.exe getting suspended on your Windows PC, you can try reinstalling iCloud and using the Cortana Troubleshooter. Here’s how:
1. Reinstall iCloud:
– Go to the iCloud website and download the latest version for Windows 10.
– Install iCloud by following the on-screen instructions.
– Restart your computer after installation.
2. Use the Cortana Troubleshooter:
– Press Windows key + I to open the Settings app.
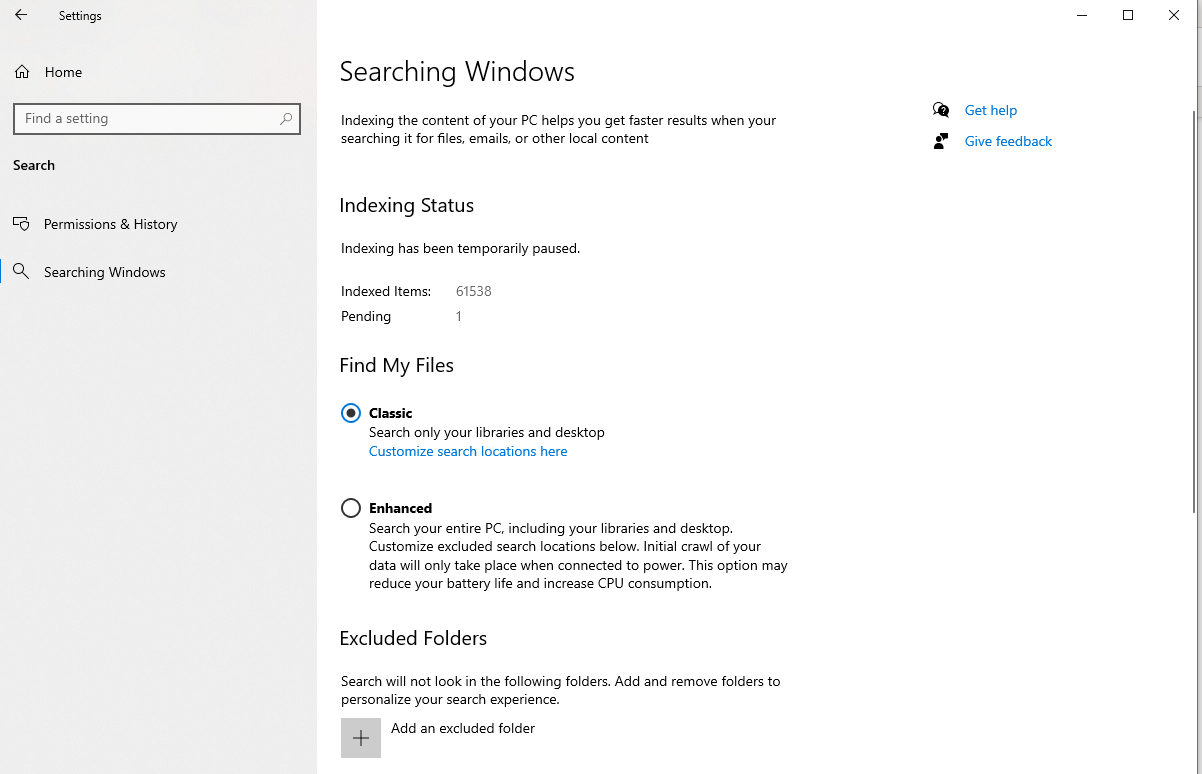
– Select “Update & Security” and then click on “Troubleshoot” from the left menu.
– Scroll down and click on “Search and Indexing” under “Find and fix other problems.”
– Click on “Run the troubleshooter” and follow the instructions provided.
These steps should help resolve the issue with SearchUI.exe getting suspended. If you continue to experience problems, consider reaching out to Microsoft support for further assistance.
Creating Another User Account and Renaming UsrClass.dat File
To resolve the issue of SearchUI.exe keeps getting suspended on your Windows PC, you can try creating another user account and renaming the UsrClass.dat file. Follow these steps:
1. Create a new user account:
– Go to the Windows 10 settings.
– Select “Accounts” and then “Family & other users.”
– Click on “Add someone else to this PC” and follow the instructions to create a new user account.
2. Rename the UsrClass.dat file:
– Press the Windows key + R to open the Run dialog box.
– Type “regedit” and press Enter to open the Registry Editor.
– Navigate to the following path: HKEY_USERS\.DEFAULT\Software\Microsoft\Windows\CurrentVersion\Explorer\User Shell Folders
– Right-click on the “User Shell Folders” key and select “Export” to create a backup.
– Rename the UsrClass.dat file to UsrClass.old.dat.
Workaround for SearchUI.exe Suspension
If you’re experiencing issues with SearchUI.exe getting suspended on your Windows PC, here’s a workaround that can help you resolve the problem.
Firstly, you’ll need to open Task Manager by pressing Ctrl + Shift + Esc. Then, go to the “Details” tab.
Next, locate the SearchUI.exe process in the list of background processes. Right-click on it and select “End Task”.
After that, open File Explorer and navigate to the following location: C:\Windows\SystemApps\Microsoft.Windows.Cortana_cw5n1h2txyewy. Here, you’ll find a file named SearchApp.exe.
Now, right-click on SearchApp.exe and select “Properties”. In the Properties window, go to the “Security” tab and click on “Advanced”.
Finally, in the Advanced Security Settings window, click on the “Disable inheritance” button. A warning message will appear, to which you should select “Remove all inherited permissions from this object”. Click on “Apply” and then “OK” to save the changes.
This workaround should prevent SearchUI.exe from getting suspended on your Windows PC. Let us know if you have any further questions or concerns.
Common SearchUI.exe Issues and Solutions
- SearchUI.exe process continuously getting suspended on Windows PC
- Windows Task Manager shows SearchUI.exe as “Not Responding”
- SearchUI.exe causing system freezes or crashes
- SearchUI.exe not launching or opening in Windows

- High CPU or memory usage by SearchUI.exe
- SearchUI.exe error messages or pop-ups appearing on the screen
- System performance slowdown due to SearchUI.exe
Troubleshooting SearchUI.exe Problems on Windows 11
Resolve SearchUI.exe Keeps Getting Suspended on Windows PC
If you are experiencing issues with the SearchUI.exe process getting suspended frequently on your Windows 11 PC, you can follow the troubleshooting steps below to resolve the problem.
| Issue | Possible Solutions |
|---|---|
| 1. SearchUI.exe process keeps getting suspended |
|
| 2. SearchUI.exe process crashes or freezes |
|
| 3. SearchUI.exe process consumes high CPU or memory |
|
By following the above troubleshooting steps, you should be able to resolve the SearchUI.exe issues on your Windows 11 PC. If the problem persists, it is recommended to seek further assistance from Microsoft support or Windows community forums.

Mark Ginter is a tech blogger with a passion for all things gadgets and gizmos. A self-proclaimed "geek", Mark has been blogging about technology for over 15 years. His blog, techquack.com, covers a wide range of topics including new product releases, industry news, and tips and tricks for getting the most out of your devices. If you're looking for someone who can keep you up-to-date with all the latest tech news and developments, then be sure to follow him over at Microsoft.
Related posts:
 Troubleshooting Product Key Error 0x800F0805 in Windows 10
 How to Repair “Desktop Window Manager stopped working and was closed” Error on Windows 10 PC
 How to Resolve “An administrator has blocked you from running this app” Problem on Windows PC
 How to Resolve the ‘ms-settings file system error’ on Windows PC