- This guide will help you troubleshoot common causes of problems with Windows Mail apps in Windows 10.
- Users have reported that the built-in Windows 10 Mail app is not working on their computers.
- According to users, they can solve this problem by simply installing the latest Windows updates.
- A common reason is that it also happens when you can’t start the Mail app.
Troubled by a glitchy Windows 10 Mail app that’s refusing to send or receive your important emails? Discover the common issues causing this frustrating problem and find effective solutions in this article.
Privacy & Transparency
At Microsoft, we understand the importance of privacy and transparency when it comes to your emails. We want to ensure that your personal information remains secure and that you have complete control over your data.
If you’re experiencing issues with the Windows 10 Mail app not sending or receiving emails, we’re here to help. Here are some steps you can take to resolve the problem:
1. Check your internet connection: Make sure you’re connected to the internet and that there are no connectivity issues.
2. Update the app: Ensure that you’re using the latest version of the Windows 10 Mail app. Updates often include bug fixes and improvements that can resolve common issues.
3. Verify email settings: Double-check your email settings to ensure that they are correct. Pay attention to the server addresses, port numbers, and authentication settings.
4. Reconfigure the account: If the issue persists, try removing and re-adding your email account in the Mail app. This can sometimes fix configuration problems.
5. Contact support: If none of the above steps resolve the issue, reach out to our support team for further assistance. Provide them with any error messages or specific details about the problem you’re facing.
We’re committed to maintaining your privacy and providing transparent support for our Windows 10 Mail app. If you have any concerns or questions, please don’t hesitate to reach out.
Common Fixes for Windows Systems
- Check your internet connection: Ensure that you are connected to the internet and have a stable connection.
- Verify email settings: Double-check the email settings in the Windows 10 Mail app to ensure they are correctly configured.
- Restart the Mail app: Close the Mail app and reopen it to refresh the application and potentially resolve any temporary issues.
- Update Windows 10: Make sure your Windows 10 operating system is up to date, as updates often include bug fixes and improvements.
- Disable antivirus/firewall temporarily: Temporarily disable your antivirus or firewall software to check if they are blocking the Mail app’s functionality.
- Remove and re-add email account: Remove the problematic email account from the Mail app and then add it again to see if it resolves the issue.
- Check email server status: Verify if the email server you are using is experiencing any outages or technical difficulties.
- Clear app cache: Clear the cache of the Windows 10 Mail app to eliminate any potential conflicts or corrupted data.
- Try a different email client: If all else fails, consider using an alternative email client to send and receive emails on your Windows system.
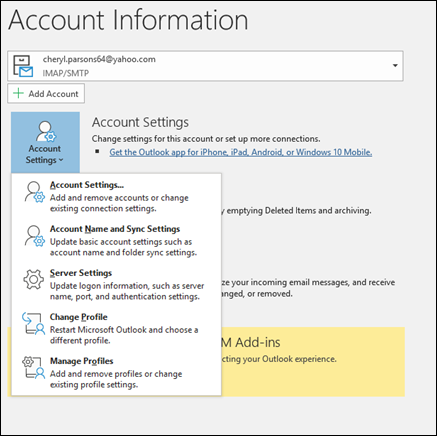
Update the Mail App
1. Open the Mail App on your Windows 10 device.
2. Click on the “Settings” icon in the bottom left corner.
3. Select “Manage Accounts.”
4. Choose the email account that is not working.
5. Click on “Change mailbox sync settings.”
6. Make sure that the “Sync email” option is turned on.
7. Scroll down and click on “Advanced mailbox settings.”
8. Check that the server settings for incoming and outgoing mail are correct. You can find these settings on your email provider’s website or by contacting their support.
9. Save the changes and exit the settings menu.
10. Restart the Mail App and check if the issue is resolved.
If you are still experiencing problems, consider removing and re-adding your email account in the Mail App or contacting your email provider for further assistance.
Troubleshoot Windows Store Apps
-
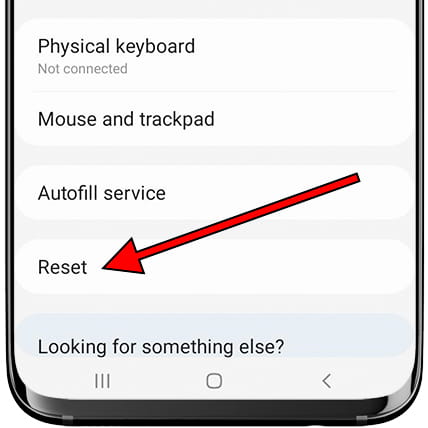
Reset the Mail app
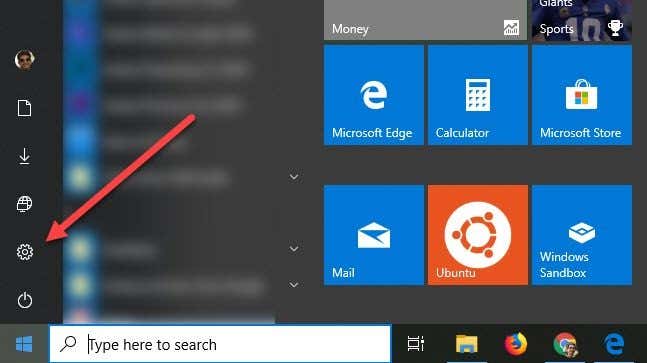
- Open Settings by pressing Windows key + I.
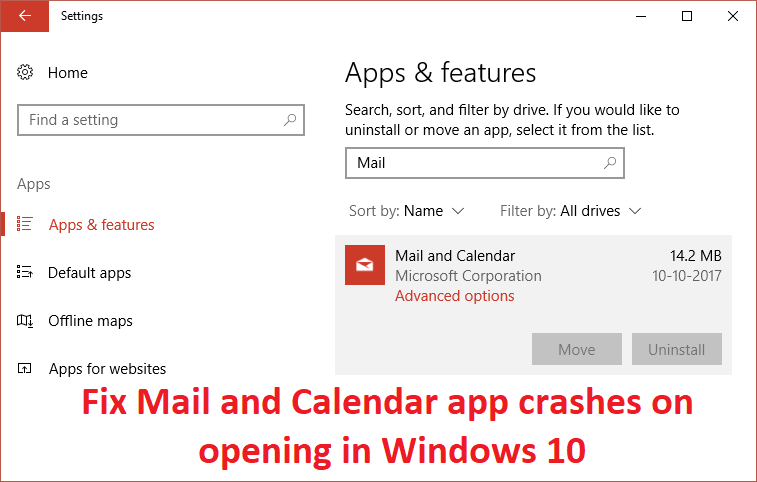
- Click on Apps.
- Select Mail and Calendar.
- Click on Advanced options.
- Scroll down and click on Reset.
- Restart your computer and check if the issue is resolved.
-
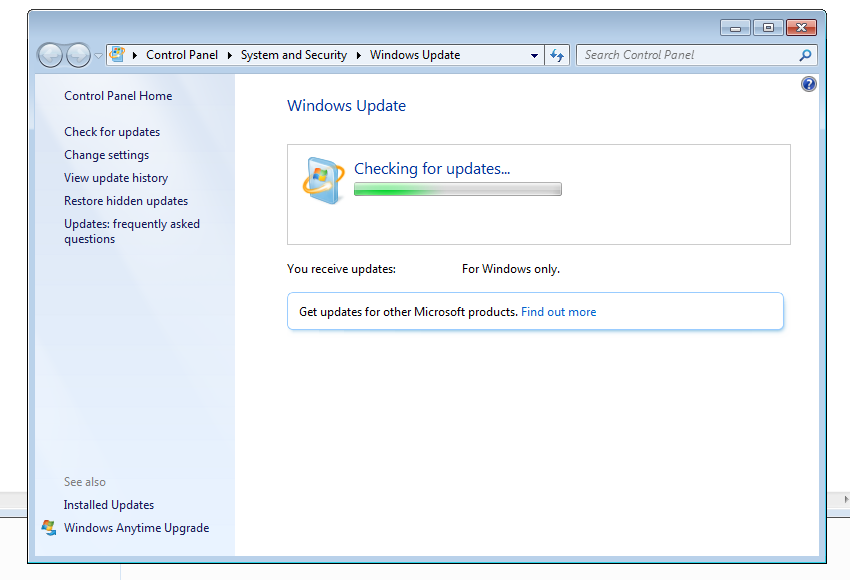
Check for updates
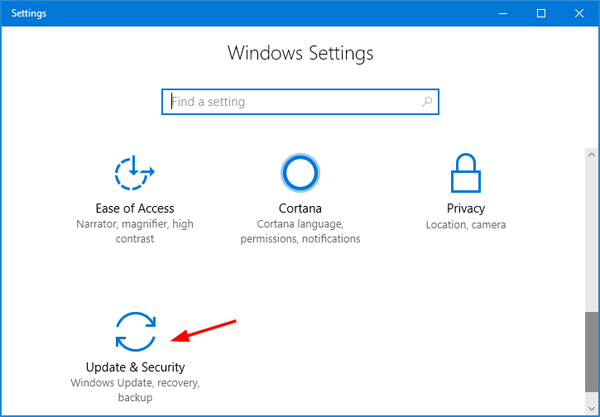
- Open Settings by pressing Windows key + I.
- Click on Update & Security.
- Click on Check for updates.
- If any updates are available, download and install them.
- Restart your computer and check if the issue is resolved.
-
Reinstall the Mail app
- Open PowerShell as an administrator.
- Type the command Get-AppxPackage *windowscommunicationsapps* | Remove-AppxPackage and press Enter.
- Restart your computer.
- Open Microsoft Store.
- Search for the Mail and Calendar app and reinstall it.
- Check if the issue is resolved.
-
Check email account settings
- Open the Mail app.
- Click on the Settings icon (gear icon) at the bottom left corner.
- Click on Manage Accounts.
- Select your email account and click on Change mailbox sync settings.
- Ensure that the settings for Email sync frequency and Download new content are configured correctly.
- Save the changes and check if the issue is resolved.
Adjust Location Settings for Mail and Calendar
Adjusting Location Settings for Mail and Calendar in Windows 10 is a simple process. To make sure your Mail app is sending and receiving emails correctly, follow these steps:
1. Open the Mail app on your Windows 10 device.
2. Click on the “Settings” gear icon located at the bottom left corner of the app window.
3. In the Settings menu, select “Privacy” from the list of options.
4. Scroll down to the “Location” section and make sure the toggle switch is turned on.
5. If the toggle switch is already on, try turning it off and then back on again to refresh the settings.
6. Close the Settings menu and return to your Mail app.
7. Check if your emails are now sending and receiving properly.
By adjusting the location settings, you allow the Mail app to access your device’s location information, which can help improve the accuracy of email notifications and other app features.
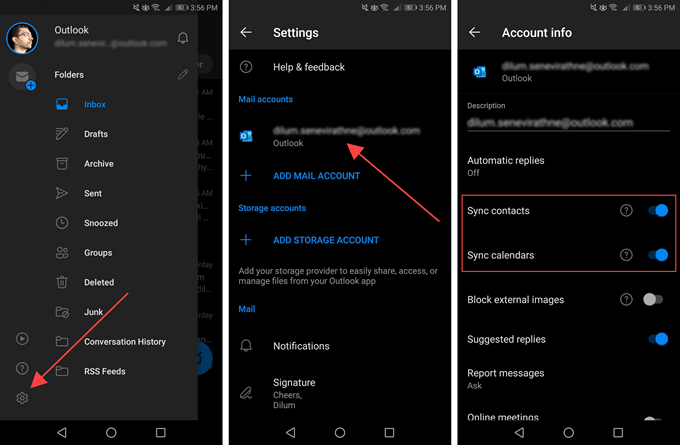
Sync Settings Disable/Enable
To enable or disable sync settings in the Windows 10 Mail app, follow these steps:
1. Open the Mail app on your Windows 10 device.
2. Click the gear icon in the bottom left corner to open the Settings menu.
3. In the Settings menu, select “Manage Accounts.”
4. Choose the email account you want to modify.
5. Scroll down to the “Sync settings” section.
6. To enable sync settings, toggle the switch to the “On” position.
7. To disable sync settings, toggle the switch to the “Off” position.
By enabling sync settings, your emails and other data will be synced across multiple devices, allowing you to access them anywhere. Disabling sync settings will prevent the app from syncing your emails and other data.
Note: Sync settings may vary depending on the email provider you are using.
SFC Scan and Firewall Settings
If you’re experiencing issues with the Windows 10 Mail app not sending or receiving emails, it could be due to corrupted system files or firewall settings.
To resolve this, you can perform an SFC (System File Checker) scan to check for and repair any corrupted files on your system.
Here are the steps to follow:
1. Press the Windows key + X and select “Command Prompt (Admin)”.
2. In the command prompt window, type “sfc /scannow” and press Enter.
3. Wait for the scan to complete, and restart your computer.
Additionally, you may need to check your firewall settings to ensure that the Mail app is allowed to send and receive emails.
Here’s how to do it:
1. Type “Firewall” in the Windows search bar and select “Windows Defender Firewall”.
2. Click on “Allow an app or feature through Windows Defender Firewall”.
3. Scroll down and look for the “Mail” app in the list.
4. Make sure the checkboxes for both “Private” and “Public” are selected.
5. Click “OK” to save the changes.
By following these steps, you should be able to resolve the issue with your Windows 10 Mail app not sending or receiving emails.
Clear Microsoft Store Cache
To clear the Microsoft Store cache, follow these steps:
1. Close the Windows 10 Mail app.
2. Press the Windows key + R to open the Run dialog box.
3. Type “wsreset.exe” and press Enter.
4. The Microsoft Store will open automatically, and the cache will be cleared.
5. Restart your computer.
6. Open the Windows 10 Mail app again and check if the email sending and receiving issues are resolved.
If the issue persists, you may need to troubleshoot further or contact Microsoft support for assistance.
Note: Clearing the Microsoft Store cache can help resolve various issues with Microsoft Store apps, including the Windows 10 Mail app.
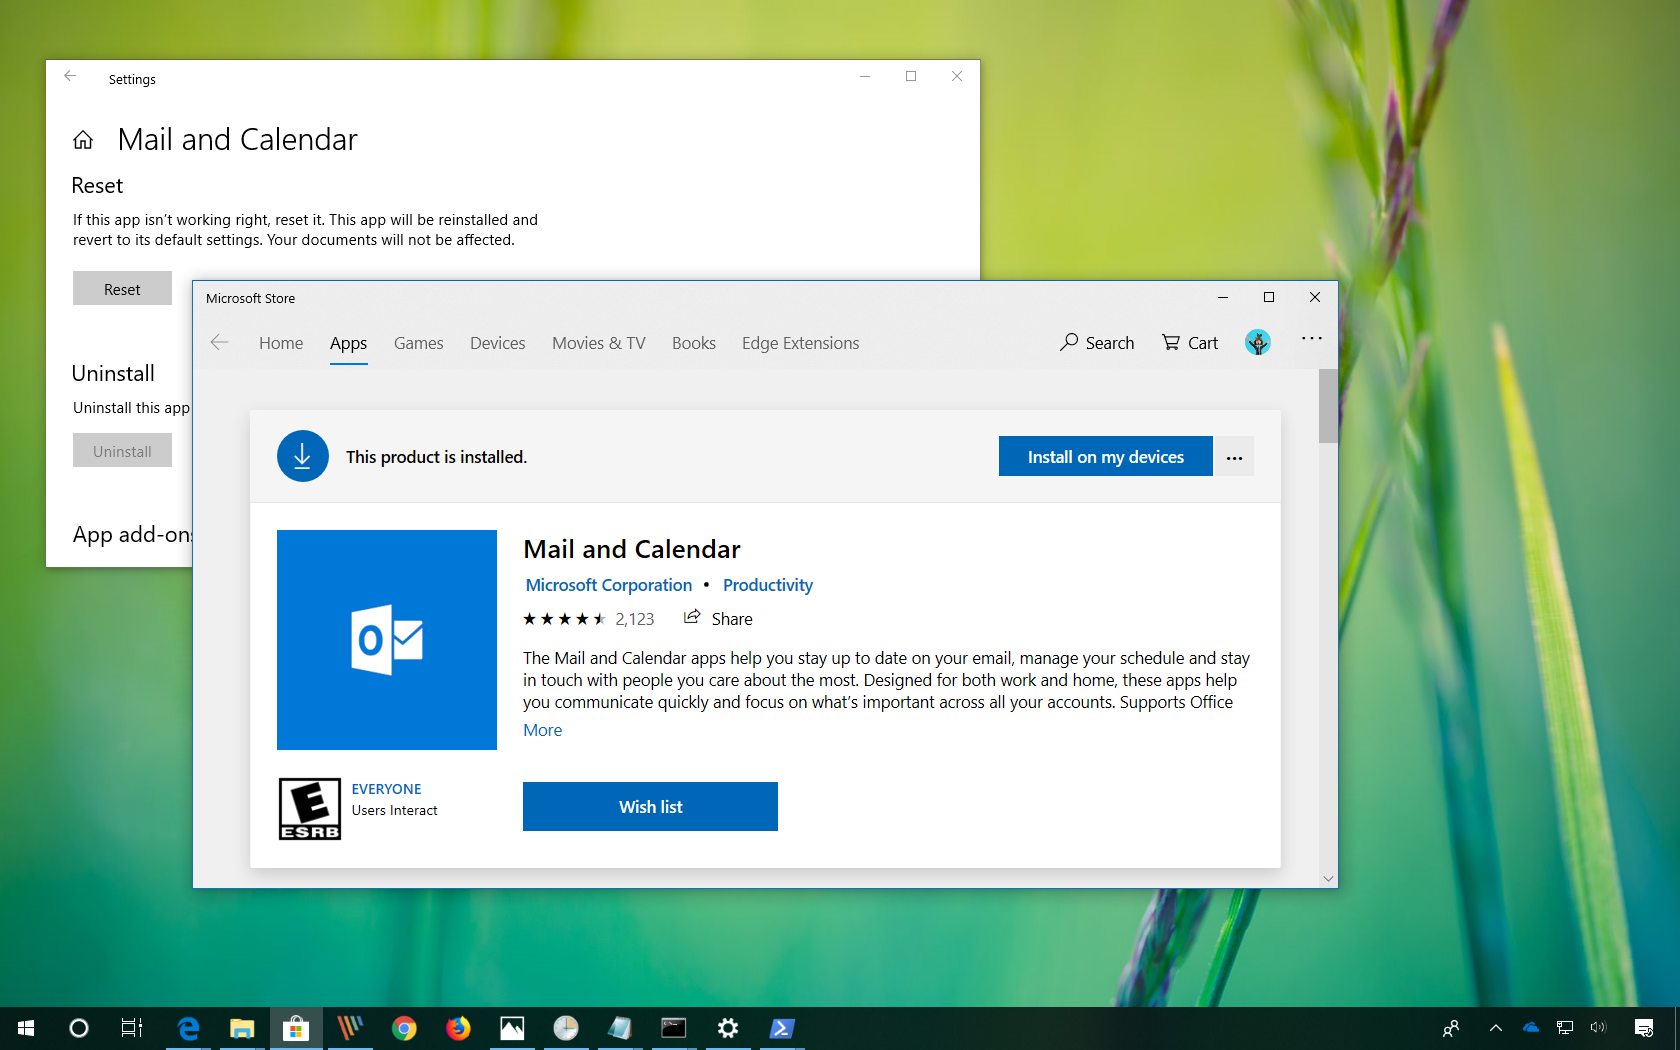
Reset the Mail App
Resetting the Mail App can often resolve issues with sending or receiving emails on Windows 10. Here’s how to do it:
1. Open the Mail App on your Windows 10 device.
2. Click on the gear icon located at the bottom left corner to open the Settings menu.
3. In the Settings menu, click on “Manage Accounts”.
4. Select the email account that is experiencing the issue.
5. Scroll down and click on “Change mailbox sync settings”.
6. Scroll down again and click on “Reset account”.
7. A confirmation message will appear, click on “Reset” to proceed.
8. The Mail App will now reset the selected email account, which may take a few moments.
9. Once the reset is complete, try sending or receiving emails again to see if the issue has been resolved.
If the problem persists, you can try removing and re-adding the email account in the Mail App. Make sure to check your email account settings for any incorrect information as well.
Explore Email Client Options
- Ensure that your device is connected to a stable internet connection.
- Check if other websites or applications are able to access the internet.
- If not connected, troubleshoot your internet connection or contact your internet service provider.
Repair Method 2: Restart the Windows 10 Mail App
- Close the Mail app by clicking on the “X” button in the top-right corner of the window.
- Reopen the Mail app from the Start menu or taskbar.
- Try sending or receiving emails again to see if the issue is resolved.
Repair Method 3: Update Windows 10 and the Mail App
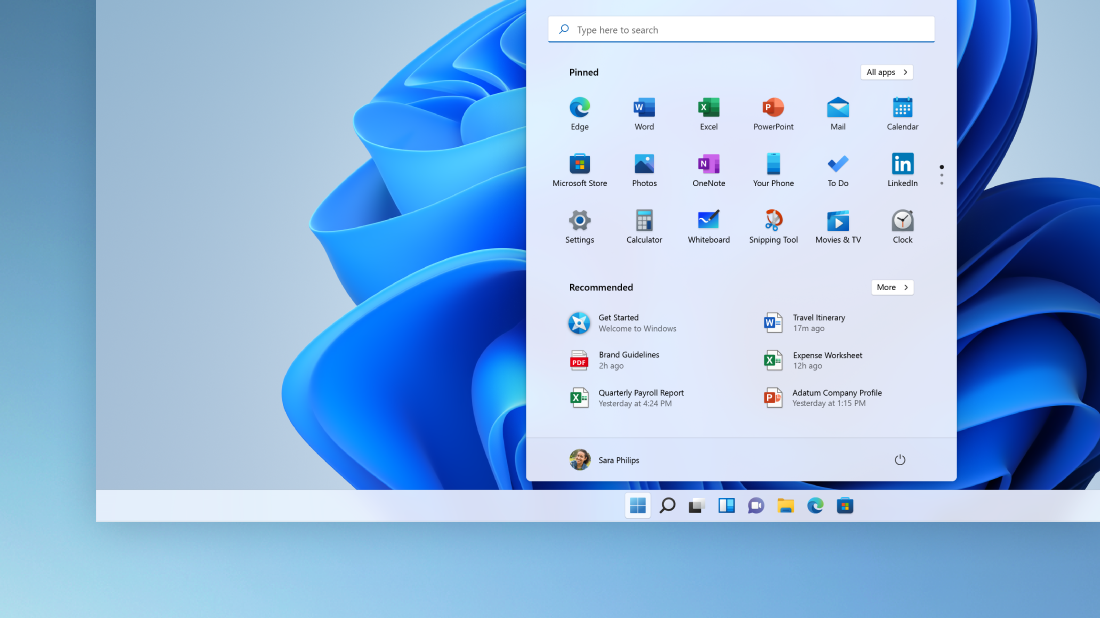
- Open the Settings app by clicking on the Start menu and selecting the gear icon.
- Go to “Update & Security” and click on “Windows Update” in the left sidebar.
- Click on “Check for updates” and allow Windows to search for and install any available updates.
- After updating Windows, open the Microsoft Store.
- Click on the three-dot menu in the top-right corner and select “Downloads and updates.”
- If there is an update available for the Mail app, click on the “Get updates” button to install it.
Repair Method 4: Remove and Re-add Email Account
- Open the Mail app and click on the gear icon in the bottom-left corner to open Settings.
- Click on “Manage Accounts” and select the email account that is not sending or receiving emails.
- Click on “Delete account” and confirm the removal of the account.
- Restart the Mail app and go back to “Manage Accounts.”
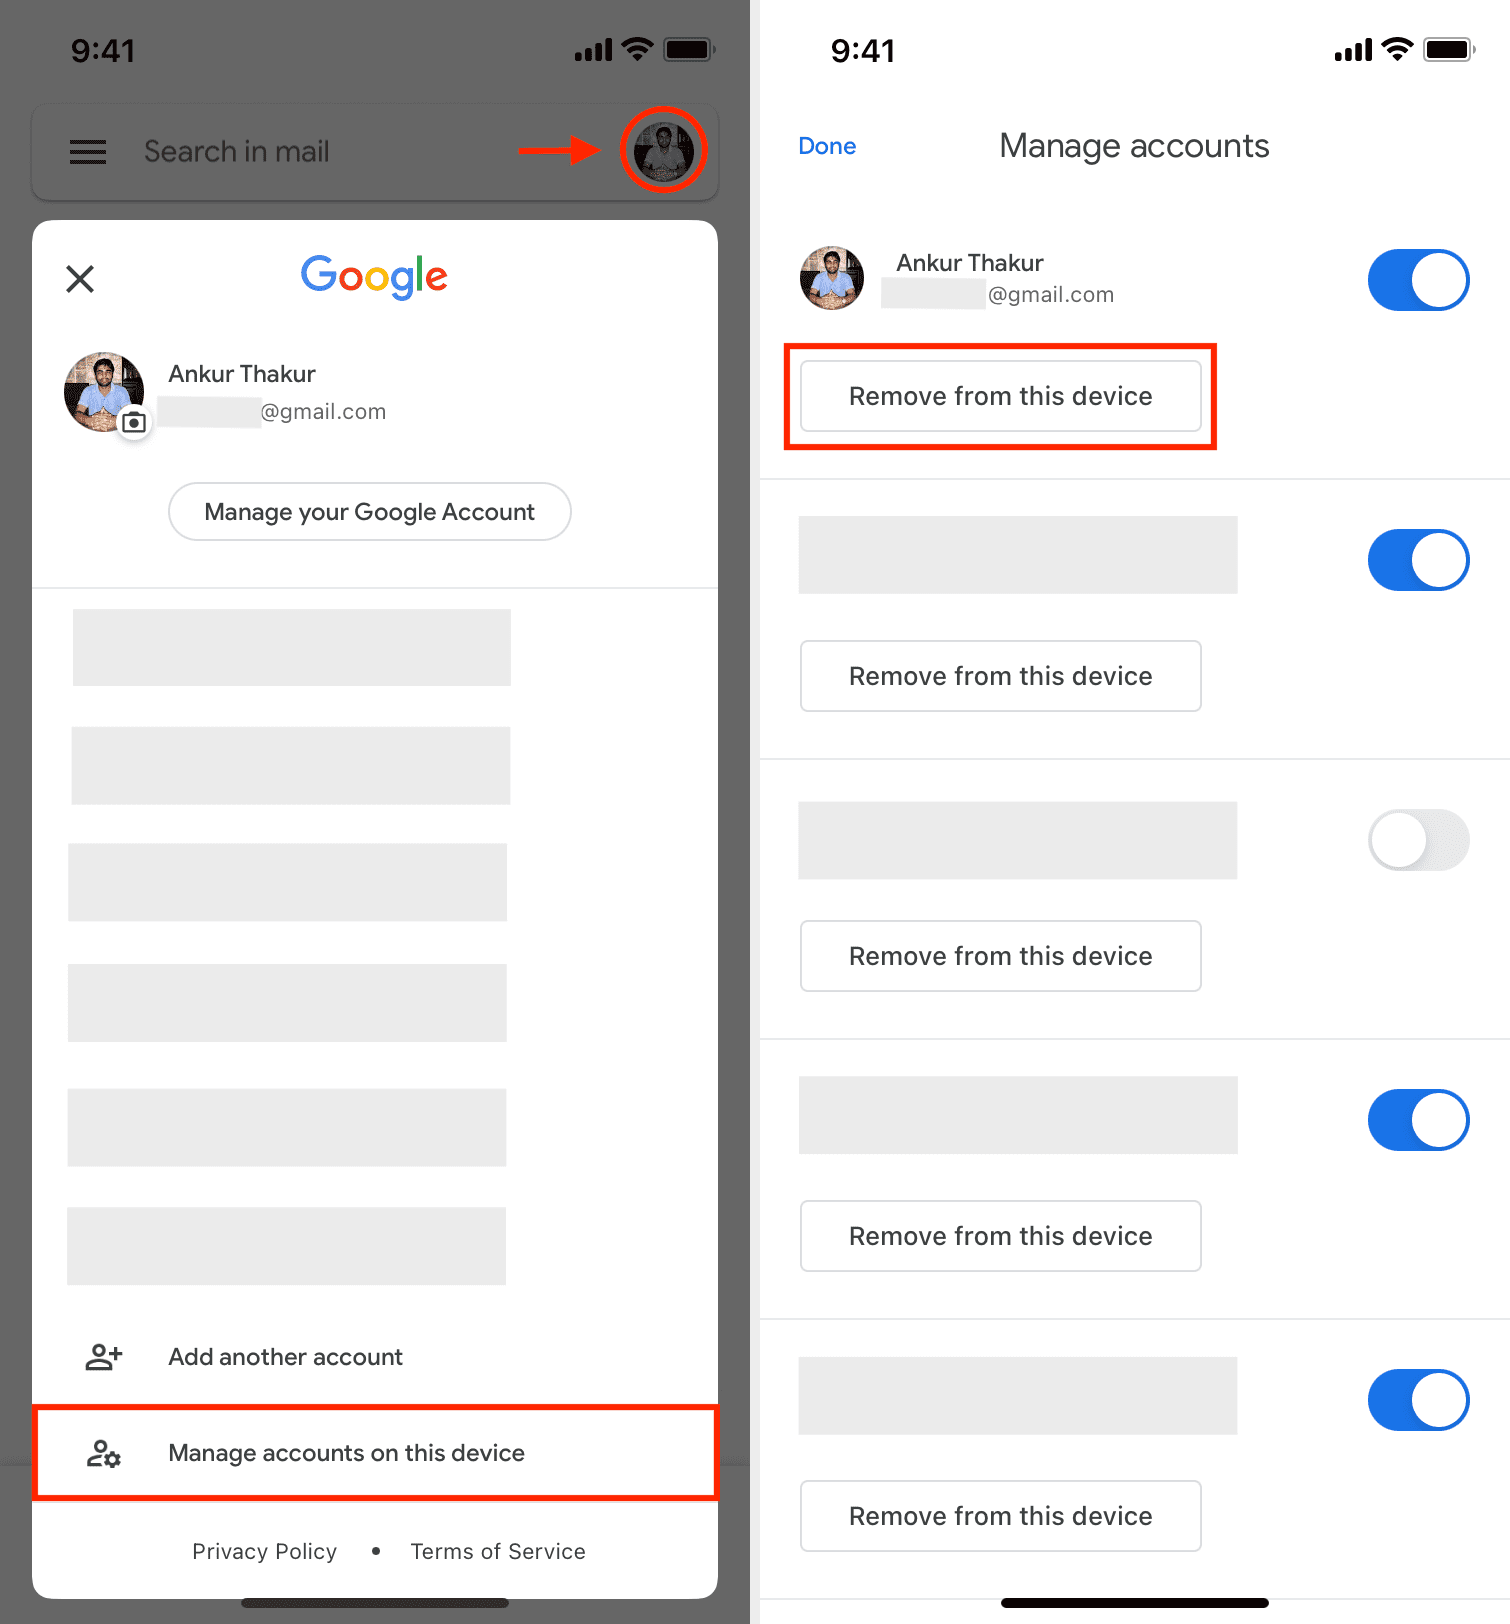
- Click on “Add account” and follow the prompts to re-add the email account.
Repair Method 5: Reset the Mail App
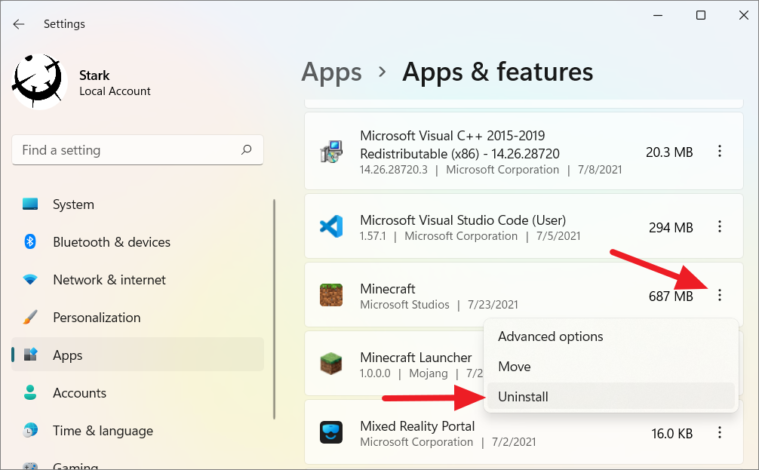
- Open the Settings app by clicking on the Start menu and selecting the gear icon.
- Go to “Apps” and click on “Apps & features” in the left sidebar.
- Scroll down and find the “Mail and Calendar” app in the list of installed apps.
- Click on it and select “Advanced options.”
- Scroll down and click on the “Reset” button.
- Confirm the reset and wait for the process to complete.

Mark Ginter is a tech blogger with a passion for all things gadgets and gizmos. A self-proclaimed "geek", Mark has been blogging about technology for over 15 years. His blog, techquack.com, covers a wide range of topics including new product releases, industry news, and tips and tricks for getting the most out of your devices. If you're looking for someone who can keep you up-to-date with all the latest tech news and developments, then be sure to follow him over at Microsoft.