- Chrome displays the most visited pages on the New Tab page.
- Chrome can prevent this by setting options to disable these icons.
- Users can either disable the algorithm by which these pages are found or use an extension.
- Users can also remove all shortcuts to your most visited sites from the new tab page by clearing your browser data.
In today’s digital age, our web browsers have become an essential tool for navigating the vast online world. With Chrome being one of the most popular options, it’s no surprise that we often find ourselves visiting certain pages repeatedly. However, what if we could tidy up our browsing experience by hiding these frequently visited pages? In this article, we explore a clever Chrome feature that allows you to do just that, bringing a touch of organization and simplicity to your browsing journey.
Customizing Chrome’s New Tab Page
1. Open Chrome and go to the New Tab Page.
2. Look for the “Customize” button in the bottom right corner of the page.
3. Click on “Customize” and a settings menu will appear.
4. Scroll down until you find the “Shortcuts” section.
5. Toggle off the “Show recently visited sites” option.
6. Once toggled off, the frequently visited pages will no longer be shown on your New Tab Page.
7. If you want to bring them back, simply toggle the option back on.
By hiding frequently visited pages, you can keep your browsing habits more private and have a cleaner New Tab Page. Enjoy your customized browsing experience with Chrome!
Changing Settings and Flags to Hide Most Visited Pages
To hide frequently visited pages in Google Chrome, you can make changes to the settings and flags. Here’s how:
1. Open Google Chrome and type “chrome://flags” in the address bar.
2. Press Enter to access the Chrome flags settings.
3. In the search bar on the flags page, type “top sites.”
4. Look for the “Top Sites” flag and change its setting to “Disabled” using the drop-down menu.
5. Restart Google Chrome for the changes to take effect.
Additionally, you can customize the Chrome homepage to hide most visited pages:
1. Open Google Chrome and click on the three-dot menu icon in the top-right corner.
2. Select “Settings” from the menu.
3. In the “On startup” section, choose “Open a specific page or set of pages.”
4. Click on “Add a new page” and enter a website URL or leave it blank for a blank tab page.
5. To remove existing thumbnails, hover over them and click on the “X” that appears.
By following these steps, you can hide most visited pages on your Google Chrome browser. For further assistance, you can visit the Google Help Center or seek help from the Google Chrome Community.
Deleting or Removing Most Visited Pages in Chrome
To hide frequently visited pages in Chrome, follow these steps:
1. Open Chrome and go to the “New Tab” page.
2. Look for the thumbnails of your most visited websites.
3. Right-click on the thumbnail you want to remove.
4. Select “Remove” from the drop-down menu.
5. Repeat steps 3 and 4 for any other thumbnails you want to delete.
6. Alternatively, you can click the three-dot menu at the top-right corner of a thumbnail and choose “Remove” from there.
By deleting these thumbnails, you can keep your browsing habits private and customize your Chrome experience. Remember, this method only removes the thumbnails from the New Tab page and not your browsing history.
For more information and alternative methods, visit the Help Center or ask the Community for assistance. Be sure to check out other features and options in Chrome’s settings menu to personalize your browsing experience further.
Please note that these instructions may vary slightly depending on your version of Chrome or the device you are using.
Disabling Top Sites and Removing Most Visited Pages on Chrome
-
Open Chrome browser.
- Click on the Chrome icon on your desktop or search for “Chrome” in the Start menu and click on it.
-
Access Chrome settings.
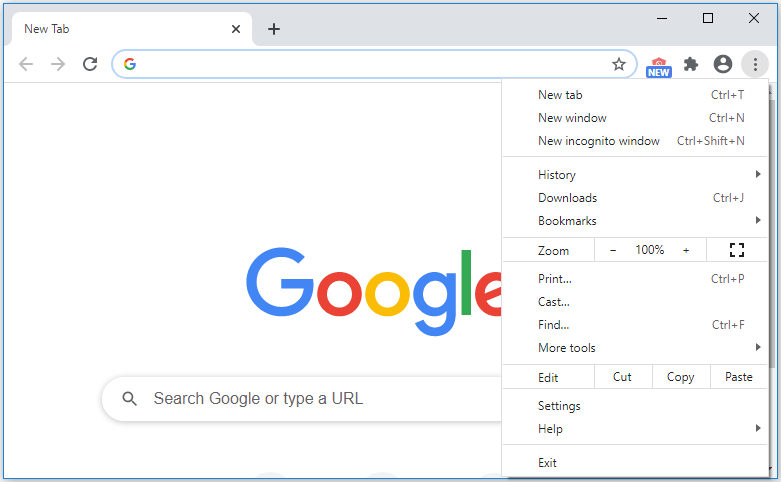
- Click on the three-dot menu icon located at the top-right corner of the browser window.
- From the dropdown menu, select “Settings”.
-
Disable Top Sites.
- Scroll down the Settings page and click on “Appearance” in the left sidebar.
- Under the “Show Home button” section, toggle off the “Show most visited sites” option.
Removing Most Visited Pages
-
Open a new tab in Chrome.
- Click on the “+” icon located at the top-right corner of the browser window.
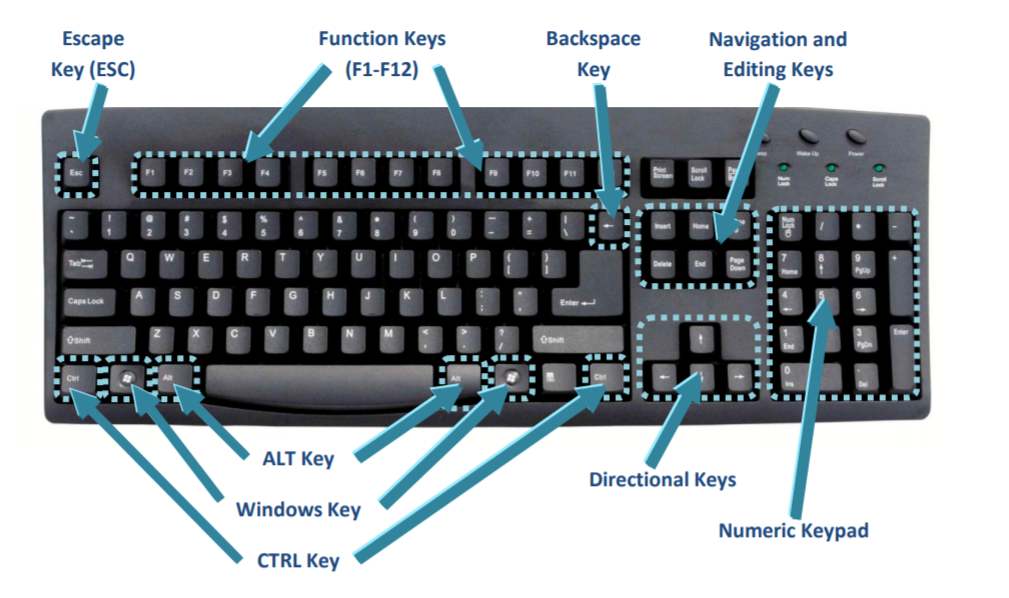
- Alternatively, you can press “Ctrl+T” on your keyboard to open a new tab.
-
Hover over a most visited page.
- Look for the thumbnail of the page you want to remove.
- Move your mouse cursor over the thumbnail without clicking.
-
Remove the most visited page.
- Click on the three-dot menu icon that appears at the top-right corner of the thumbnail.
- From the dropdown menu, select “Remove from Chrome” or “Remove” (depending on the Chrome version you have).

Mark Ginter is a tech blogger with a passion for all things gadgets and gizmos. A self-proclaimed "geek", Mark has been blogging about technology for over 15 years. His blog, techquack.com, covers a wide range of topics including new product releases, industry news, and tips and tricks for getting the most out of your devices. If you're looking for someone who can keep you up-to-date with all the latest tech news and developments, then be sure to follow him over at Microsoft.


