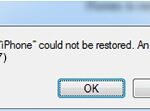
- Windows 10 computer greeted us with the message ‘iTunes was unable to connect to this iPhone, unknown error (0xE80000A)’ The error message may vary depending on the scenario, but most often they are caused by the following: Damaged USB port or cable.
- Incomplete iTunes installation may be the failure or partial installation of iTunes on Windows.
- Faulty iTunes processes may also be caused by faulty iTunes processes on your system.
Unlocking the enigmatic realm of iTunes errors, we delve into the perplexing conundrum of error 0xE80000A, exploring the troubleshooting techniques to connect without abandon.
Causes of the ‘iTunes Could Not Connect’ Error
There are several possible causes for the ‘iTunes Could Not Connect’ error, including issues with your device, computer, or iTunes software.
One common cause is a problem with the USB port or cable connection. Make sure you’re using a working USB cable and try connecting to a different port on your computer.
Another potential factor is outdated software. Check if there are any updates available for iTunes, your iOS version, or Windows 10. Keeping your software up to date can often resolve compatibility issues.
Security certificates can also cause connection problems. Ensure that your computer’s security certificates are up to date and that there are no issues with them.
If you have antivirus applications installed, they may be interfering with iTunes. Try temporarily disabling them and see if that resolves the issue.
If none of these solutions work, it may be helpful to reach out to the Apple support community or contact Apple’s customer support department for further assistance.
Resetting the Lockdown Folder of iTunes
To reset the Lockdown folder of iTunes and troubleshoot the “iTunes Cannot Connect Unknown Error 0xE80000A” issue, follow these steps:
1. Close iTunes and disconnect your iPhone from your PC.
2. Press the Windows key + R on your keyboard to open the Run dialog box.
3. Type “%ProgramData%” (without quotes) and press Enter.
4. Locate the “Apple” folder and open it.
5. Within the “Lockdown” folder, delete all the contents.
6. Reconnect your iPhone to your PC using a different USB port or cable.
7. Open iTunes and check if the error persists.
If the issue continues, try updating iTunes and your iPhone’s software:
1. Make sure you have the latest version of iTunes installed on your PC.
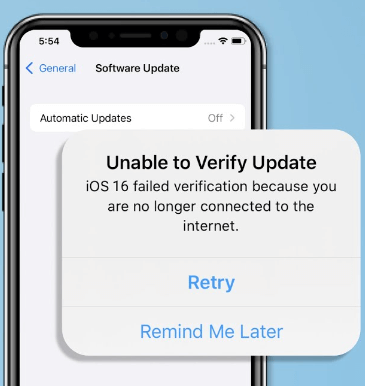
2. On your iPhone, go to Settings > General > Software Update.
3. If an update is available, download and install it.
4. Restart your PC and iPhone, then try connecting your iPhone to iTunes again.
If these troubleshooting steps don’t resolve the issue, consider reaching out to our customer support team for further assistance.
Updating Windows, iOS, and iTunes
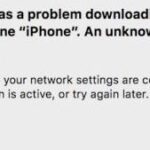
If you’re experiencing the iTunes error 0xE80000A when connecting your iPhone to your Windows device, there are a few troubleshooting tips you can try.
First, make sure you have the latest updates installed for Windows, iOS, and iTunes. Check for updates in the respective settings or use the Software Update feature on your iOS device.
If you have an antivirus application installed, try temporarily disabling it and then reconnect your iPhone to see if that resolves the issue.
Another thing you can try is to uninstall and reinstall iTunes on your Windows 10 device. Make sure to backup your iPhone before uninstalling iTunes, as this process may remove your iPhone backups.
If the error persists, there may be other factors at play. Consider reaching out to the iTunes community or Apple support department for further assistance. They can provide specific solutions based on your scenario and device(s).
Remember to always keep your software and devices up to date to avoid any niggles or hitches along the way.
Uninstalling and Reinstalling iTunes on Windows
If you’re experiencing the iTunes cannot connect unknown error 0xE80000A when trying to connect your iPhone Xs Max to iTunes on your Windows computer, there are a few troubleshooting tips you can try.
First, make sure you have the latest version of iTunes installed on your computer. If not, you can download and install it from the Apple website.
If you already have iTunes installed, try uninstalling and reinstalling it to fix the error. To do this, follow these steps:
1. Close iTunes and any other Apple-related processes running in the background.
2. Open the Control Panel on your Windows computer.
3. Click on “Uninstall a Program” or “Programs and Features.”
4. Locate iTunes in the list of installed programs and select it.
5. Click on “Uninstall” and follow the prompts to complete the uninstallation process.
6. Once iTunes is uninstalled, restart your computer.
7. Download the latest version of iTunes from the Apple website and install it.
8. After the installation is complete, try connecting your iPhone Xs Max to iTunes again to see if the error is resolved.
If you’re still experiencing the error, there may be other factors at play, such as antivirus applications or compatibility issues with iOS 12.0. It may be helpful to reach out to Apple support or explore online forums for further assistance.
Stopping iTunes Related Processes and Reconnecting the Device
If you are encountering the iTunes error 0xE80000A while trying to connect your device, there are a few steps you can take to troubleshoot the issue:
1. Quit iTunes and stop related processes: Close iTunes and any other Apple software running in the background. To ensure all processes are stopped, open the Task Manager on Windows or the Activity Monitor on macOS and end any iTunes-related processes.
2. Reconnect your device: Disconnect your device from the computer and then reconnect it using a different USB port. Make sure to use the original USB cable that came with your device.
3. Restart your device: Restart your iPhone or iPad by holding down the power button until the slider appears. Slide to power off, wait a few seconds, then press the power button again to turn it back on.
4. Update iTunes and iOS: Make sure you have the latest version of iTunes installed on your computer. Additionally, check for any available updates for your iOS device by going to Settings > General > Software Update.
If you are still experiencing the error, you may want to try resetting your device’s settings or contacting Apple Support for further assistance.
Disabling Antivirus and Security Software
If you are experiencing the error message 0xE80000A when trying to connect to iTunes, it may be due to antivirus or security software interfering with the connection.
To troubleshoot this issue, you can try disabling your antivirus and security software temporarily.
Here’s how:
1. Close iTunes and any other Apple software you have running.
2. Locate your antivirus or security software icon in the system tray or taskbar.
3. Right-click on the icon and select “Disable” or “Turn Off” from the context menu.
4. If prompted, choose a time frame for how long you want the software to remain disabled. Select “Disable until restart” if available.
5. Open iTunes again and try connecting your device.
Remember to enable your antivirus and security software after troubleshooting. If the issue persists, you may need to consult the support documentation for your specific antivirus or security software for further assistance.
Simple Fixes for ‘iTunes Error 0xE80000A’
- Restart Your Devices
- Ensure that your computer and iOS device are both connected to a stable internet connection.
- Close iTunes and any other related applications on your computer.
- Disconnect your iOS device from your computer.
- Turn off your iOS device by holding down the power button and sliding the power off slider.
- Restart your computer by clicking on the “Start” menu, selecting “Restart,” and confirming the action.
- Turn on your iOS device by pressing and holding the power button until the Apple logo appears.
- Connect your iOS device to your computer using a USB cable.
- Open iTunes and check if the error is resolved.
- Update iTunes and iOS
- Open iTunes on your computer.
- Click on the “Help” menu and select “Check for Updates.”

- If an update is available, follow the on-screen prompts to download and install the latest version of iTunes.
- Disconnect your iOS device from your computer.
- On your iOS device, go to the “Settings” app.
- Tap on “General” and then “Software Update.”
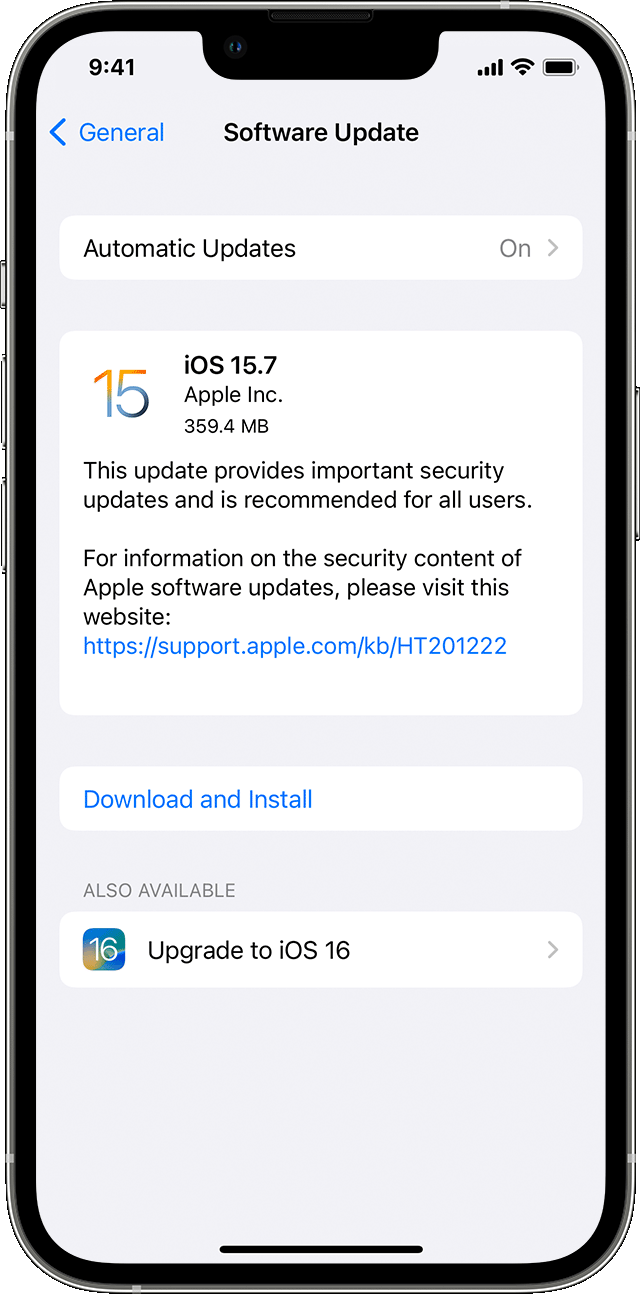
- If an update is available, follow the on-screen prompts to download and install the latest version of iOS.
- Restart your computer and connect your iOS device to your computer again.
- Open iTunes and check if the error is resolved.
- Check Security Software and Firewall Settings
- Temporarily disable any security software or firewall on your computer.
- Consult the documentation or support resources for your specific security software or firewall to learn how to disable it.
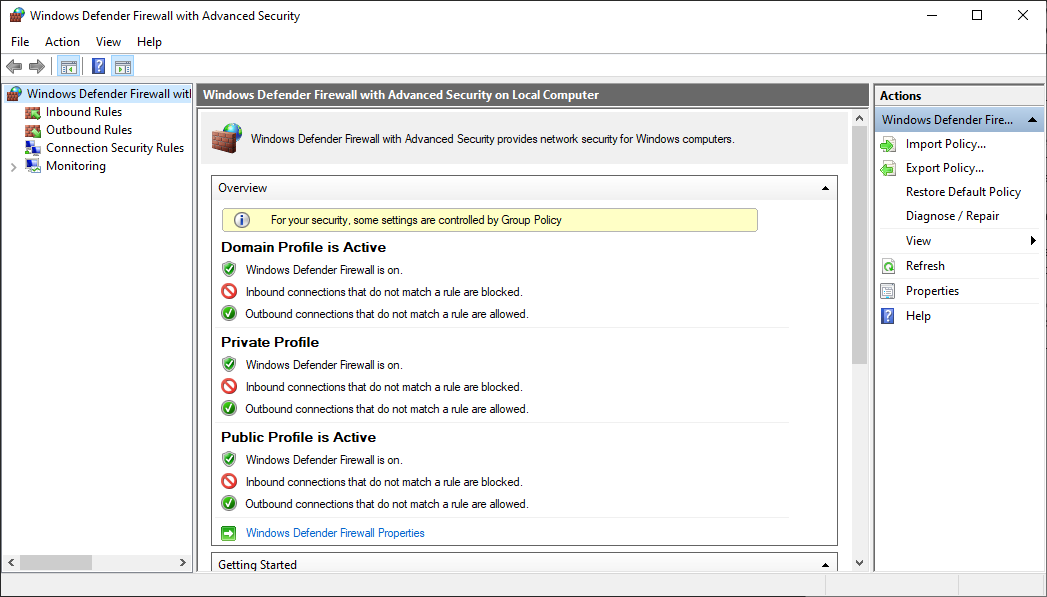
- Restart your computer and connect your iOS device to your computer again.
- Open iTunes and check if the error is resolved.
- If the error is resolved, re-enable your security software or firewall.
- Reset the Lockdown Folder
- Disconnect your iOS device from your computer.
- Close iTunes and any other related applications on your computer.
- On your computer, navigate to the following location:
- For Windows: C:\ProgramData\Apple\Lockdown
- For macOS: /var/db/lockdown
- Delete all the files and folders within the “Lockdown” folder.
- Restart your computer and connect your iOS device to your computer again.
- Open iTunes and check if the error is resolved.

Mark Ginter is a tech blogger with a passion for all things gadgets and gizmos. A self-proclaimed "geek", Mark has been blogging about technology for over 15 years. His blog, techquack.com, covers a wide range of topics including new product releases, industry news, and tips and tricks for getting the most out of your devices. If you're looking for someone who can keep you up-to-date with all the latest tech news and developments, then be sure to follow him over at Microsoft.