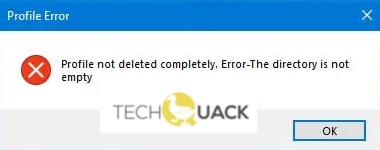
- If the user profile deletion process was not completed correctly, you may see the error message “Profile not completely deleted”, “Error – Directory not empty” This error message usually appears when you delete part of a domain profile, but you may find it on an ordinary home computer as well.
- The deletion process is not complete: if you try to delete a profile through the Windows 10 user interface, it will not be permanently deleted.
Unveiling the Ultimate Solution: Resolve Profile Not Deleted Completely Error in Windows 10
Disabling Windows Search and Removing leftover Registry Keys
To fix the “Profile Not Deleted Completely” error in Windows 10, you can disable Windows Search and remove leftover registry keys. Here’s how:
1. Disable Windows Search:
– Press the Windows key + R, type “services.msc,” and hit Enter.
– In the Services window, scroll down and find “Windows Search.”
– Right-click on it and select “Properties.”
– In the General tab, change the startup type to “Disabled,” and click Apply and OK.
2. Remove leftover registry keys:
– Press the Windows key + R, type “regedit,” and hit Enter.
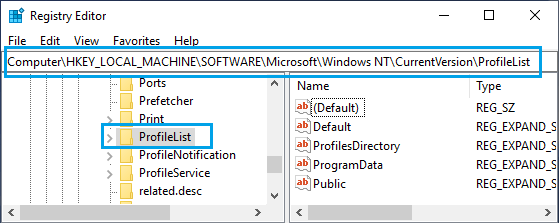
– In the Registry Editor, navigate to “HKEY_LOCAL_MACHINE\SOFTWARE\Microsoft\Windows NT\CurrentVersion\ProfileList.”
– Look for any keys that have “.bak” at the end and delete them.
– Next, navigate to “HKEY_LOCAL_MACHINE\SOFTWARE\Microsoft\Windows NT\CurrentVersion\ProfileGuid.”
– Delete any keys related to the problematic user profile.
– Close the Registry Editor.
Remember to back up your registry before making any changes.
If the issue persists, it’s recommended to seek expert assistance or use specialized software like Outbyte’s Driver Updater to update your drivers and resolve any compatibility issues.
Note: This solution is primarily for Windows 10 Pro edition. Some options and settings may vary in other Windows editions.
Deleting the ‘Unknown Account’ and Removing the directory contents
- Open File Explorer by pressing Windows key + E.
- Navigate to the following directory: C:\Users.
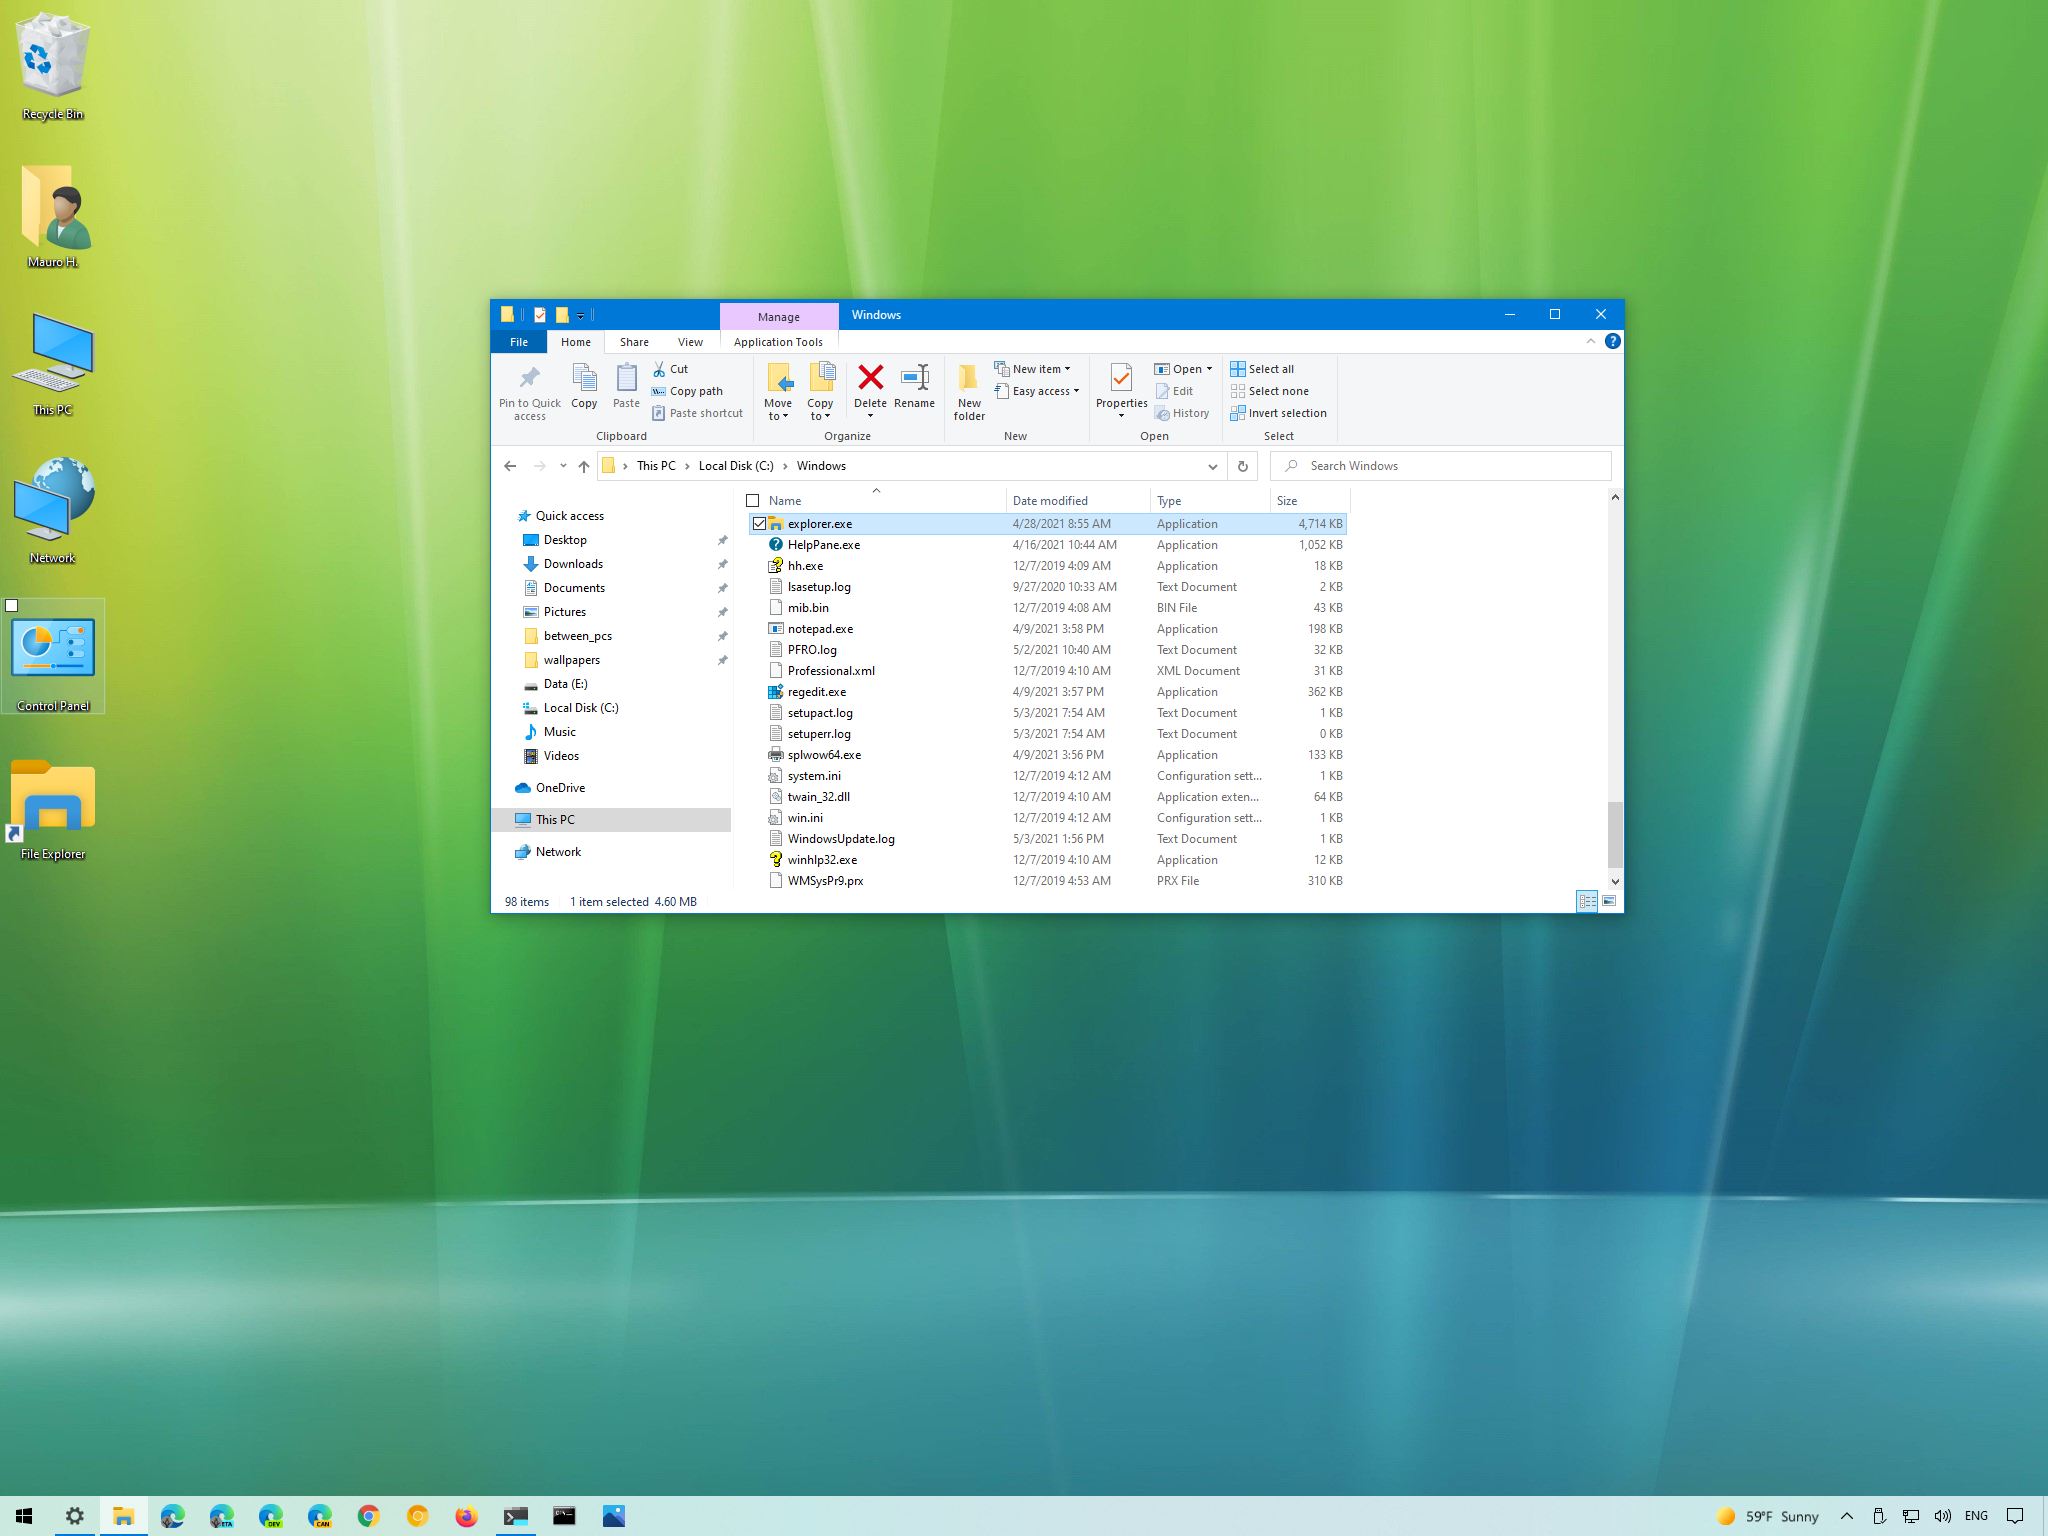
- Locate the folder corresponding to the ‘Unknown Account’ that needs to be deleted.
- Right-click on the folder and select Delete.
- A confirmation dialog will appear, click Yes to permanently delete the folder.
- Open Run dialog by pressing Windows key + R.
- Type regedit and press Enter to open the Registry Editor.
- In the Registry Editor, navigate to the following path: HKEY_LOCAL_MACHINE\SOFTWARE\Microsoft\Windows NT\CurrentVersion\ProfileList.
- Under the ProfileList key, you will find a list of subkeys starting with S-1-5-21.
- Go through each subkey and look for the one with a ProfileImagePath value containing the path to the folder of the ‘Unknown Account’.
- Once you find the correct subkey, right-click on it and select Delete.
- Confirm the deletion by clicking Yes in the confirmation dialog.
- Close the Registry Editor.
Deleting a user profile from System Properties and Disabling Windows Search service
To fix the “Profile Not Deleted Completely” error in Windows 10, you can follow these steps:
1. Open the System Properties window by right-clicking on the Start button and selecting “System”.
2. In the System Properties window, go to the “Advanced” tab and click on the “Settings” button under the “User Profiles” section.
3. In the User Profiles window, select the user profile that you want to delete and click on the “Delete” button.
4. If the “Delete” button is greyed out, it means that the user profile is still in use. In this case, you need to disable the Windows Search service.
5. Press the Windows key + R to open the Run dialog box, type “services.msc”, and hit Enter.
6. In the Services window, scroll down and locate the “Windows Search” service.
7. Right-click on the “Windows Search” service and select “Properties”.
8. In the Properties window, change the “Startup type” to “Disabled” and click on the “Stop” button to stop the service.
9. Click on “Apply” and then “OK” to save the changes.
10. Now, go back to the User Profiles window and try deleting the user profile again. It should now be deleted successfully.
By following these steps, you can fix the “Profile Not Deleted Completely” error in Windows 10 and remove unwanted user profiles from your system.
powershell

# This script deletes a user profile in Windows 10
# Enter the username whose profile you want to delete
$profileToDelete = "username"
# Function to delete user profile
function Delete-UserProfile {
param (
[Parameter(Mandatory=$true)]
[string]$username
)
$sid = (New-Object System.Security.Principal.NTAccount($username)).Translate([System.Security.Principal.SecurityIdentifier]).Value
$profilePath = Get-ItemProperty -Path "HKLM:\SOFTWARE\Microsoft\Windows NT\CurrentVersion\ProfileList\$sid" -Name "ProfileImagePath" | Select-Object -ExpandProperty "ProfileImagePath"
# Remove the associated registry key
Remove-Item -Path "HKLM:\SOFTWARE\Microsoft\Windows NT\CurrentVersion\ProfileList\$sid" -Force
# Delete the user profile folder
Remove-Item -Path $profilePath -Recurse -Force
Write-Host "User profile for $username has been deleted."
}
# Usage: Delete-UserProfile -username "username"
Delete-UserProfile -username $profileToDelete
In this sample code, a PowerShell script is used to delete a user profile based on the provided username. It retrieves the user’s Security Identifier (SID) and then removes the associated registry key and the user profile folder. However, please exercise caution when using this code, and ensure that you have a backup of any important data before attempting to delete user profiles.
Removing a user profile as Administrator
To remove a user profile as an Administrator in Windows 10, follow these steps:
1. Press the Windows key + R to open the Run dialog box.
2. Type “sysdm.cpl” and press Enter. This will open the System Properties window.
3. Go to the “Advanced” tab and click on the “Settings” button under User Profiles.
4. In the User Profiles window, select the user profile you want to remove and click on the “Delete” button.
5. Confirm the deletion by clicking “Yes” when prompted.
6. If the “Delete” button is greyed out or you receive an error message saying the profile cannot be deleted because it is still in use, try the following:
a. Restart your computer and try again.
b. Use the Command Prompt to delete the user profile. Open Command Prompt as an Administrator and type the following command:
net user [username] /delete (replace [username] with the actual username)
c. Use third-party software like Outbyte to fix any issues with the user profile removal process.
Remember to be cautious when deleting user profiles, especially if it is a domain profile or a profile associated with important system settings.

Mark Ginter is a tech blogger with a passion for all things gadgets and gizmos. A self-proclaimed "geek", Mark has been blogging about technology for over 15 years. His blog, techquack.com, covers a wide range of topics including new product releases, industry news, and tips and tricks for getting the most out of your devices. If you're looking for someone who can keep you up-to-date with all the latest tech news and developments, then be sure to follow him over at Microsoft.