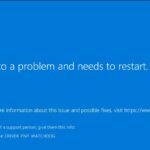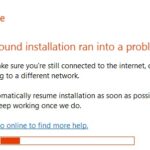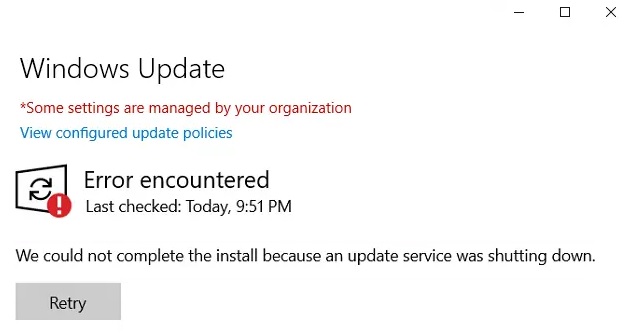
- When installing a feature update in Windows 10, the installation may be interrupted halfway through and you get the following message: ‘We were unable to complete the installation due to an update service halt’ Not everyone has this problem, but if you have it, you can use the workarounds below.
- The Windows Troubleshooter is designed to fix these occasional errors.
- Follow the steps below and Windows will automatically restore the system and fix the error.
Welcome to the ultimate guide on installing and updating Windows, where we explore efficient shutdown solutions.
Troubleshooting Windows Update Issues
If you encounter any issues with Windows Update, here are some solutions to help you resolve them:
1. Check your internet connection: Ensure that your PC is connected to a stable internet connection.
2. Restart your PC: Sometimes, a simple restart can fix update-related problems. Restart your computer and try updating again.
3. Run Windows Update Troubleshooter: Use the built-in Windows Update Troubleshooter to automatically detect and resolve common update issues.
4. Verify Windows Services: Make sure that necessary Windows services are running properly. Open the Windows Services application and ensure that services like “Windows Update” and “Background Intelligent Transfer Service” are running.
5. Clear Windows Update cache: Sometimes, corrupted files in the Windows Update cache can cause issues. Clear the cache by following these steps:
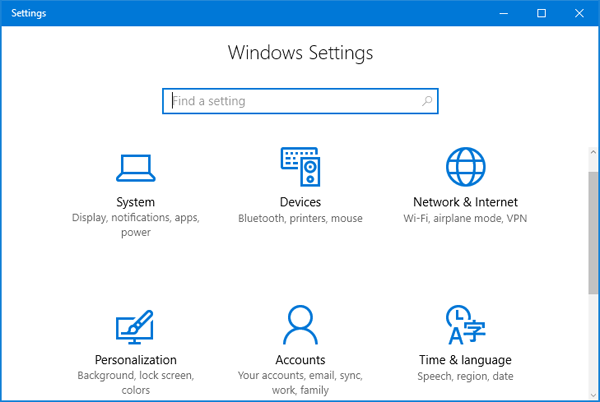
– Open the Settings app.
– Go to Update & Security > Windows Update.
– Click on Advanced options and then select Delivery Optimization.
– Click on Clear cache.
Remember to always keep your PC up to date with the latest Windows updates to ensure optimal performance and security.
Preventing Interruptions During Windows Updates
- Disable Automatic Restart
- Open the Control Panel by searching for it in the Start Menu.
- Click on System and Security.
- Select System from the list of options.
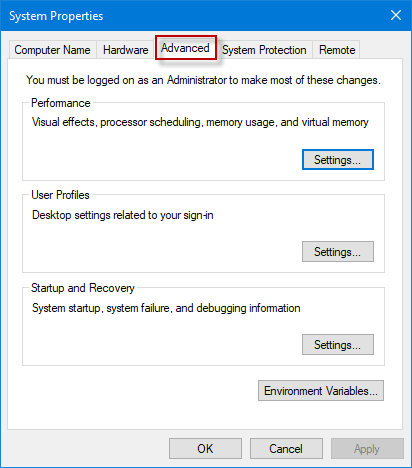
- Click on Advanced system settings on the left-hand side.
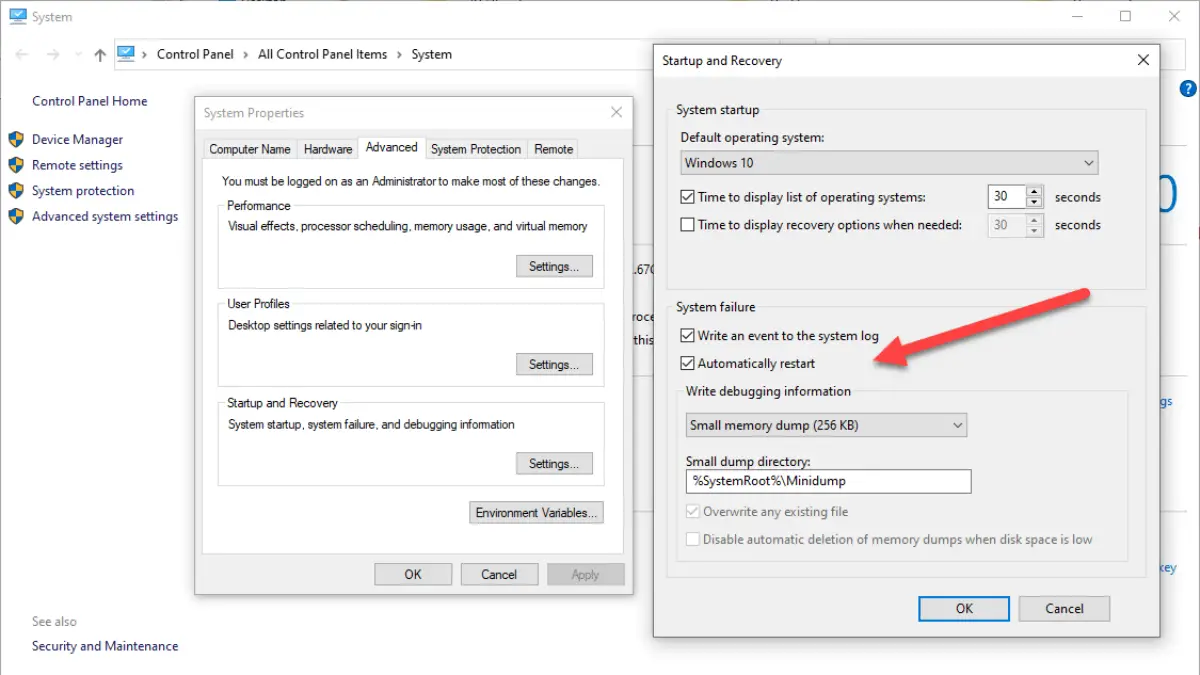
- In the System Properties window, click on the Advanced tab.
- Under the Startup and Recovery section, click on the Settings button.
- In the System Failure section, uncheck the box next to Automatically restart.
- Click OK to save the changes.
- Disable Notifications and Alarms
- Press Windows Key + I to open the Settings app.
- Click on System.
- Select Notifications & actions from the left-hand side.
- Under the Notifications section, toggle off the option for Show me tips about Windows.
- Scroll down and click on Get notifications from these senders.
- Toggle off the notifications for specific apps or disable them entirely.
- Close the Settings app.
- Disable Power Saving Mode
- Press Windows Key + X and select Power Options from the menu.
- In the Power Options window, select Additional power settings on the right-hand side.
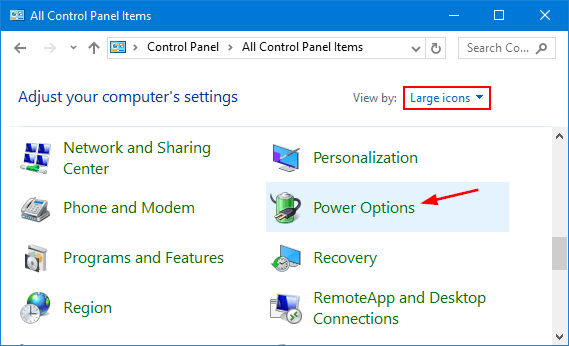
- Choose a power plan that is not set to Power Saver.
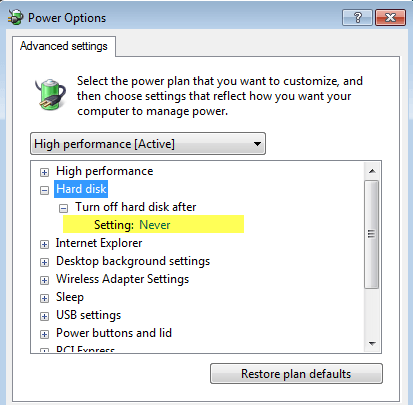
- If needed, click on Change plan settings for the selected power plan.
- Adjust the Put the computer to sleep and Turn off the display options to longer time intervals.
- Click Save changes.
- Close the Power Options window.
Stopping Windows Updates in Progress
If you need to stop Windows updates that are currently in progress, here are a few ways to do it:
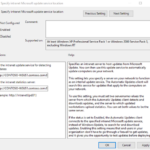
1. Through the Windows Update service:
– Press Win + R to open the Run dialog box.
– Type “services.msc” and hit Enter.
– In the Services window, scroll down and find “Windows Update“.
– Right-click on it and select “Stop“.
2. Using the Task Manager:
– Press Ctrl + Shift + Esc to open the Task Manager.
– Go to the “Services” tab.
– Locate “wuauserv” (Windows Update) and right-click on it.
– Choose “Stop Service“.
Remember, stopping Windows updates can leave your system vulnerable to security threats. It’s important to stay updated to protect your data and privacy. If you encounter any errors during the update process, try using tools like MiniTool ShadowMaker to fix them.
Resolving Update Service Shutdown Errors
If you encounter shutdown errors while updating your Windows operating system, here are some solutions to help you resolve them.
1. Check for system errors: Run the built-in Windows system file checker to scan and repair any corrupted system files. Open the Command Prompt as an administrator and type “sfc /scannow“.
2. Disable third-party applications: Temporarily disable any antivirus or security software that may be interfering with the update process. Navigate to the taskbar, right-click on the antivirus icon, and select “Disable“.
3. Restart Windows Update service: Open the Command Prompt as an administrator and type “net stop wuauserv“. Then, type “net start wuauserv” to restart the Windows Update service.
4. Clear the Windows Update cache: Open the Command Prompt as an administrator and type “net stop wuauserv“. Then, navigate to the “C:\Windows\SoftwareDistribution” folder and delete all its contents. Finally, type “net start wuauserv” to restart the Windows Update service.
Remember to restart your computer after applying these solutions to ensure the changes take effect. If the issue persists, consider seeking further assistance from Microsoft’s support website or contacting their customer support.
Repairing Corrupted Windows Update Components
- Identify the corrupted Windows update components on your system.
- Access the Windows Services console.
- Stop the Windows Update service from running.
- Disable the BITS (Background Intelligent Transfer Service) and Cryptographic services.
- Rename the SoftwareDistribution and Catroot2 folders to prevent any conflicts.
- Restart the Windows Update service.
- Enable the BITS and Cryptographic services.
- Run the Windows Update troubleshooter to automatically fix any remaining issues.
Updating Windows via Alternative Methods
If you encounter difficulties updating Windows through the regular process, there are alternative methods you can try.
One option is to use the Windows Update Troubleshooter, a built-in tool that can help identify and resolve any issues preventing updates. To access it, follow these steps:
1. Press the Windows key + I to open the Settings app.
2. Click on “Update & Security,” then select “Troubleshoot.”
3. Under “Get up and running,” click on “Windows Update” and then “Run the troubleshooter.”
Another option is to manually download and install updates using the Microsoft Update Catalog. Here’s how:
1. Visit the Microsoft Update Catalog website.
2. Search for the specific update you need or browse through the available updates.
3. Click on the desired update, then select “Download” to save the update file.
4. Once downloaded, double-click the file to run the installation.
Remember to always exercise caution when downloading updates from third-party sources to avoid potential security risks.
By utilizing these alternative methods, you can overcome any issues that may prevent you from updating Windows effectively.
Common Solutions for Windows Update Errors
| Error Code | Error Description | Solution |
|---|---|---|
| 0x80070002 | The system cannot find the file specified. | 1. Run Windows Update Troubleshooter. 2. Delete temporary update files. 3. Reset Windows Update components. 4. Check for disk errors using CHKDSK command. 5. Perform a clean boot and run Windows Update again. |
| 0x80070003 | The system cannot find the path specified. | 1. Run Windows Update Troubleshooter. 2. Rename the SoftwareDistribution folder. 3. Use the DISM tool to repair Windows Update files. 4. Perform a clean boot and run Windows Update again. |
| 0x80070005 | Access is denied. | 1. Run Windows Update Troubleshooter. 2. Grant full control to the Windows Update service. 3. Reset Windows Update components. 4. Disable third-party antivirus or firewall temporarily. 5. Perform a clean boot and run Windows Update again. |
| 0x80070422 | The service cannot be started. | 1. Run Windows Update Troubleshooter. 2. Start the Windows Update service manually. 3. Disable third-party antivirus or firewall temporarily. 4. Perform a clean boot and run Windows Update again. |
| 0x8024401F | An unexpected problem occurred while checking for updates. | 1. Run Windows Update Troubleshooter. 2. Restart the Windows Update service. 3. Reset Windows Update components. 4. Disable third-party antivirus or firewall temporarily. 5. Perform a clean boot and run Windows Update again. |

Mark Ginter is a tech blogger with a passion for all things gadgets and gizmos. A self-proclaimed "geek", Mark has been blogging about technology for over 15 years. His blog, techquack.com, covers a wide range of topics including new product releases, industry news, and tips and tricks for getting the most out of your devices. If you're looking for someone who can keep you up-to-date with all the latest tech news and developments, then be sure to follow him over at Microsoft.