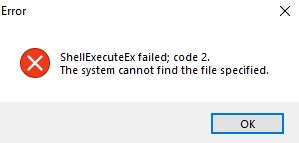
- The “Shellexecuteex Failed” error message is usually accompanied by a specific error code.
- This error usually occurs when the installer requires administrator privileges, the installation file is corrupt or there is an application conflict.
- The relevant error codes maybe 2, 5, 67, 255, 1155, 8235, 1460, 2147221003, etc.
Welcome to a troubleshooting guide that will help you overcome the frustrating ShellExecuteEx Failed error on your Windows operating system. Discover effective solutions and regain control over your system without any unnecessary hassle.
Understanding the “Shellexecuteex Failed” error on Windows
If you encounter the “Shellexecuteex Failed” error on Windows, follow these steps to fix it:
1. Check for system file corruption: Run the System File Checker tool to scan and repair any corrupted system files. Open the Command Prompt as an administrator and type sfc /scannow.
2. Verify file associations: Right-click on the file causing the error and go to “Properties.” In the Properties window, select the “General” tab and click on the “Change” button. Choose the appropriate program to open the file.
3. Reinstall the application: If the error occurs when launching a specific program, try reinstalling it. Uninstall the program, download the latest version from the official website, and install it again.
4. Use an alternative program: If the error persists, try opening the file with a different program. For example, if you’re trying to open an .exe file, use programs like Notepad or Notepad++.
By following these steps, you can resolve the “Shellexecuteex Failed” error on Windows.
Methods to fix the “Shellexecuteex Failed” error
- Save any unsaved work.
- Click on the Start menu.
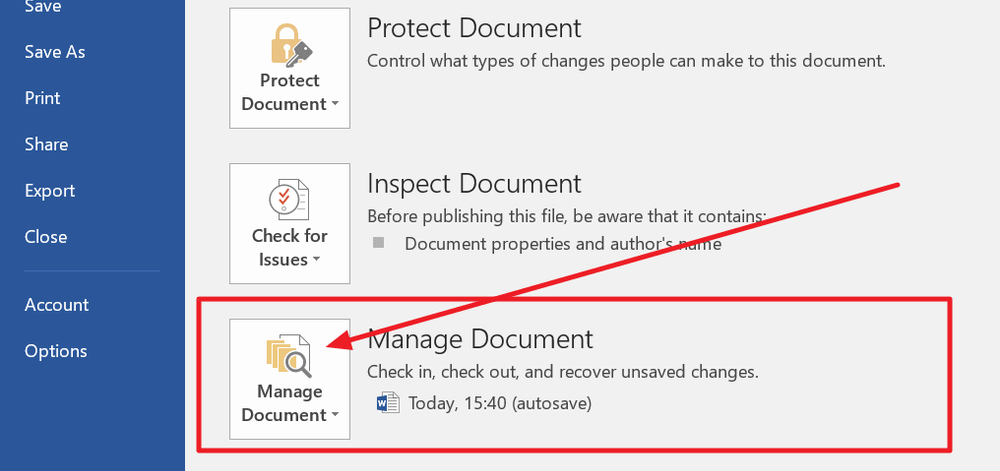
- Click on the Power button.
- Click on Restart.
Method 2: Run System File Checker (SFC) Scan
- Press the Windows key and R simultaneously to open the Run dialog box.
- Type “cmd” into the Run dialog box.
- Press Ctrl+Shift+Enter to open an Elevated Command Prompt.
- Type “sfc /scannow” into the Command Prompt.
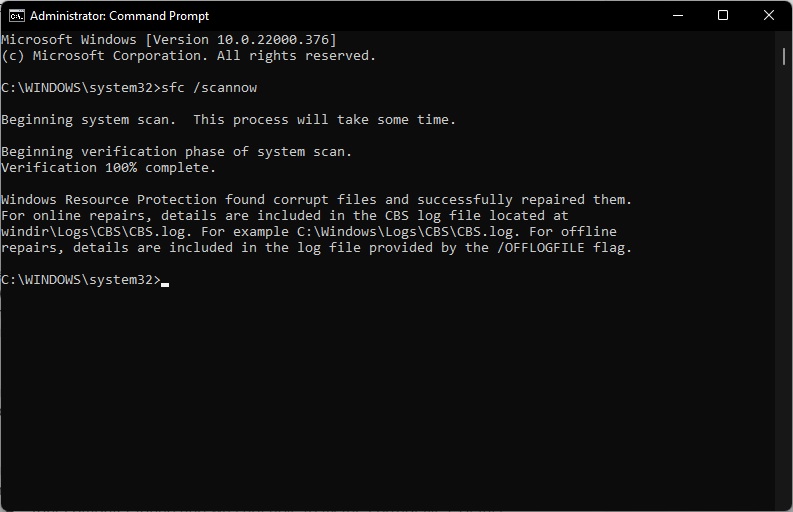
- Press Enter to run the SFC scan.
- Wait for the scan to complete.
- Restart the computer.
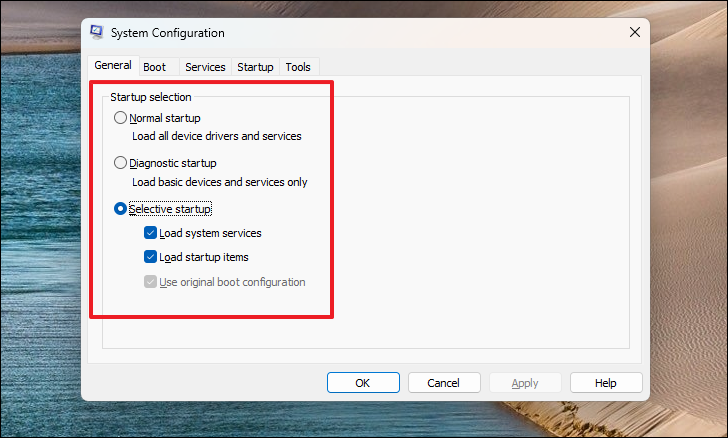
Method 3: Perform a Clean Boot
- Press the Windows key and R simultaneously to open the Run dialog box.
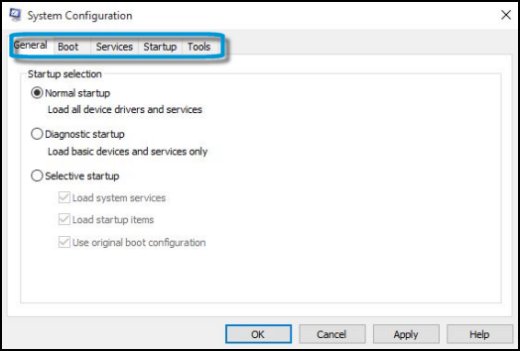
- Type “msconfig” into the Run dialog box.
- Press Enter to open the System Configuration window.
- Click on the Services tab.
- Check the box next to “Hide all Microsoft services”.
- Click on Disable all.
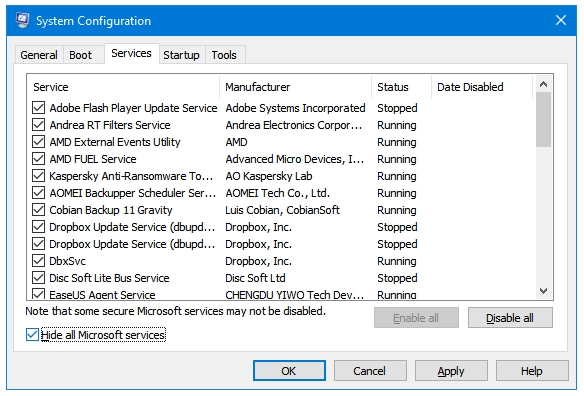
- Click on the Startup tab.
- Click on Open Task Manager.
- Disable all the startup programs listed in the Task Manager.
- Close the Task Manager.
- Click on OK in the System Configuration window.
- Restart the computer.
Running the application as Administrator
To run the application as Administrator:
1. Right-click on the application’s executable file.
2. From the context menu, select “Run as administrator.”
This action grants the application elevated privileges, allowing it to make changes to your system files or perform actions that are restricted to standard user accounts.
By running the application as Administrator, you can bypass any roadblocks or restrictions imposed by Windows security policies. This is particularly useful when encountering errors such as “ShellExecuteEx Failed” or “Code 8235 Error.”
If you’re still experiencing issues after running the application as Administrator, you may need to consider other repair strategies or seek further assistance. Remember to always download software from trusted sources and keep your system up to date to prevent potential errors and security vulnerabilities.
python

import subprocess
def execute_with_retry(command):
try:
subprocess.run(command, check=True)
except subprocess.CalledProcessError as e:
print("Shellexecuteex failed, attempting to fix...")
# Perform some error handling or fixing steps here
# For example, you could try alternative commands or modify the input
# Once the error is handled or fixed, retry the execution
try:
subprocess.run(command, check=True)
except subprocess.CalledProcessError as e:
print("Failed to fix Shellexecuteex error.")
print("Error message:", e)
# Example usage
execute_with_retry(["your_command_here", "arg1", "arg2"])
Please note that this is a basic example, and you may need to modify it based on your specific requirements and the programming language/platform you are using.
Running DISM and SFC scans
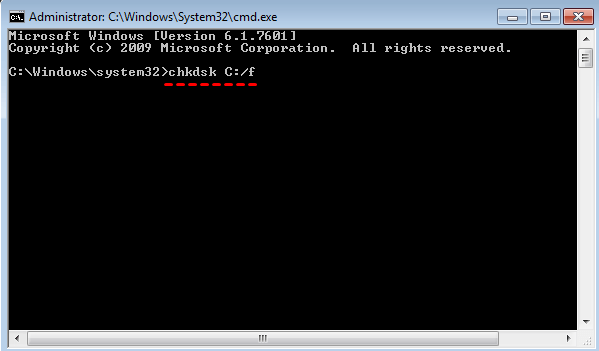
1. Press the Windows key + X and select “Command Prompt (Admin)” from the menu.
2. In the Command Prompt, type “dism /online /cleanup-image /restorehealth” and press Enter. This will run the DISM scan and repair any system file corruption.
3. Once the DISM scan is complete, type “sfc /scannow” and press Enter. This will run the System File Checker scan to check for any corrupted files and repair them.
4. Wait for the scans to finish and follow any prompts or instructions that appear.
5. After the scans are complete, restart your computer.
By running these scans, you can resolve the ShellExecuteEx Failed Error and ensure the proper functioning of your Windows system.
Performing a clean install and system restore
Performing a Clean Install and System Restore
If you encounter the ShellExecuteEx Failed error on your Windows device, here’s how you can fix it:
1. Start by performing a clean install of the application or program causing the error. Uninstall the software completely and then reinstall it using the latest version available.
2. If the issue persists, try a system restore to a point before the error occurred. This will revert your system settings and files back to an earlier state.
3. Check if the error is specific to a particular file or program. Try running it as an administrator by right-clicking on the file or program and selecting “Run as administrator.”
4. If you’re using Windows 7, ensure that you have the latest updates installed. Open the Control Panel, go to Windows Update, and click on “Check for updates.”
5. For Windows 10 users, check if there are any pending updates. Go to Settings > Update & Security > Windows Update and click on “Check for updates.”
If these steps don’t resolve the issue, you may need to consult with technical support or seek further assistance.
Remember to always backup your important data before making any changes to your system.

Mark Ginter is a tech blogger with a passion for all things gadgets and gizmos. A self-proclaimed "geek", Mark has been blogging about technology for over 15 years. His blog, techquack.com, covers a wide range of topics including new product releases, industry news, and tips and tricks for getting the most out of your devices. If you're looking for someone who can keep you up-to-date with all the latest tech news and developments, then be sure to follow him over at Microsoft.