- Microsoft announced the Windows 10 May 2020 update for millions of Windows 10 users worldwide.
- Microsoft and Intel are aware of this problem and are working on a solution.
- In the meantime, you can fix it yourself by following the instructions prepared by Techquack.
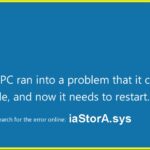
- The error occurred after the Windows feature update, i.e. v1903.
- The update allowed the latest Intel drivers to be installed on systems equipped with the Intel Optane Pinning Service Extension.
Unleash the Power of Possibilities with Windows 10
Causes of the Intel Optane Memory Pinning Error
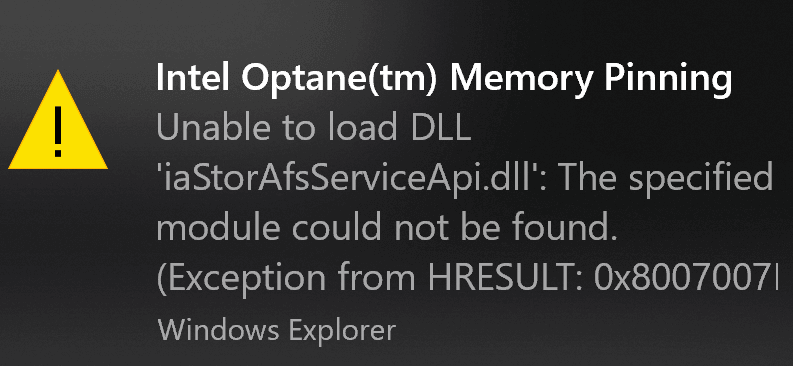
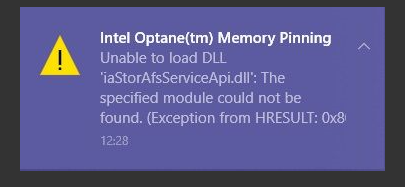
Another potential cause is a problem with the Optane Memory Pinning DLL file, specifically the “iaStorAfsServiceApi.dll”. If this DLL fails to load properly, it can result in the Memory Pinning Error.
To resolve this issue, users can follow these steps:
1. Open Device Manager by pressing the Windows key + X and selecting “Device Manager” from the menu.
2. Locate the “Intel Rapid Storage Technology” category and expand it.
3. Right-click on the “iaStorAfsServiceApi” device and select “Properties”.
4. In the Properties window, go to the “Driver” tab and click on “Update Driver”.
5. Choose the option to “Browse my computer for drivers” and select the folder where the Intel RST driver installation files are located (for example, “C:\Intel”).
6. Follow the on-screen instructions to complete the driver update process.
By following these steps, users can fix the Intel Optane Memory Pinning Error and ensure smooth functioning of their Windows 10 PCs.
Methods to Fix the Intel Optane Memory Pinning Error
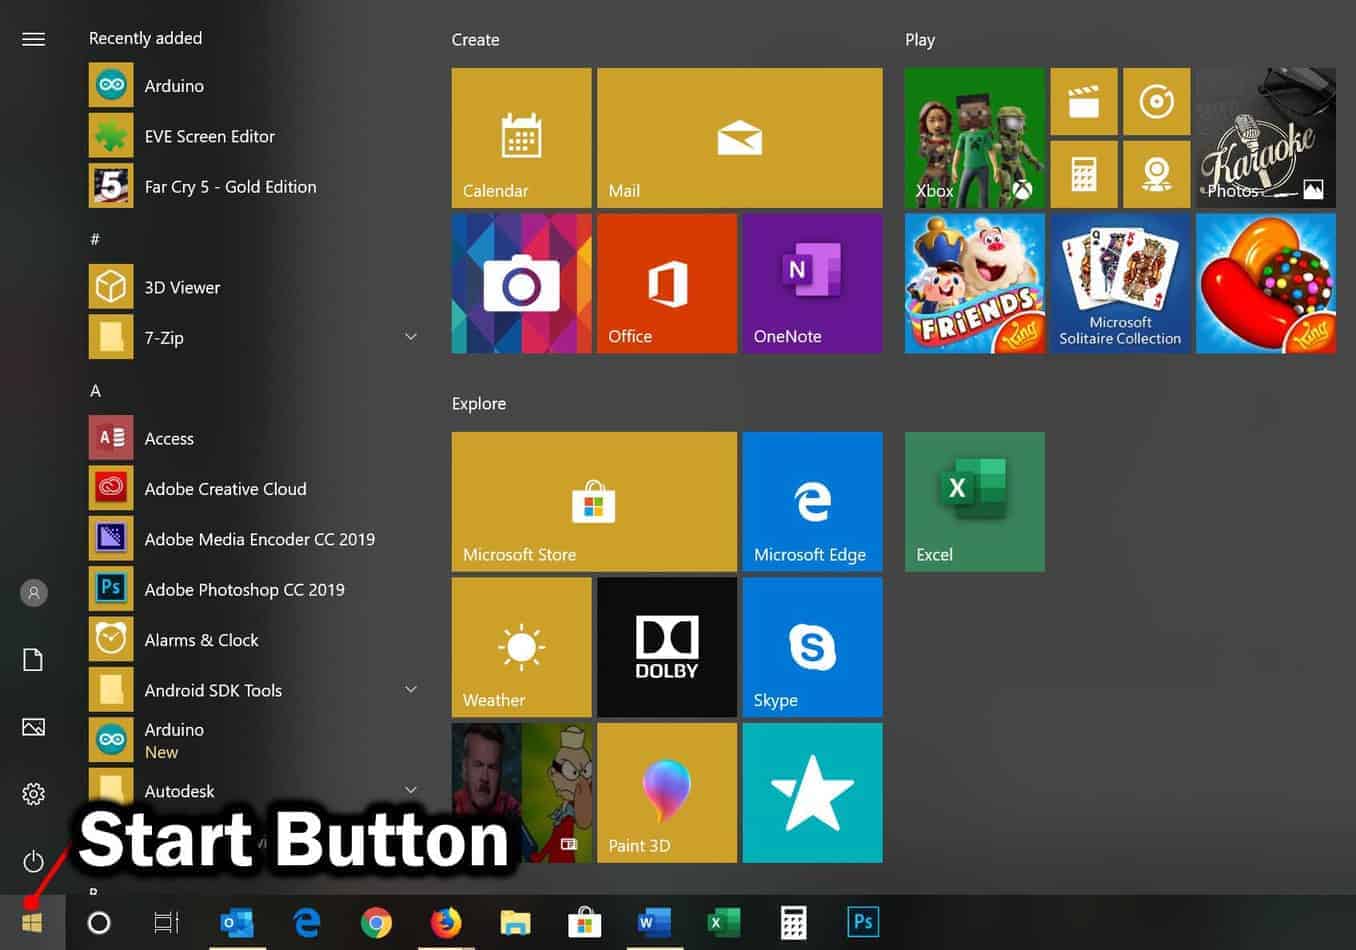
- Open the Start menu by clicking on the Windows logo in the bottom left corner of the screen.
- Type “Device Manager” and click on it from the search results.
- In the Device Manager window, expand the category “Disk drives”.
- Locate and right-click on the Intel Optane Memory device.
- Select “Update driver” from the context menu.
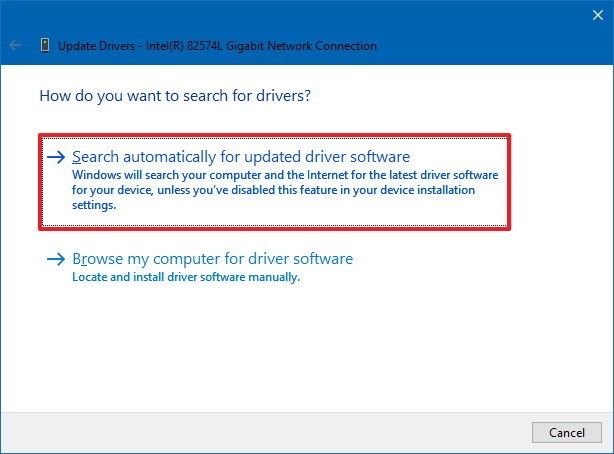
- Choose the option to automatically search for updated driver software.
- Follow the on-screen instructions to complete the driver update process.
- Restart your computer to apply the changes.
Method 2: Disable and Re-enable Intel Optane Memory
- Press the Win + X keys simultaneously to open the Power User Menu.
- Select “Disk Management” from the list.
- In the Disk Management window, locate the drive associated with Intel Optane Memory.
- Right-click on the drive and choose the option to “Turn off Intel Optane”.
- Wait for the process to complete and then right-click on the drive again.
- Select “Enable” to turn Intel Optane Memory back on.

- Restart your computer to apply the changes.
Method 3: Uninstall and Reinstall Intel Optane Memory
- Open the Start menu by clicking on the Windows logo in the bottom left corner of the screen.
- Type “Control Panel” and click on it from the search results.
- In the Control Panel window, select “Programs” or “Programs and Features”.
- Locate the Intel Optane Memory software in the list of installed programs.
- Right-click on Intel Optane Memory and choose “Uninstall”.
- Follow the on-screen prompts to complete the uninstallation.
- Download the latest version of Intel Optane Memory from the official Intel website.
- Install the downloaded software by following the installation wizard.
- Restart your computer to apply the changes.
Troubleshooting the Intel Optane Pinning Explorer Extensions
If you are experiencing issues with the Intel Optane Pinning Explorer Extensions on Windows 10, try following these steps to troubleshoot and resolve the problem:
1. Open Device Manager by pressing the Windows key and typing “Device Manager” in the search box.
2. Locate the Intel Rapid Storage Technology (RST) driver in the list of installed drivers.
3. Right-click on the driver and select “Update driver.”
4. Choose the option to search automatically for updated driver software.
5. If an updated driver is found, follow the on-screen instructions to install it.
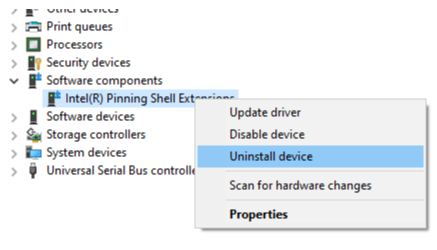
6. If no updated driver is available, try reinstalling the driver by right-clicking on it and selecting “Uninstall device.” Then restart your PC and let Windows automatically reinstall the driver.
7. If the issue persists, you may need to repair or reinstall the Intel Optane Pinning Explorer Extensions. To do this, go to the Intel website and download the latest version of the Optane Pinning Explorer Extensions.
8. Run the installation files and follow the prompts to repair or reinstall the extensions.
9. After the installation is complete, restart your system and check if the issue is resolved.
By following these steps, you should be able to troubleshoot and fix any problems with the Intel Optane Pinning Explorer Extensions on Windows 10.
Resolving the Intel Optane Memory Application Error
To resolve the Intel Optane Memory Application Error in Windows 10, follow these steps:
1. Open the Run dialog by pressing Windows key + R.
2. Type “appwiz.cpl” and press Enter to open the Programs and Features window.
3. Locate the Intel Optane Memory and Storage Management application in the list and uninstall it.
4. After uninstalling the application, restart your computer.
5. Download the latest version of the Intel Rapid Storage Technology (RST) driver from the Intel website.
6. Install the downloaded driver and reboot your system again.
7. Once your system has rebooted, download and install the latest version of the Intel Optane Memory and Storage Management application from the Intel website.
8. After installation, restart your computer one more time.
9. The Intel Optane Memory Application Error should now be resolved, and you can use the application without any issues.
If you continue to encounter the error, please contact Microsoft Support for further assistance.

Mark Ginter is a tech blogger with a passion for all things gadgets and gizmos. A self-proclaimed "geek", Mark has been blogging about technology for over 15 years. His blog, techquack.com, covers a wide range of topics including new product releases, industry news, and tips and tricks for getting the most out of your devices. If you're looking for someone who can keep you up-to-date with all the latest tech news and developments, then be sure to follow him over at Microsoft.