- The “Powershell no longer works” error is caused by a virus (Poweliks) on your computer.
- It is likely that your computer is currently running very slowly.
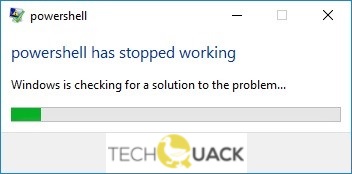
- Windows PowerShell errors in Windows 10 do not occur often.
- There is no more detailed information about what caused the problem.
- If you are using Windows 7 or Windows 10, use the Uninstall update KB3163245 to remove the update.
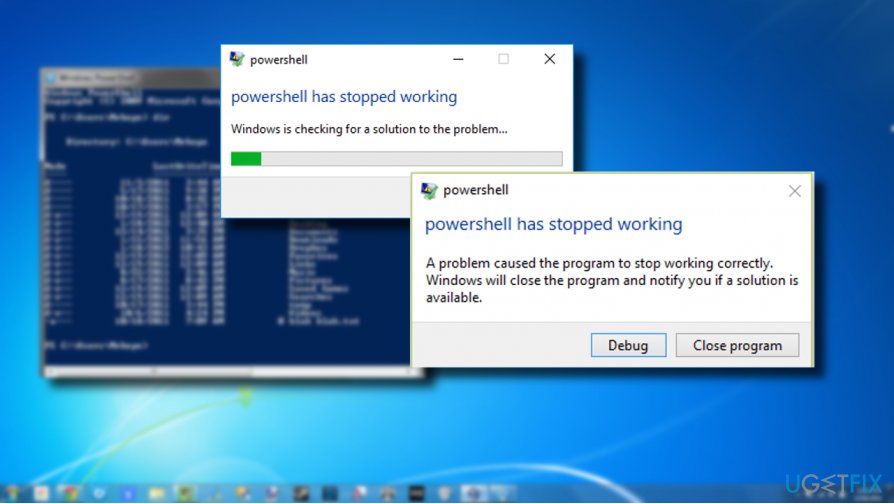
Discovering that PowerShell has stopped working on your Windows PC can be frustrating and hinder your productivity. In this article, we will explore effective solutions to resolve this error and get your PowerShell up and running smoothly again.
Troubleshooting Steps for PowerShell Stopped Working Error
If you are experiencing the “PowerShell has stopped working” error on your Windows PC, follow these steps to resolve the issue:
1. Restart your computer: Sometimes a simple restart can fix the problem. Close all PowerShell processes and restart your computer.
2. Check for Windows updates: Make sure your operating system is up to date. Go to Settings > Update & Security > Windows Update and click on “Check for updates.”
3. Run a system repair tool: Use a reliable system repair tool like Windows PowerShell or a third-party software to scan and fix any issues with your system files.
4. Disable security software: Temporarily disable any antivirus or firewall software that might be blocking PowerShell from running properly.
5. Check for malware: Perform a full system scan using an updated antivirus program to check for any malware or malicious software.
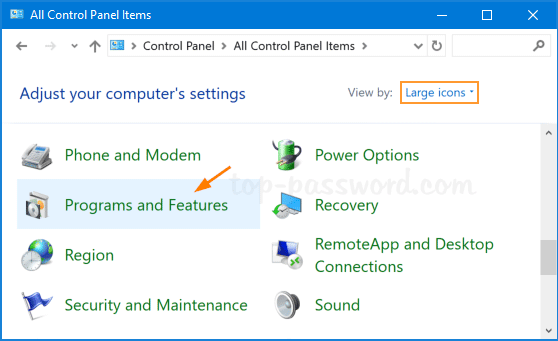
6. Reinstall PowerShell: If all else fails, try reinstalling PowerShell. Go to Control Panel > Programs > Programs and Features, find PowerShell, and click on “Uninstall.” Then, download and install the latest version from the official Microsoft website.
Fixing PowerShell Issues in Windows PC
- Open Control Panel by searching for it in the Windows search bar.
- Click on Programs and then select Programs and Features.
- In the left panel, click on Turn Windows features on or off.
- Scroll down and find Windows PowerShell and uncheck the box next to it.
- Click OK to save the changes.
- Restart your computer.
- After the restart, follow the same steps and check the box next to Windows PowerShell.
- Click OK to save the changes.
- Check if the PowerShell has stopped working error is resolved.
Repair Method 2: Run PowerShell as Administrator
- Press Win + X on your keyboard and select Windows PowerShell (Admin) from the menu.
- If prompted by the User Account Control (UAC), click Yes to allow the program to make changes to your computer.
- Try running the PowerShell commands that were causing the error and check if the issue persists.
Repair Method 3: Update PowerShell
- Open Windows PowerShell by searching for it in the Windows search bar.
- Type the command Get-Host and press Enter.
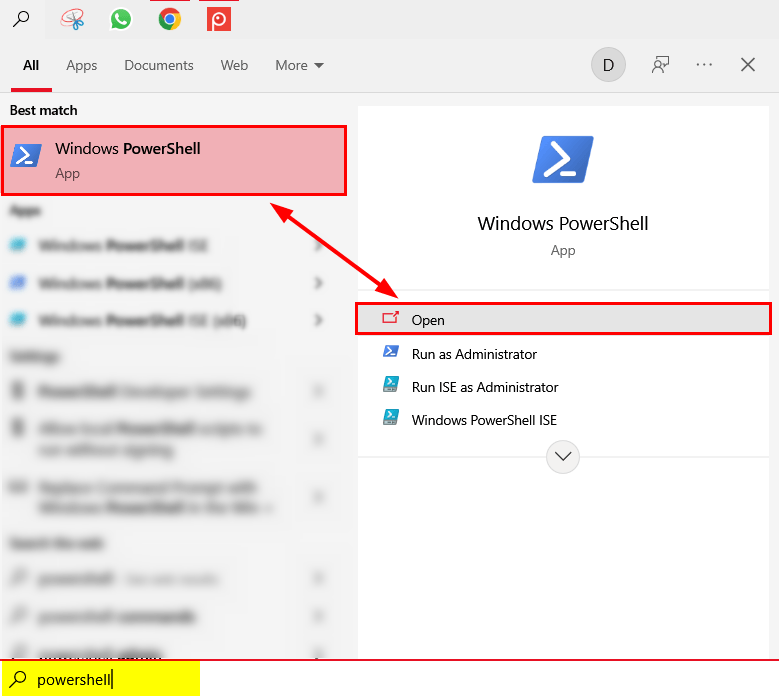
- Check the version of PowerShell displayed in the output.
- Visit the official Microsoft PowerShell website and download the latest version of PowerShell if your version is outdated.
- Install the downloaded update and restart your computer.
- Check if the PowerShell has stopped working error is resolved.
Resolving PowerShell Not Working Error
If you are encountering the “PowerShell has stopped working” error on your Windows PC, follow these steps to resolve the issue:
1. Check for any recent changes or updates that may have caused the error.
2. Restart your computer and try running PowerShell again.
3. Disable any antivirus or security software temporarily and see if that resolves the issue.
4. Run the PowerShell as an administrator.
5. Check for any updates for your Windows operating system and install them.
6. Scan your computer for malware using an antivirus program.
7. Use the Windows Troubleshooting tool to identify and fix any issues related to PowerShell.
8. If none of the above steps work, consider reinstalling PowerShell.
Remember to always exercise caution when making changes to your computer’s settings, and if the issue persists, seek further assistance from a knowledgeable professional or refer to reputable online resources for more troubleshooting options.
Resolving Access Issues with PowerShell
If you’re experiencing issues with PowerShell on your Windows PC, such as the “PowerShell has stopped working” error, there are a few steps you can take to resolve the problem.
First, try running PowerShell as an administrator. Right-click on the PowerShell icon and select “Run as administrator.” This can often fix access issues and allow you to use PowerShell without any problems.
If that doesn’t work, you can try resetting the PowerShell execution policy. Open PowerShell as an administrator and run the following command: Set-ExecutionPolicy -ExecutionPolicy RemoteSigned. This will allow you to run scripts that are signed by a trusted publisher.
If you’re still experiencing issues, it may be helpful to check for any Windows updates that could address the problem. Open the Windows Update settings and click on “Check for updates.”
If none of these steps resolve the issue, it may be necessary to seek further assistance from a Windows troubleshooting resource such as thegeekpage.com or the Microsoft support website.
Remember to always exercise caution when using PowerShell and only run scripts from trusted sources to avoid potential security risks.
Restoring PowerShell to Default Settings
To restore PowerShell to its default settings, follow these steps:
1. Open PowerShell as an administrator by searching for “PowerShell” in the Start menu, right-clicking on it, and selecting “Run as administrator.”
2. In the PowerShell window, type Get-ExecutionPolicy and press Enter. This command will show you the current execution policy.
3. To change the execution policy to the default setting, type Set-ExecutionPolicy Restricted and press Enter. This will restrict the execution policy to the default level, which helps protect your system from potential security threats.
4. Confirm the change by typing Y and pressing Enter.
5. Close the PowerShell window and reopen it to apply the changes.
Performing a System Scan to Fix PowerShell Error
| Performing a System Scan to Fix PowerShell Error | |
|---|---|
| Article Title | How to Fix PowerShell Has Stopped Working Error on Windows PC |
| Step | Description |
| Step 1 | Open Command Prompt as an administrator |
| Step 2 | Type “sfc /scannow” and press Enter |
| Step 3 | Wait for the system scan to complete |
| Step 4 | Restart your computer |
| Step 5 | Try running PowerShell again to check if the error is resolved |

Mark Ginter is a tech blogger with a passion for all things gadgets and gizmos. A self-proclaimed "geek", Mark has been blogging about technology for over 15 years. His blog, techquack.com, covers a wide range of topics including new product releases, industry news, and tips and tricks for getting the most out of your devices. If you're looking for someone who can keep you up-to-date with all the latest tech news and developments, then be sure to follow him over at Microsoft.
Related posts:
 How to Troubleshoot “The User Profile Service Failed the Logon” Error Message in Windows 10
 How to Repair: “Cannot Currently Check for Updates” Error Message on Windows 7
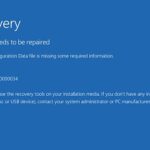 How to Resolve: Boot Configuration Data File is Missing in Windows PC
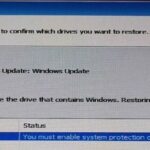 Correcting the ‘You Must Enable System Protection on This Drive’