- Windows 10 is a great operating system, but sometimes you may experience problems with it.
- One common issue that people seem to have is the “time sync failed” error.
- This can be frustrating, but don’t worry, we are here to help! In this blog post, we will discuss what causes this error and how to fix it.
Time synchronization is a crucial aspect of Windows 10, ensuring accurate timing across various devices. However, encountering a time sync failure can disrupt your system’s efficiency. In this article, we will delve into the common causes behind the Windows 10 time sync failed issue and explore effective solutions to resolve it. So, let’s dive in and get your system back on track!
Disable Firewall and Third-Party Antivirus
To fix the Windows 10 Time Sync Failed issue, you may need to disable the firewall and third-party antivirus temporarily. Here’s how you can do it:
1. Disable Firewall:
– Press the Windows key + R to open the Run dialog box.
– Type “control” and press Enter to open the Control Panel.
– In the Control Panel, search for “Firewall” and click on “Windows Defender Firewall.”
– Click on “Turn Windows Defender Firewall on or off” from the sidebar.
– Select the “Turn off Windows Defender Firewall” option for both private and public networks.
– Click “OK” to save the changes.
2. Disable Third-Party Antivirus:
– Right-click on the antivirus program’s icon in the system tray.
– Select “Disable” or “Exit” from the context menu.
– Confirm the action if prompted.
Remember to re-enable these security features once you have resolved the time synchronization issue.
Note: These steps may vary depending on your specific antivirus software and version.
Restart the Windows Time Service
Restarting the Windows Time Service can help resolve the “Windows 10 Time Sync Failed” issue. To do this, follow these steps:
1. Press the Windows key + R to open the Run dialog box.
2. Type “services.msc” and press Enter to open the Services window.
3. Scroll down and locate the “Windows Time” service.
4. Right-click on the service and select “Restart” from the context menu. If the service is already stopped, select “Start” instead.
5. Close the Services window and check if the time synchronization issue is resolved.
If the issue persists, you can try changing the time server by following these steps:
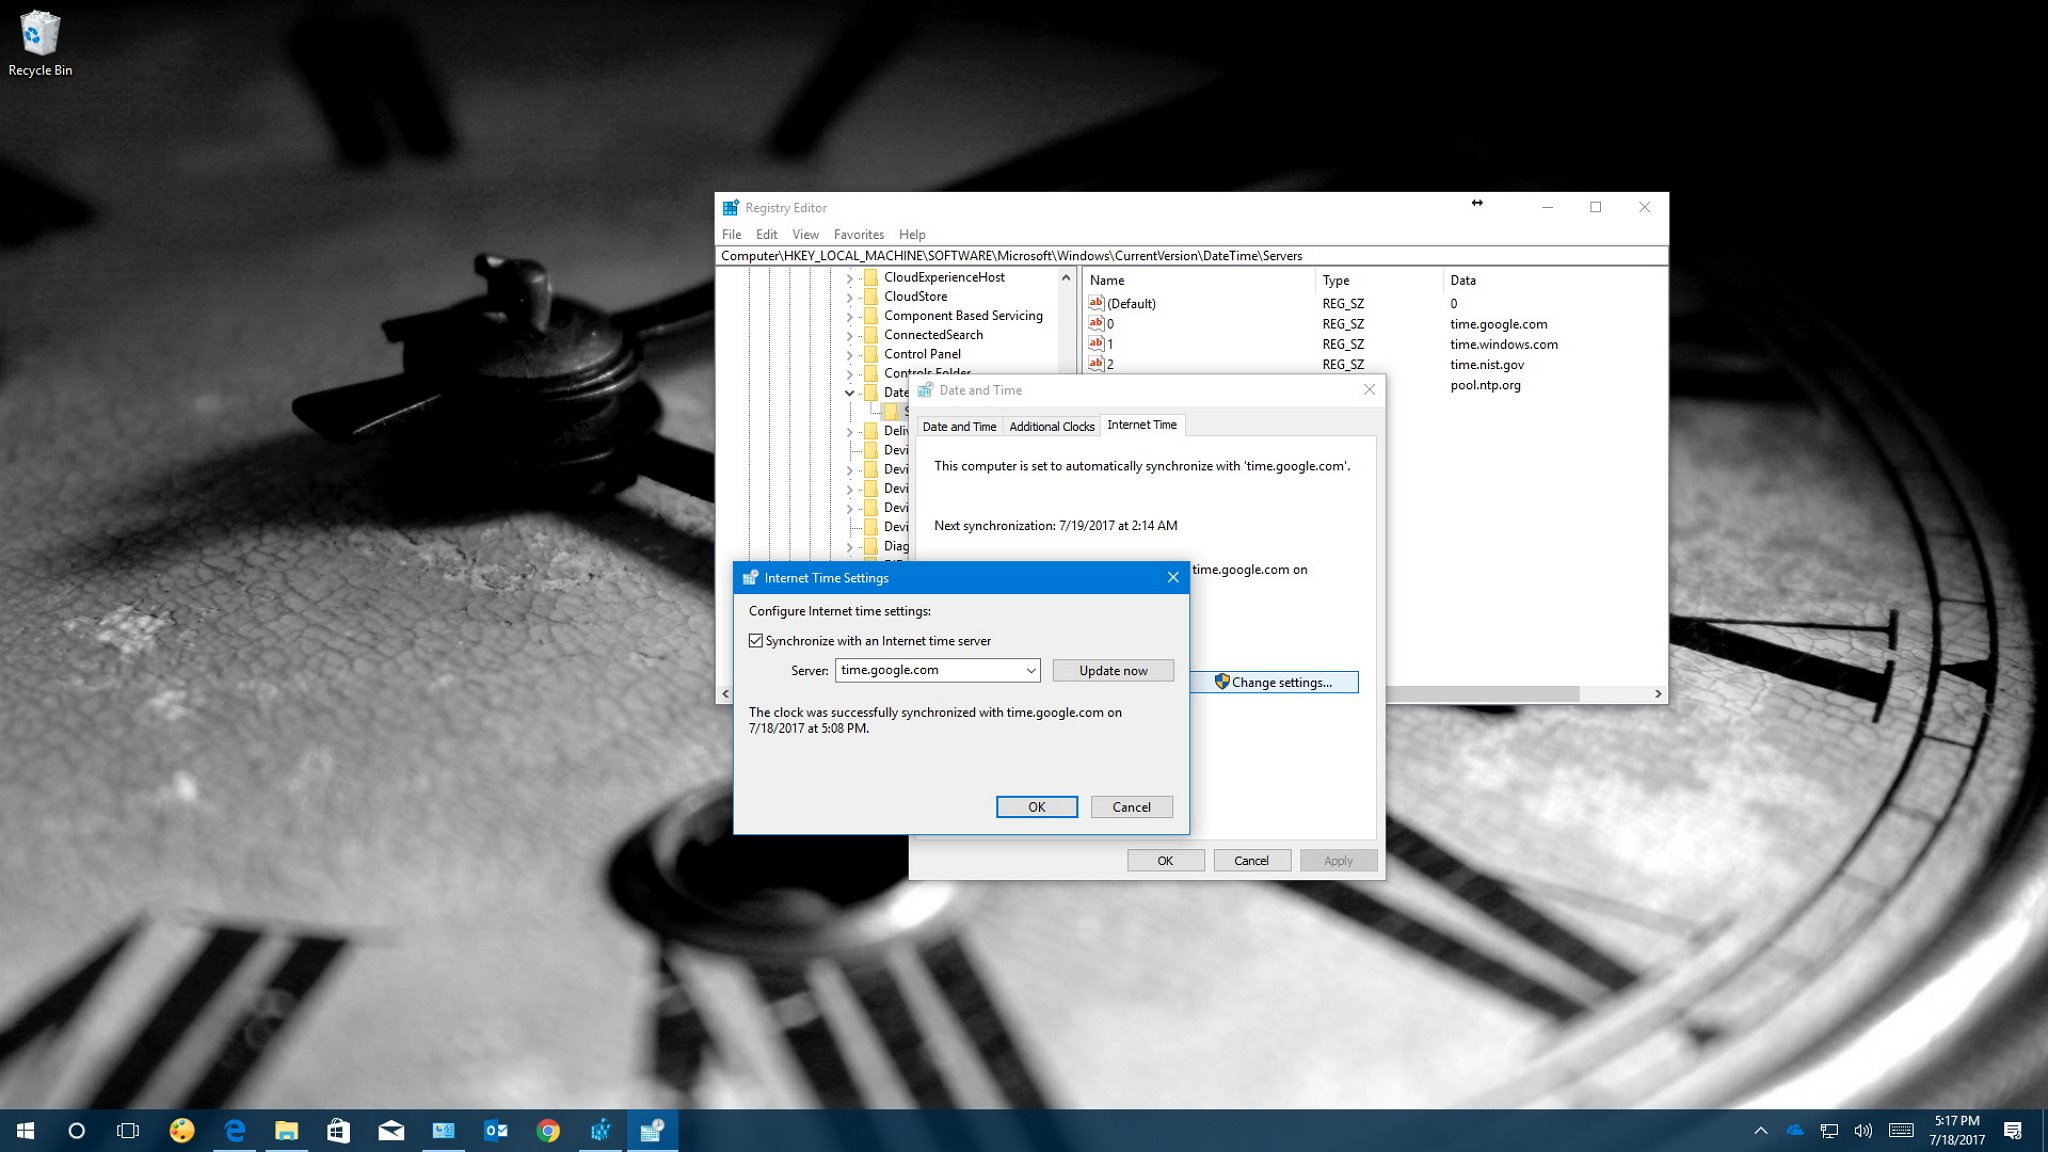
1. Right-click on the clock in the system tray and select “Adjust date/time.”
2. In the Date & time settings, scroll down and click on “Additional date, time, & regional settings.”
3. In the Control Panel window, click on “Date and Time.”
4. In the Date and Time window, go to the “Internet Time” tab.
5. Click on “Change settings” and then click on “Update now.”
6. Select a different time server from the drop-down menu or manually enter a time server such as “time.windows.com.”
7. Click on “Update now” again and then click on “OK” to save the changes.
Activate the Time Synchronization Feature
To activate the Time Synchronization feature in Windows 10 and resolve the Time Sync Failed issue, follow these steps:
1. Right-click on the clock in the bottom-right corner of your screen and select “Adjust date/time”.
2. In the Date & Time settings window, scroll down and click on “Additional date, time, & regional settings”.
3. In the Control Panel window that opens, click on “Date and Time”.
4. In the Date and Time window, go to the “Internet Time” tab.
5. Click on “Change settings”.
6. Check the box next to “Synchronize with an internet time server”.
7. In the “Server” field, enter “time.windows.com” or any other reliable time server.
8. Click “Update now” to sync the time immediately, or “OK” to save the changes and close the windows.
This should resolve the Time Sync Failed issue and ensure accurate clock synchronization on your Windows 10 PC.
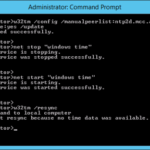
Run Command Prompt Lines
If you’re experiencing the “Windows 10 Time Sync Failed” issue, there are a few command prompt lines you can run to try and fix it. First, open Command Prompt as an administrator. Then, try running the following commands:
1. w32tm /query /status – This will display the current status of the Windows Time service.
2. w32tm /resync – This command will force the computer to resynchronize its time with the time servers.
3. w32tm /resync /rediscover – This command will force the computer to rediscover the time servers and resynchronize.
If these commands don’t work, you can also try changing the time servers your computer is using. To do this, open the Date and Time settings, go to the Internet Time tab, and click on “Change settings”. From there, you can select a different time server or enter a custom one.
Remember to restart your computer after running these commands or making any changes to the time settings.
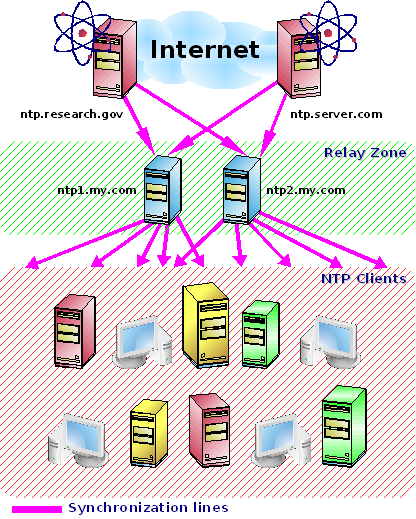
Add More Time Servers
- Utilize additional time servers: Expand the pool of time servers used by your Windows 10 device.
- Diversify time sources: Ensure a wider range of time sources are available for synchronization.
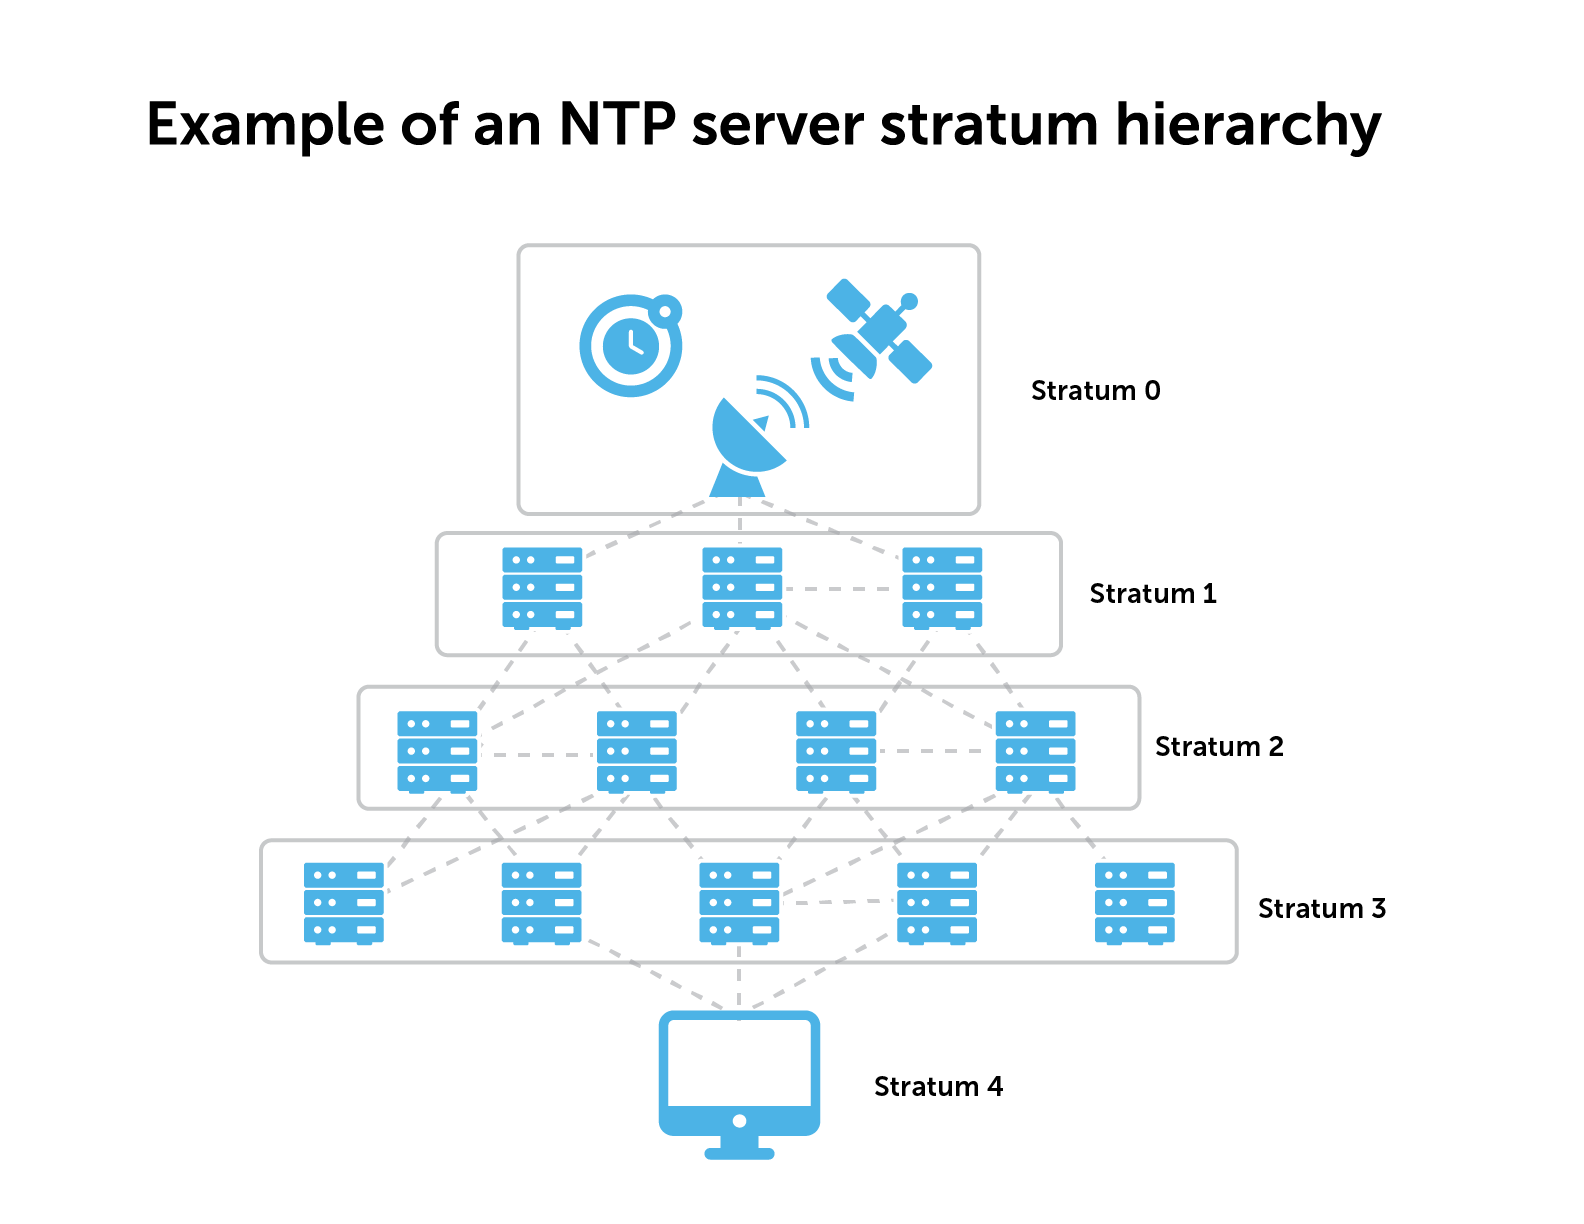
- Enhance time accuracy: Add more time servers to improve the accuracy of time synchronization.
- Improve reliability: Increase the number of time servers to enhance the reliability of time synchronization.
- Global time server options: Consider incorporating time servers from various regions around the world.
- Broaden time server selection: Expand the selection of time servers to choose from, increasing the chances of successful synchronization.
- Reduce time sync failures: Augment the number of time servers to minimize time synchronization failures.
- Strengthen time sync capabilities: Add more time servers to strengthen the time synchronization capabilities of your Windows 10 system.
- Optimize timekeeping: Include additional time servers to optimize the timekeeping function on your device.
- Ensure consistent time accuracy: Incorporate more time servers to maintain consistent and accurate time across your Windows 10 device.
Update Internet Time Settings
To fix the “Time Sync Failed” issue on Windows 10, follow these steps:
1. Right-click on the clock in the taskbar and select “Adjust date/time.”
2. In the Settings window, scroll down and click on “Additional date, time & regional settings.”
3. In the Control Panel window, under “Clock, Language, and Region,” click on “Date and Time.”
4. In the Date and Time window, go to the “Internet Time” tab and click on “Change settings.”
5. Check the box next to “Synchronize with an internet time server” and select a server from the drop-down menu. The default server is “time.windows.com.”
6. Click on “Update now” and then “OK” to save the changes.
7. Close all the windows and restart your PC for the changes to take effect.
This should resolve the time sync issue on your Windows 10 PC.
Reconfigure the Windows Time service
1. Press the Windows key + R to open the Run dialog box.
2. Type “services.msc” and press Enter to open the Services window.
3. Scroll down and locate the “Windows Time” service.
4. Right-click on it and select “Properties.”
5. In the Properties window, go to the “General” tab and click on the “Stop” button.
6. Next, go to the “Log On” tab and select “Local System account.”
7. Tick the checkbox next to “Allow service to interact with desktop.”
8. Click on the “Apply” button, followed by “OK.”
9. Return to the Services window, right-click on the “Windows Time” service, and select “Start.”
This should reconfigure the Windows Time service and resolve the time sync issue.

Mark Ginter is a tech blogger with a passion for all things gadgets and gizmos. A self-proclaimed "geek", Mark has been blogging about technology for over 15 years. His blog, techquack.com, covers a wide range of topics including new product releases, industry news, and tips and tricks for getting the most out of your devices. If you're looking for someone who can keep you up-to-date with all the latest tech news and developments, then be sure to follow him over at Microsoft.