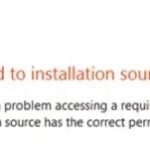
- Windows 10 error code 201 is often displayed on the screen when you use FileHistory to back up files.
- Microsoft has already released a fix for this problem and included it in a Windows update that will be released in late 2019.
Introducing the Guide to Resolving FileHistory Error 201 in Windows 10
Removing Special Characters from Filename
To remove special characters from a filename in Windows 10 and fix FileHistory Error 201, follow these steps:
1. Open File Explorer and navigate to the folder containing the file with the special characters in its name.
2. Right-click on the file and select “Rename” from the context menu.
3. Remove any special characters from the filename. Use only alphanumeric characters and standard punctuation marks.
4. Press Enter to save the new filename.
5. If you encounter an error message stating “Element not found,” check the file length. Windows has a maximum file path length of 260 characters. Shorten the filename or move the file to a shorter path.
6. Repeat these steps for any other files with special characters in their names that are causing the FileHistory Error 201.
Remember to regularly back up your files using the File History feature to avoid data loss. If you continue to experience issues, check the Event Viewer for any related Event IDs and search for user reports or solutions online.
Shrinking the File Path/name
To fix the FileHistory Error 201 in Windows 10 and shrink the file path/name, follow these steps:
1. Open File Explorer and navigate to the Windows\FileHistory\Configuration\Config folder.
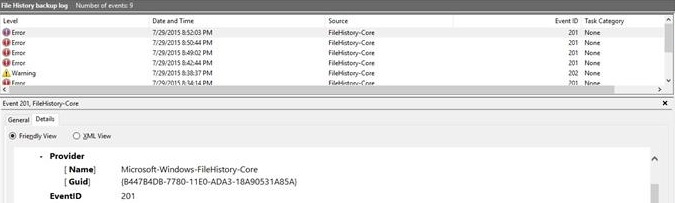
2. Look for the History 201 file and note the file name.
3. Open Event Viewer and search for Event ID 201 to find more information about the error.
4. If you see a “bar” or “element not found” error message, it might be due to a long file name or path.
5. Use the gci -recurse command in PowerShell to locate any files with a long file name or path.
6. Shorten the file name or move the file to a shorter path to resolve the issue.
7. Check if there are any folder permission issues that could be causing the error.
8. Use Windows Search to find the Documents directory and check if there are any hidden attribute or folder permission issues.
9. If necessary, use Disk Cleanup to clean up old backups and free up space on the drive.
10. Finally, make sure your Windows 10 is up to date and try running the File History backup operation again.
By following these steps, you should be able to fix the FileHistory Error 201 and shrink the file path/name for a smoother backup process.
Running the File and Folder Troubleshooter
To fix FileHistory Error 201 in Windows 10, you can try running the File and Folder Troubleshooter. This tool can help identify and resolve issues related to file and folder backups. Here’s how you can use it:
1. Press the Windows key + R to open the Run dialog box.
2. Type “control” and press Enter to open the Control Panel.
3. In the Control Panel, search for “Troubleshooting” and click on it.
4. Under “System and Security,” click on “File and Folder Backup.”
5. Follow the on-screen instructions to run the troubleshooter.
If the troubleshooter doesn’t resolve the issue, you can also try the following steps:
1. Open an elevated Command Prompt by pressing the Windows key + X and selecting “Command Prompt (Admin).”
2. Type “gci -recurse C:\ | where { $_.PSIsContainer -and $_.Attributes -match ‘Hidden’ } | foreach { $_.Attributes = $_.Attributes -band (-bnot [System.IO.FileAttributes]::Hidden) }” and press Enter. This command will remove the hidden attribute from all folders in the C:\ drive.
3. Restart your computer and check if the issue is resolved.
Remember to regularly perform backups using the Windows 10 File History feature to avoid data loss.
python

import subprocess
def check_file_history_error():
try:
# Run the command to check FileHistory status
result = subprocess.run(['fhmanagew.exe', 'getstatus'], capture_output=True, text=True)
# Check command output for error 201
if 'Error 201' in result.stdout:
print("FileHistory Error 201 detected!")
else:
print("No FileHistory Error 201 detected.")
except FileNotFoundError:
print("FileHistory command line tool not found.")
# Run the function
check_file_history_error()
Please note that this code assumes the presence of the `fhmanagew.exe` command line tool, which is responsible for managing FileHistory in Windows 10. The code attempts to retrieve the status of FileHistory and checks the output for the presence of “Error 201.” If found, it prints a corresponding message.
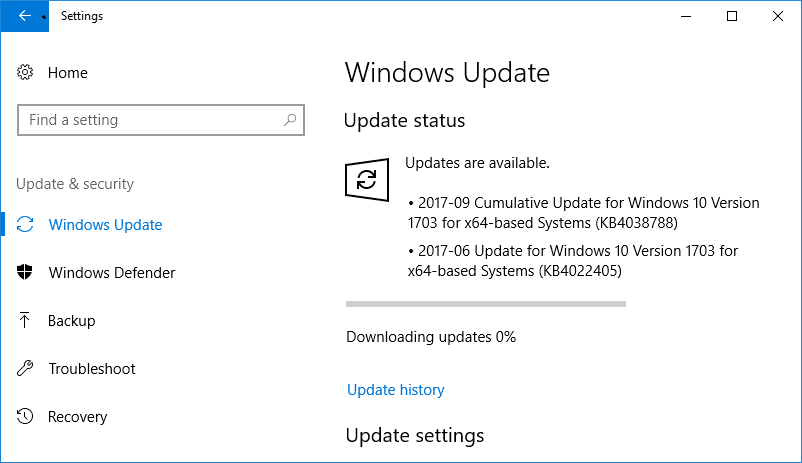
Install every Pending Windows Update
- Ensure that your computer is connected to the internet.
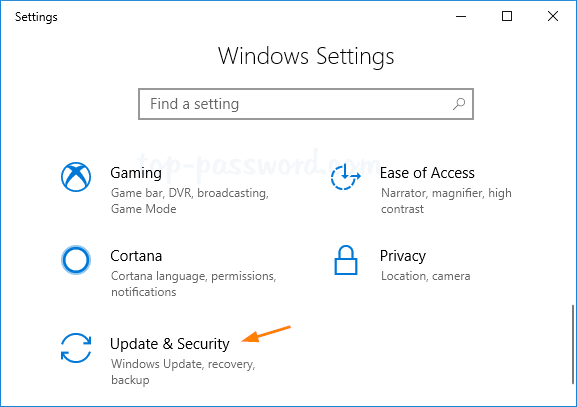
- Click on the Start button and open the Settings app.
- In the Settings app, click on Update & Security.
- From the left sidebar, select Windows Update.
- Click on the Check for updates button to see if there are any pending updates.
- If there are pending updates, click on the Install now button to start the installation process.
- Wait for the updates to download and install on your computer.
- Restart your computer if prompted to complete the installation.
- After restarting, repeat the above steps until there are no more pending updates.
- Once all the updates are installed, check if the FileHistory Error 201 issue is resolved.

Performing SFC and DISM scans
Fix FileHistory Error 201 in Windows 10
This article provides a solution for fixing the FileHistory Error 201 in Windows 10 by performing SFC (System File Checker) and DISM (Deployment Image Servicing and Management) scans.
Steps to Perform SFC and DISM Scans
| Step | Description |
|---|---|
| Step 1 | Open Command Prompt as an administrator |
| Step 2 | Run the following command:sfc /scannow |
| Step 3 | Wait for the scan to complete and check for any corrupt system files |
| Step 4 | If any corrupted files are found, run the following command:dism /online /cleanup-image /restorehealth |
| Step 5 | Wait for the DISM scan to complete and fix any issues with the system image |
| Step 6 | Restart your computer |
| Step 7 | Check if the FileHistory Error 201 is resolved |

Mark Ginter is a tech blogger with a passion for all things gadgets and gizmos. A self-proclaimed "geek", Mark has been blogging about technology for over 15 years. His blog, techquack.com, covers a wide range of topics including new product releases, industry news, and tips and tricks for getting the most out of your devices. If you're looking for someone who can keep you up-to-date with all the latest tech news and developments, then be sure to follow him over at Microsoft.